

There’s a moment every backyard cook knows. You’ve got a tray of burgers ready, the coals are glowing, and then you realize you left the tongs inside. Again. You make the walk back through the sliding door, past the family, past the game on TV, and by the time you’re back, you’ve missed the conversation and half your burger is charred.
That’s usually the moment people start thinking about an outdoor kitchen. Not because they want a fancy showpiece, but because they want cooking outside to actually feel easy. The good news is you don’t need a massive yard or a contractor’s budget to make that happen. You need a plan that matches your space and how you actually cook.
I’ve spent years designing outdoor kitchens for homes of all sizes, from tiny city patios to sprawling country yards. The best setups aren’t the biggest ones. They’re the ones that fit the people who use them.
Below, I’ve rounded up 18 outdoor kitchen ideas organized by backyard size. Each one is something real people can actually build, adapt, or borrow from. Pick one that fits your space, or mix and match a few ideas. Your tongs will thank you.
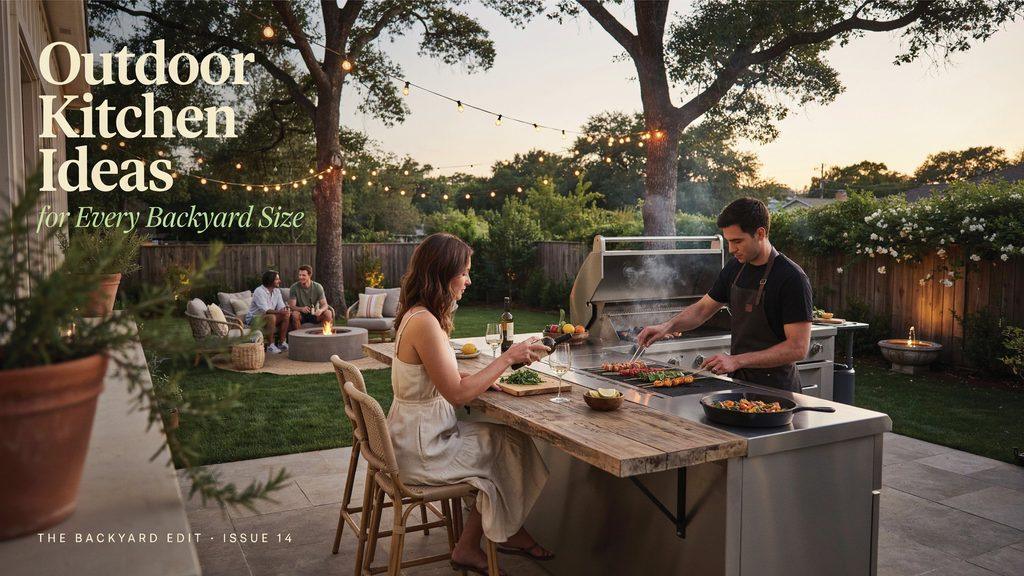
Small Backyards and Patios (Under 100 sq ft)
1. The Fold-Down Cooking Station
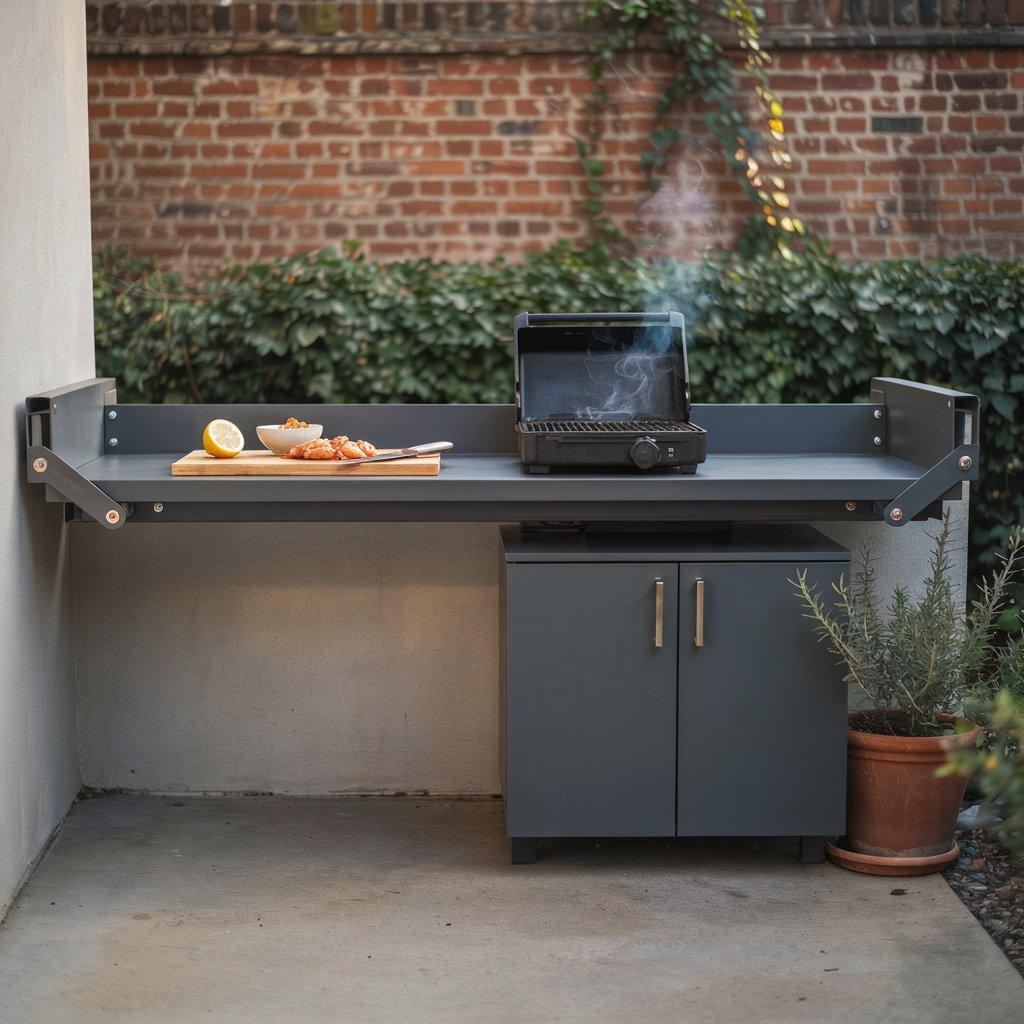
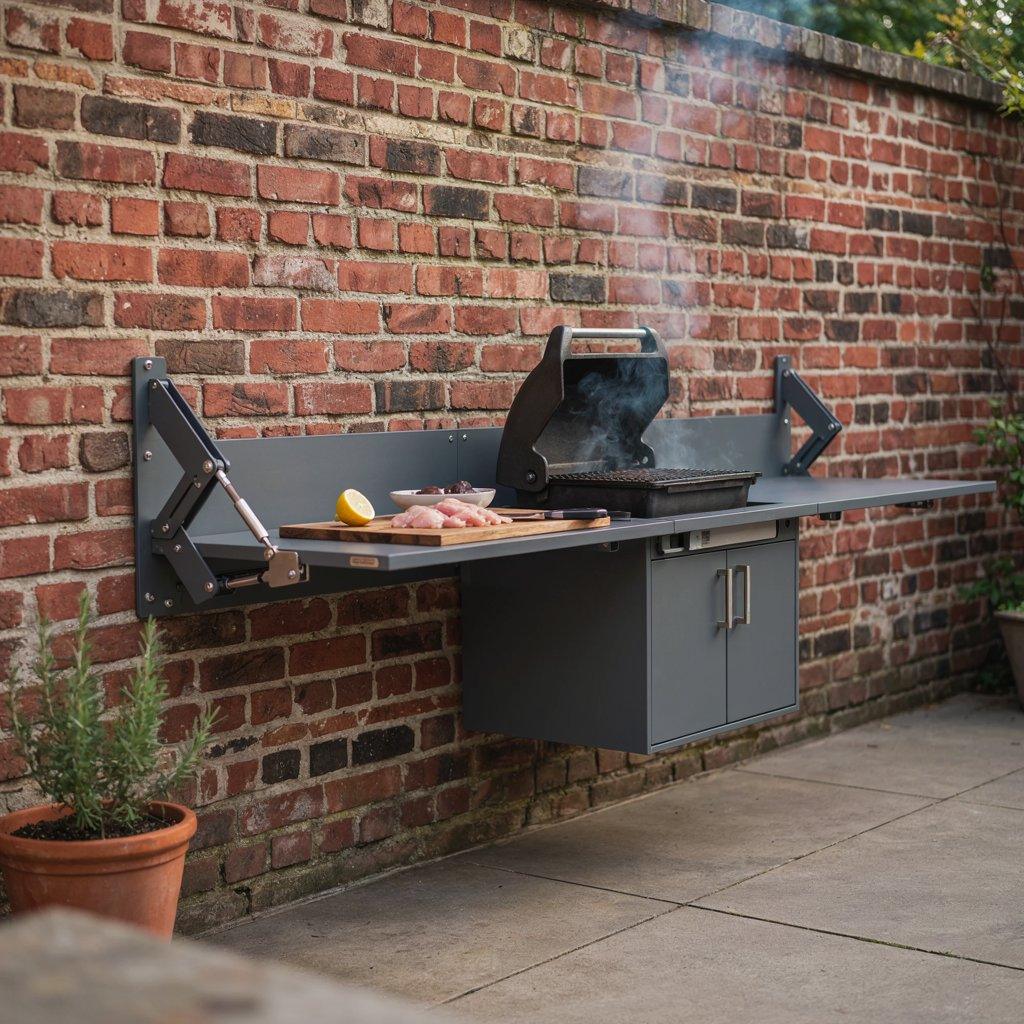
A wall-mounted counter that folds down when you’re done is a game-changer for tight patios. You get a full prep surface when you’re grilling, then reclaim your walking space the rest of the time.
Strong hinges matter here. Cheap ones sag under the weight of a chopping board and a bowl of marinating chicken. I’ve used marine-grade folding brackets on several projects, and they hold up far better than the hardware that comes in most big-box kits.
Pair it with a compact grill and a small storage cabinet underneath, and you’ve got a functional outdoor kitchen in a space barely wider than a doorway.
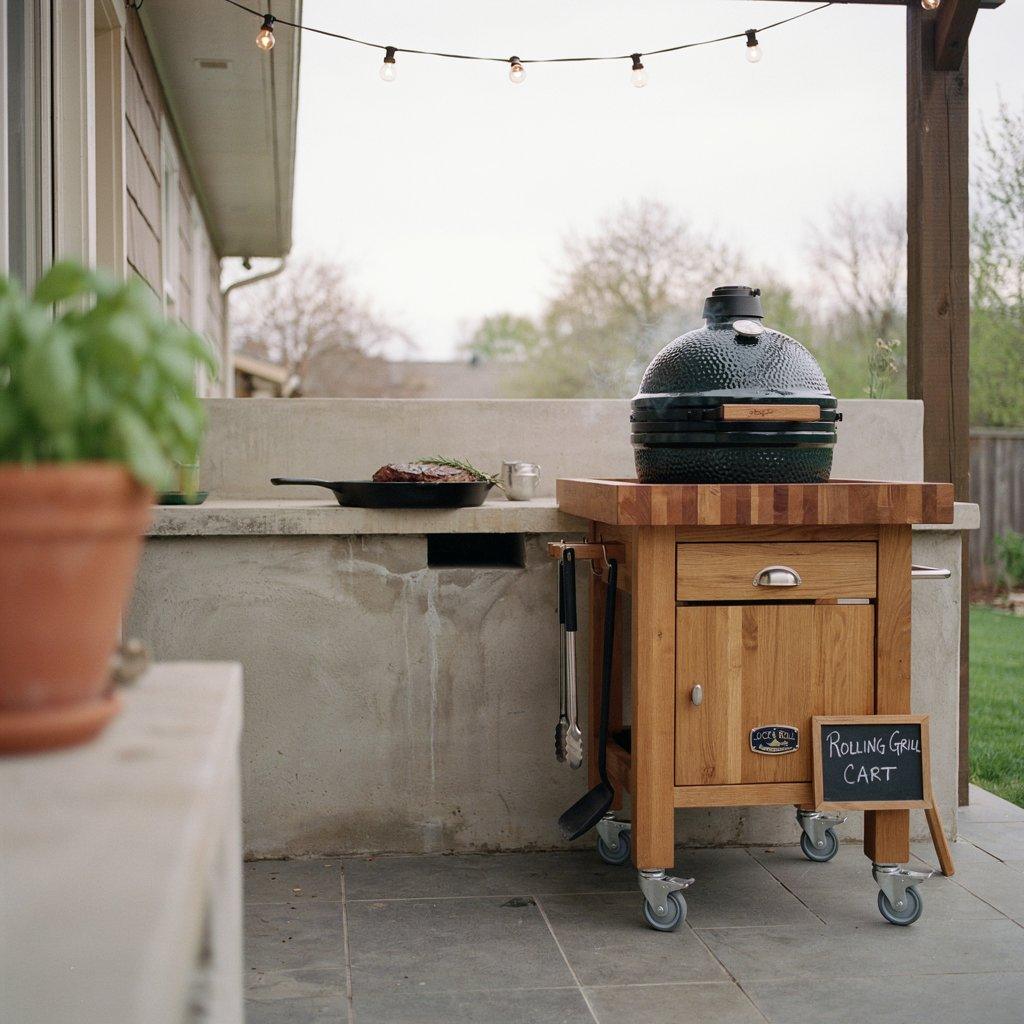
2. The Rolling Grill Cart
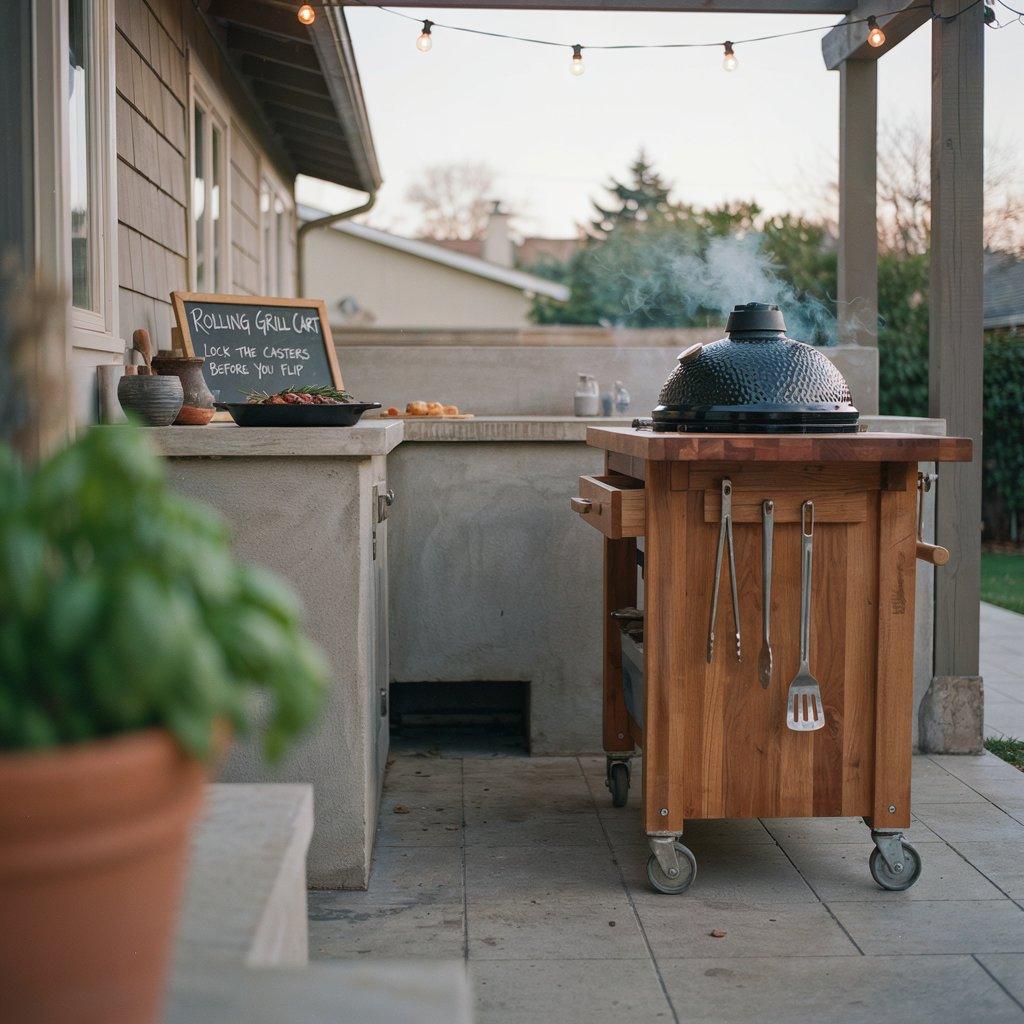
If you rent, move furniture around often, or just like flexibility, a mobile cart might be your best bet. Roll the grill out for a party, tuck everything into a covered corner when the weather turns.
The key is locking casters. Ceramic grills and loaded carts are heavy, and you don’t want your whole setup shifting while you’re flipping steaks.
I’ve also seen clever versions where the cart docks into a fixed counter bay when parked, giving you the best of both worlds: mobility when you want it, stability when you need it.
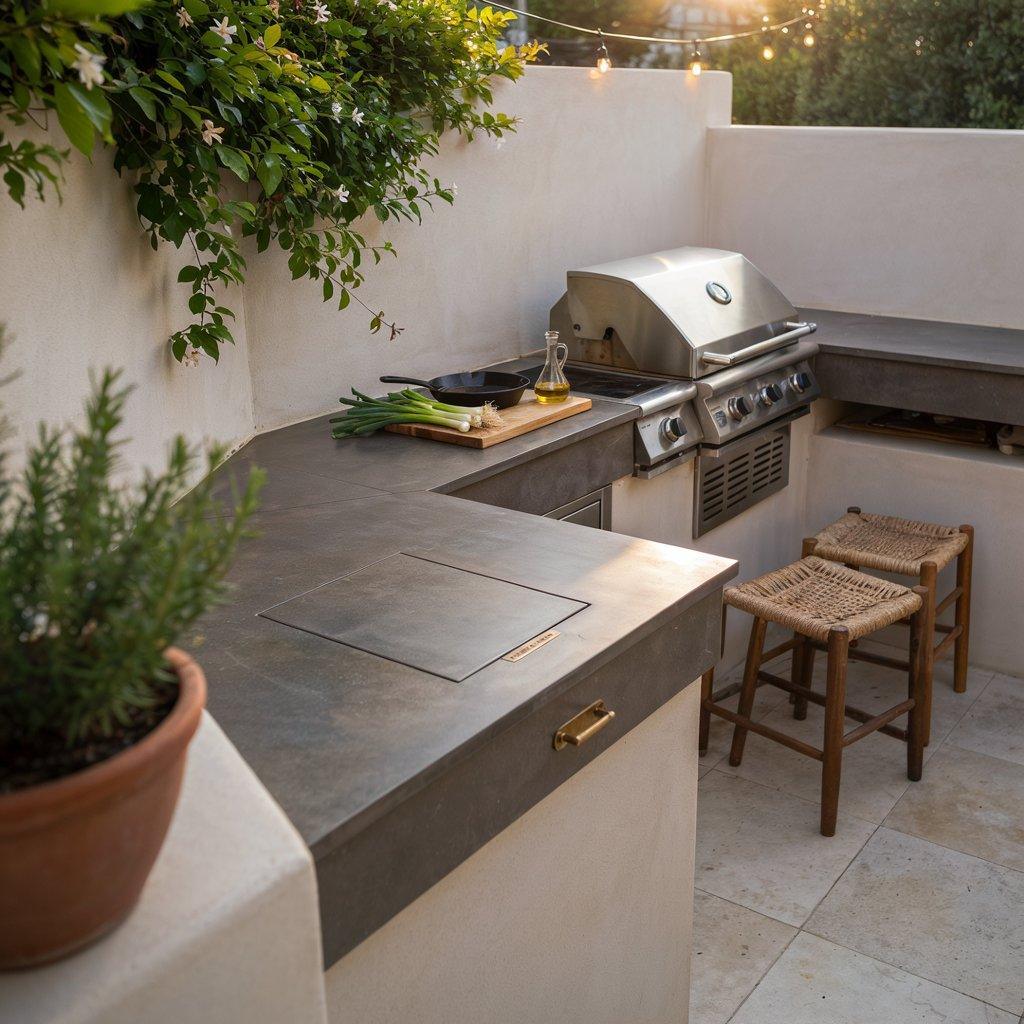
3. The Corner Nook
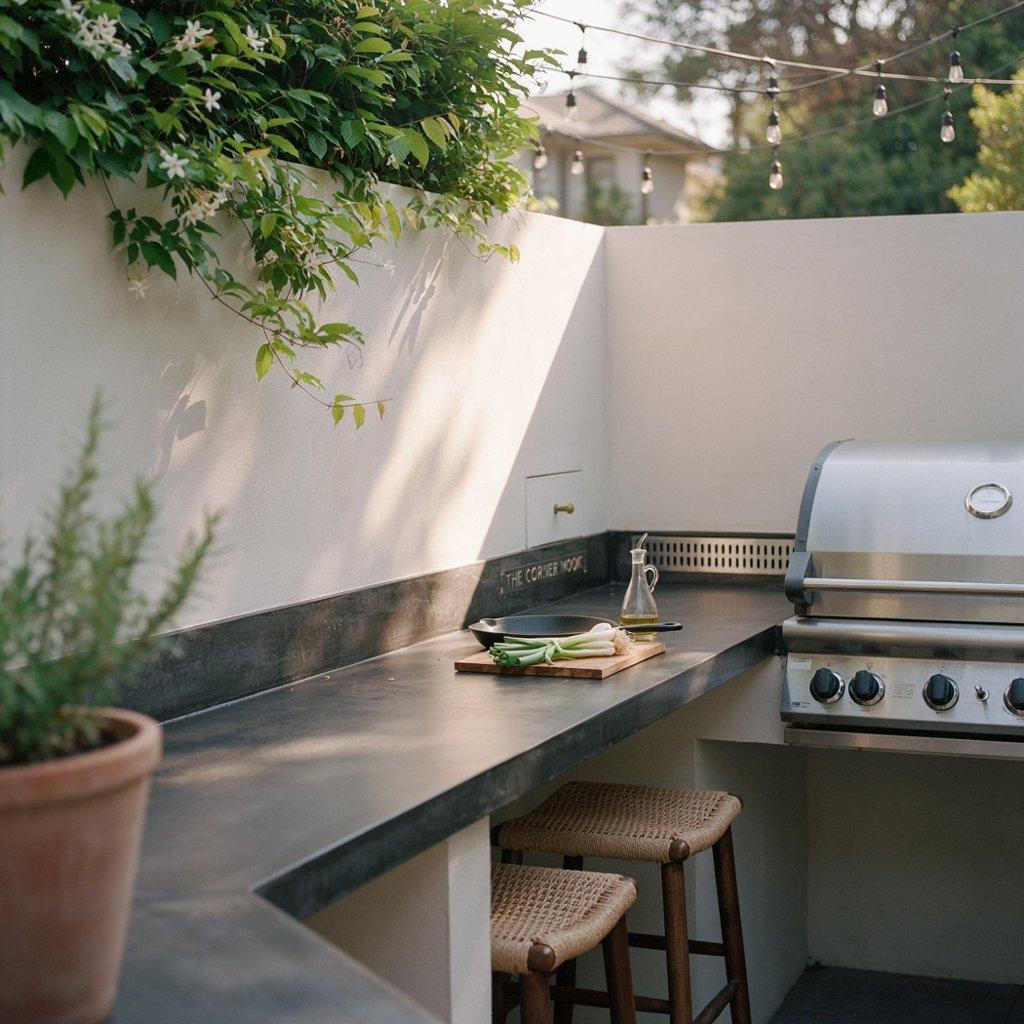
Corners are wasted space in most patios. Turn one into a compact cooking triangle by tucking your grill into the corner and wrapping a counter around it.
You get maximum counter space without breaking the flow of your yard. Heat clearance is the one thing to watch. Leave a vented gap behind the grill and use heat-resistant materials like stone or porcelain tile.
I once fit a full prep surface into a six-foot corner run by using a removable panel for maintenance access. It felt custom without the custom price tag.
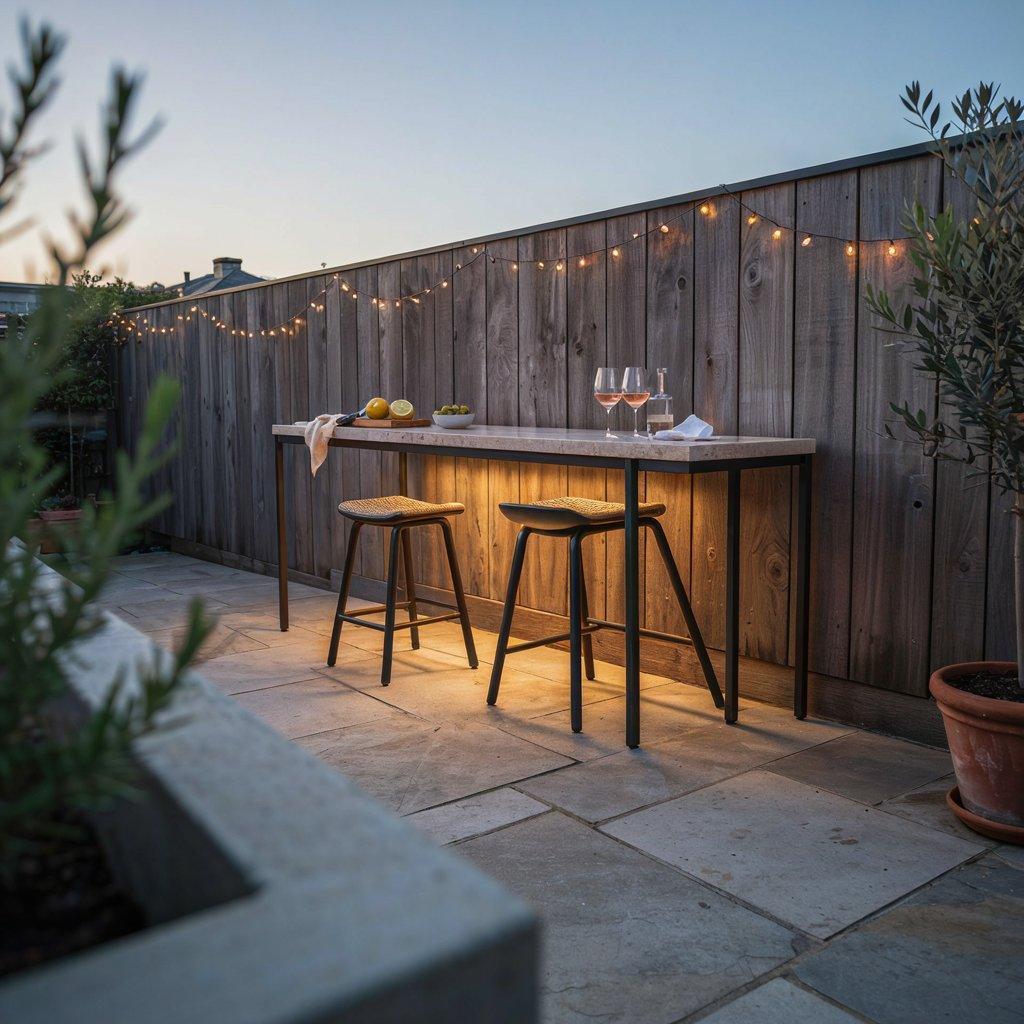
4. The Slimline Bar Counter
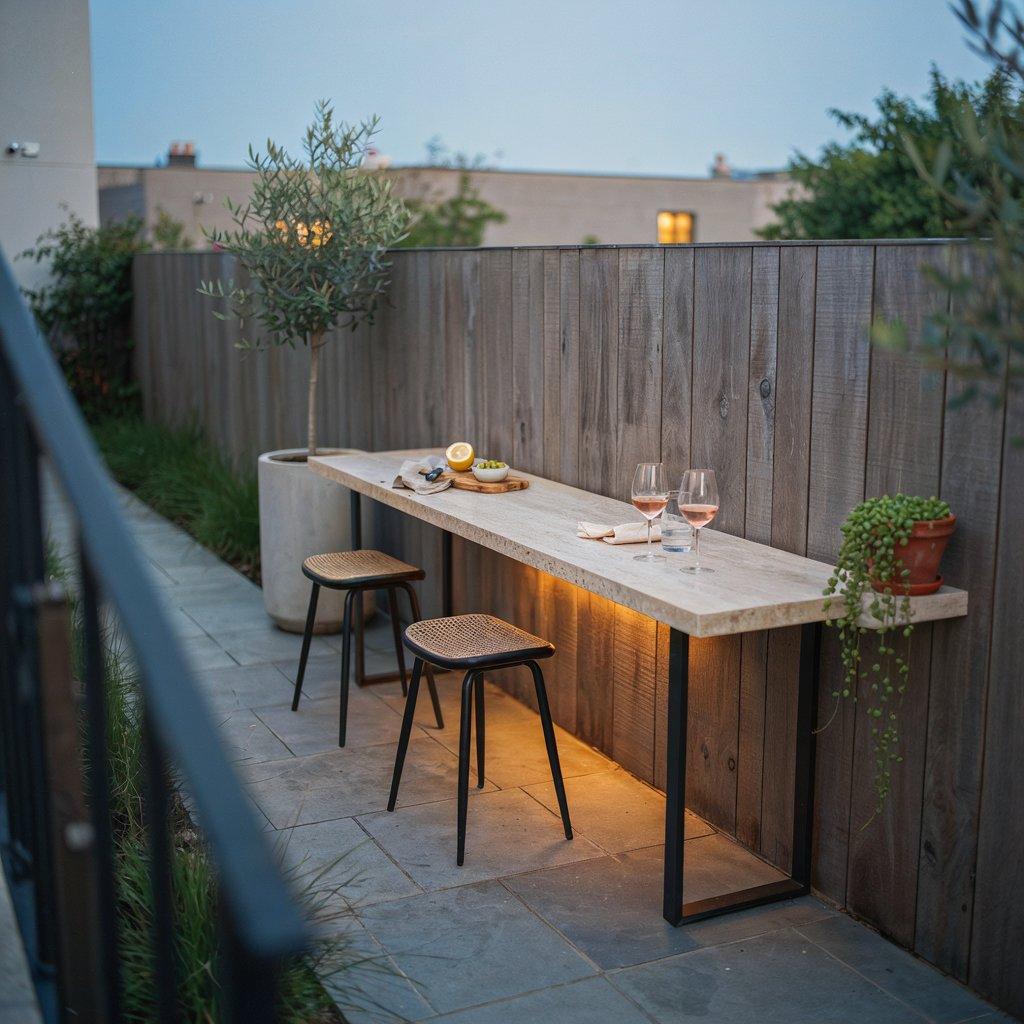
A narrow counter along a wall or railing gives you prep space, a serving spot, and a place to rest your drink without eating up floor area. This works especially well on balconies and narrow side yards.
Under-counter lighting makes it feel intentional and warm in the evenings. Keep the depth to 18 inches or less if you’re tight on space. You don’t need a full 24-inch countertop to chop an onion or set down a platter. Slim can still be functional.
5. The Vertical Storage Wall
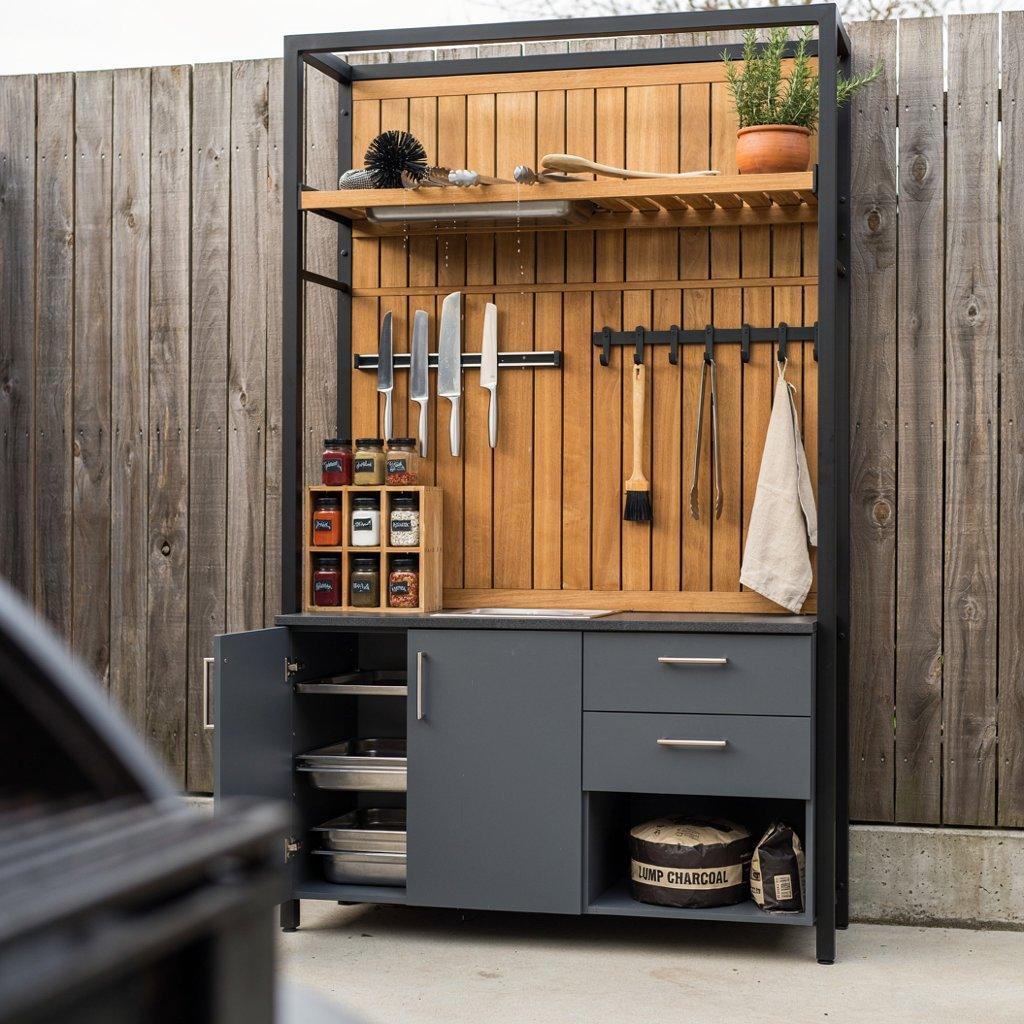
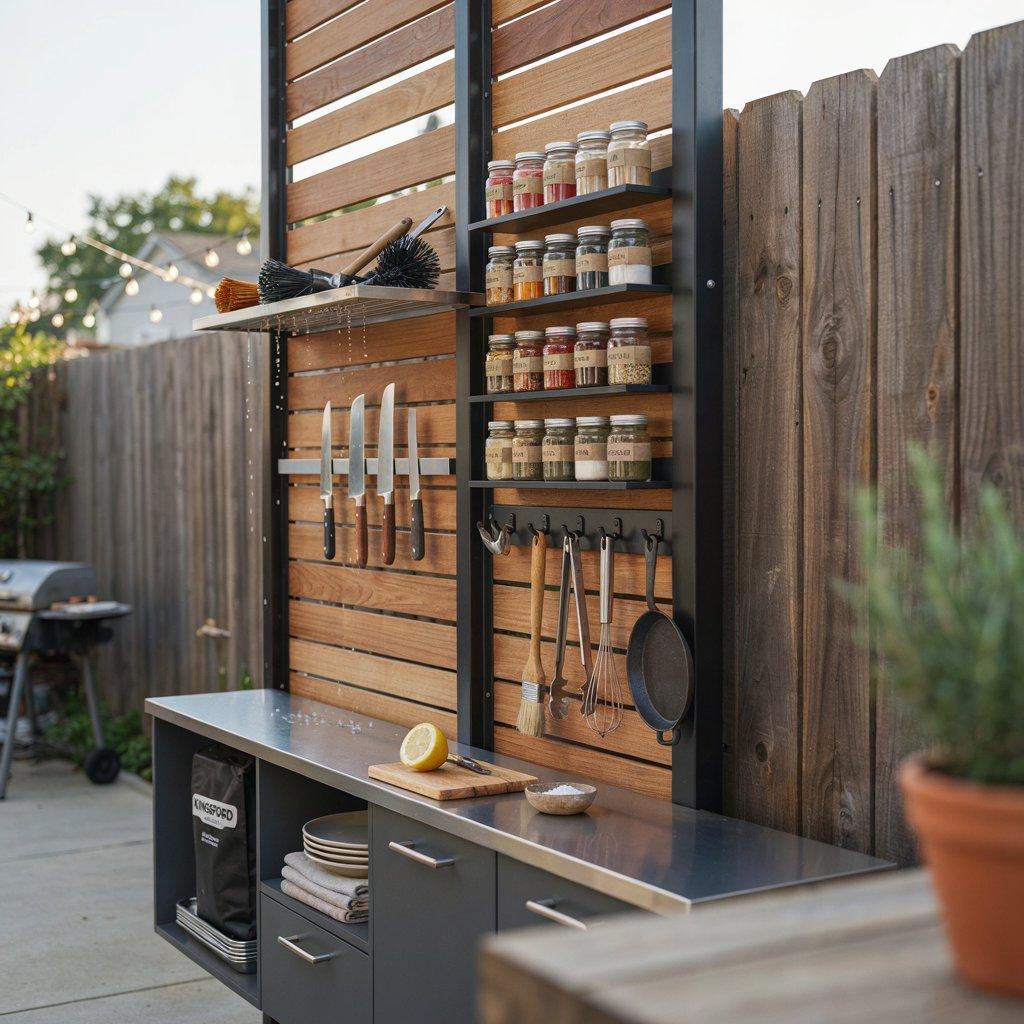
When floor space is limited, go up. A wall of vertical storage keeps utensils, spices, charcoal, and serving trays organized and within arm’s reach. Open upper shelves with drainage let wet tools dry fast.
Closed lower cabinets keep things clean and weather-protected. I’ve mounted magnetic strips for knives, hooks for grill tools, and small cubbies for spice jars.
It turns a plain wall into a working kitchen wall. Just make sure whatever you mount is rated for outdoor use. Indoor shelving will rust or warp.
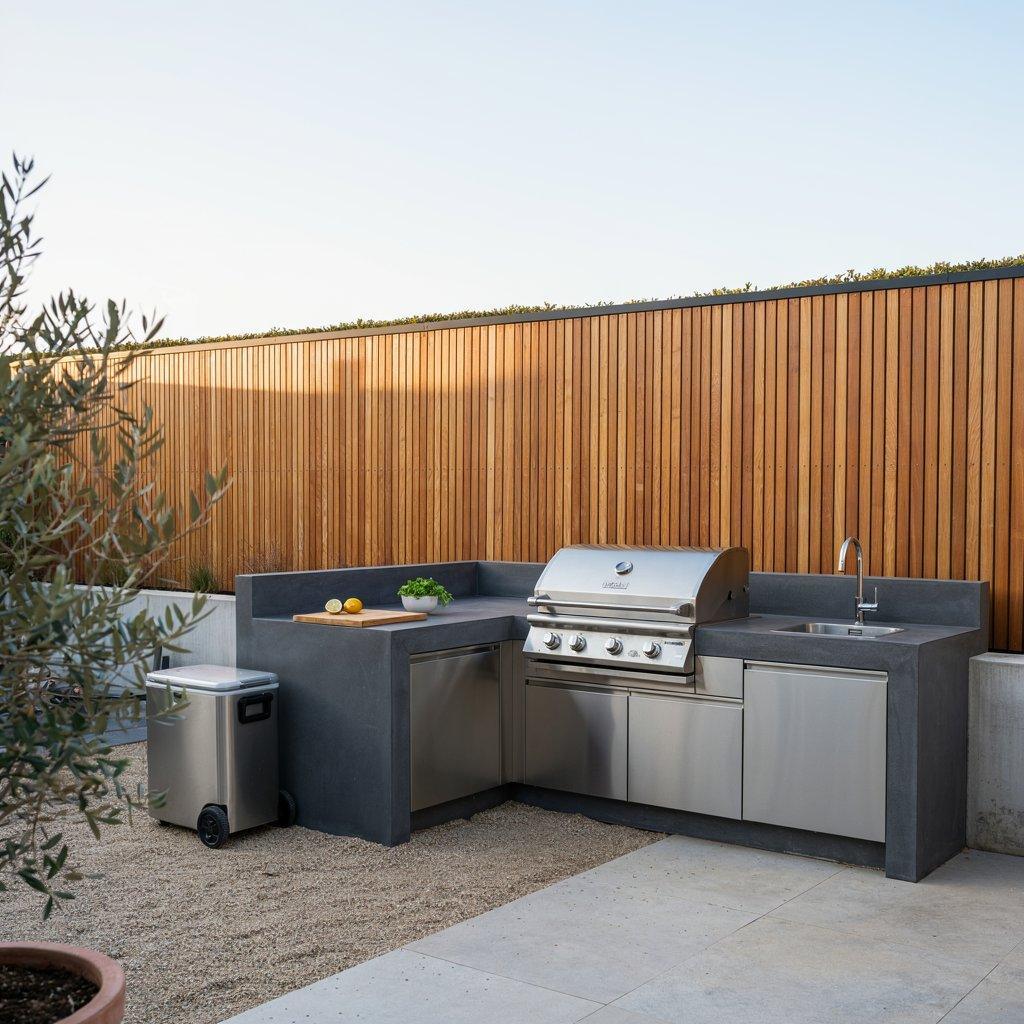
6. The Compact L-Shaped Layout
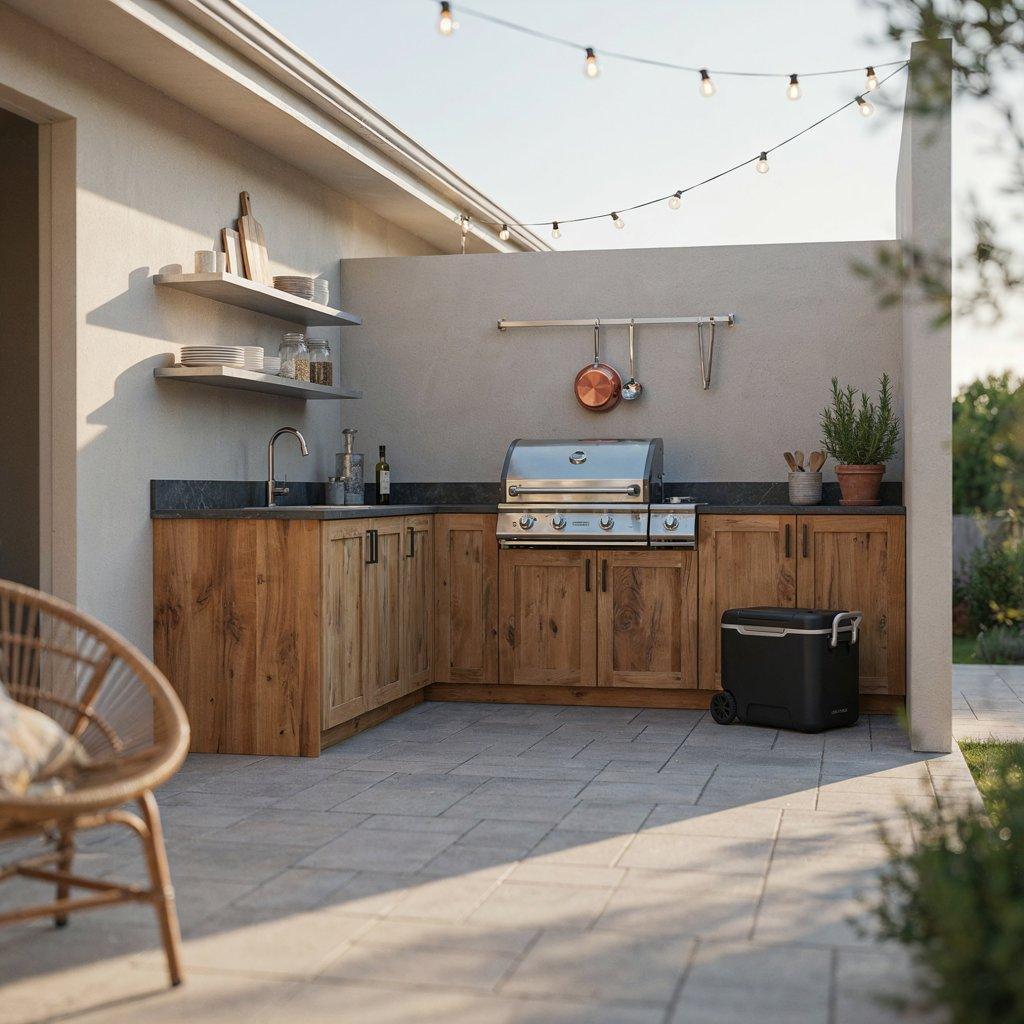
An L-shape is one of the most efficient layouts for small and medium spaces. It fits perfectly into a corner and gives you two runs of counter for grilling, prepping, and plating. The trick is not getting too ambitious.
Pack in the essentials: grill, prep surface, maybe a small sink. Skip the built-in fridge if you don’t have room. A compact cooler on wheels does the same job and moves when you need it to. Stick with weather-resistant materials and keep the flow open so people can move through the space.
Medium Backyards (100–300 sq ft)
7. The Pergola-Covered Kitchen
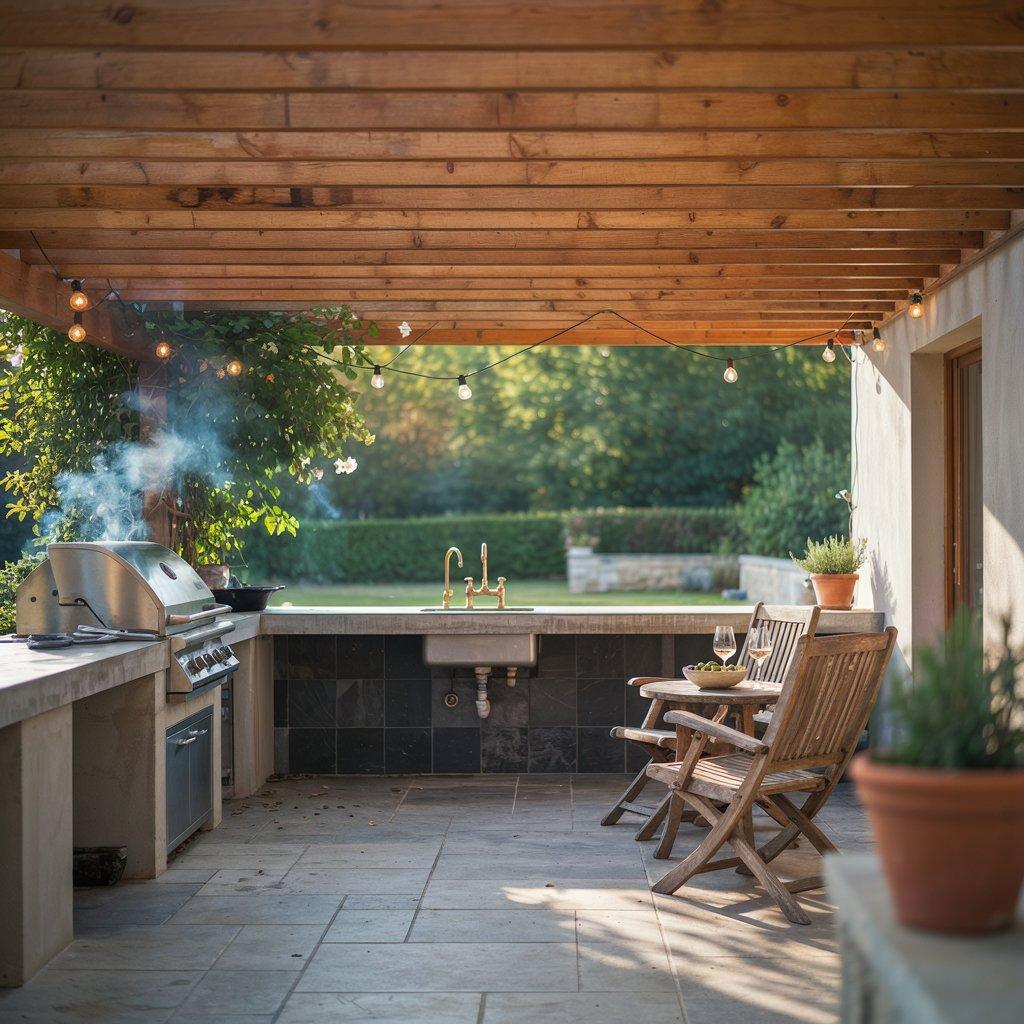
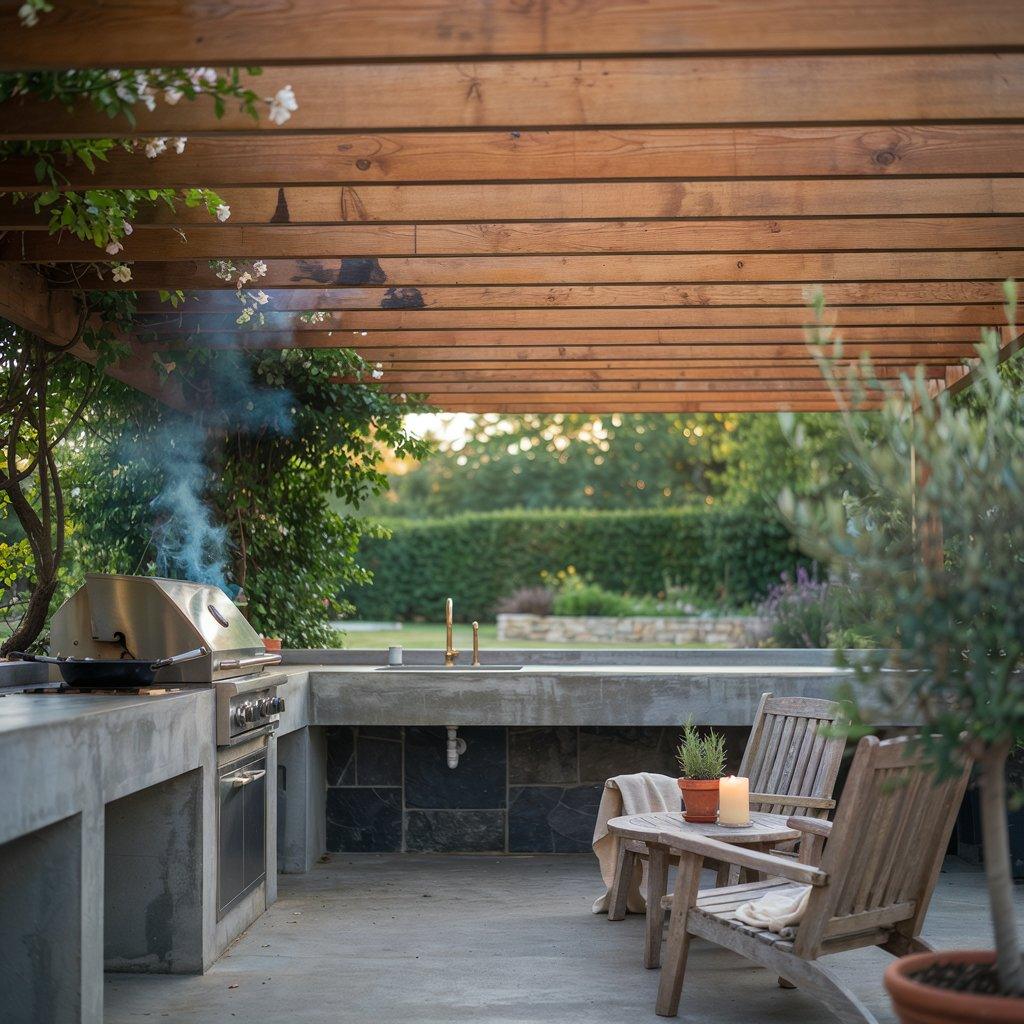
A pergola turns an outdoor kitchen from a spot you use on nice days into a room you use all season. Spaced slats let smoke rise while blocking the harshest sun.
You can add climbing plants for shade and charm, but be mindful of where the smoke travels. I’ve seen soot stains on beams when the grill sits directly under the wood.
Position the cooking zone at one end and the seating at the other. Stain-friendly finishes and metal accents make cleanup easier. It’s an investment, but it changes how you use the space.
8. The Built-in Seating Bench with Hidden Storage
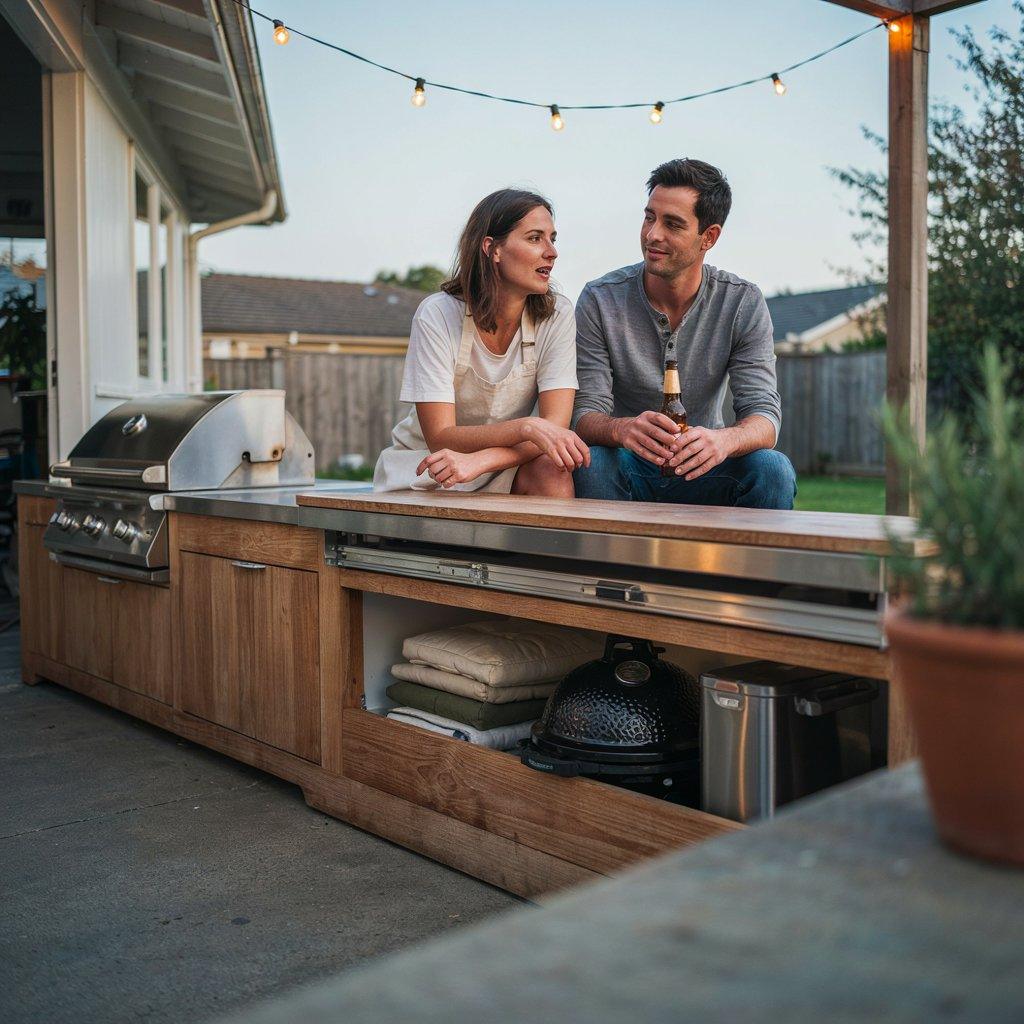
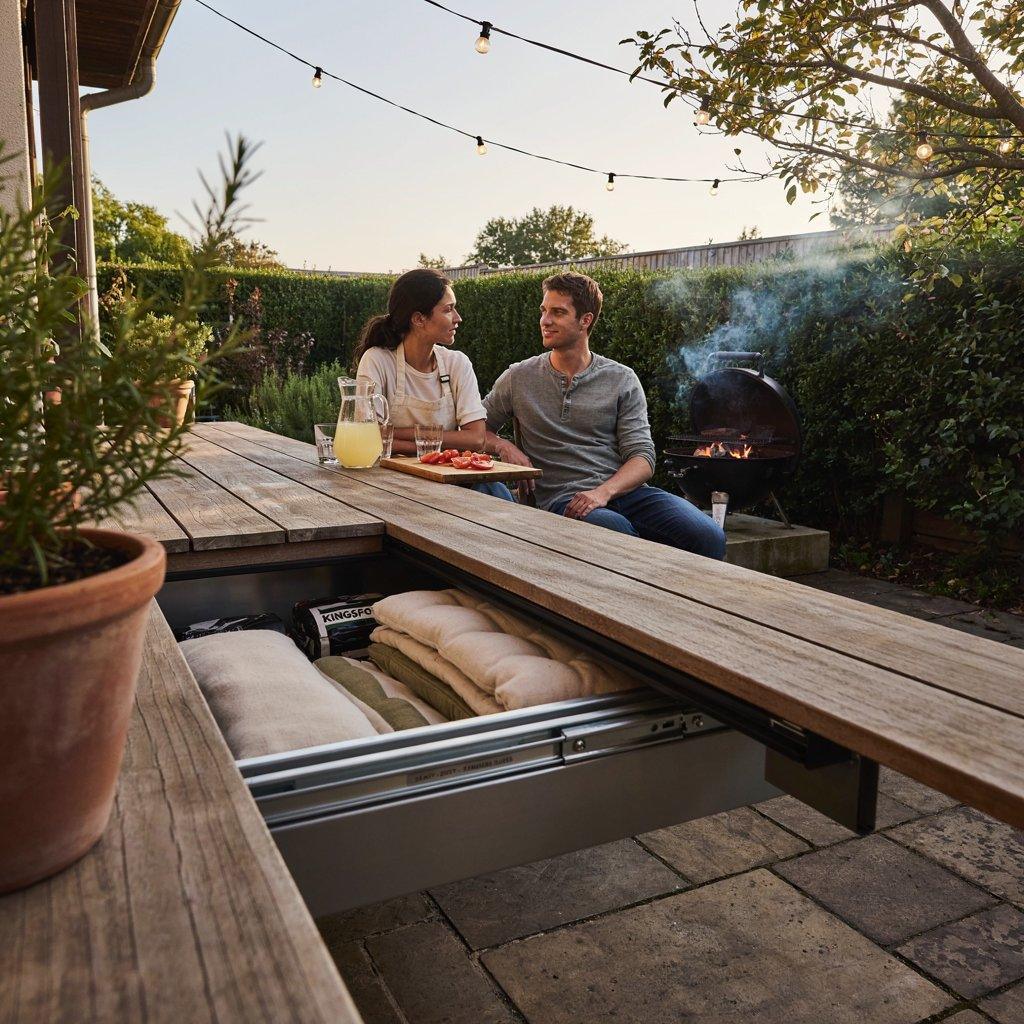
A bench beside your cooking area does double duty. Guests sit while you grill, and underneath, you stash charcoal, cushions, or a cooler. I’ve designed sliding-top benches that reveal storage compartments.
It looks clean and costs less than custom cabinets. The hardware matters. Cheap slides sag after a season or two. Use stainless or heavy-duty drawer slides rated for outdoor moisture.
The bench also defines the kitchen zone without building walls. It’s a soft boundary that says “this is where we cook and gather.”
9. The Dual Cooking Zone
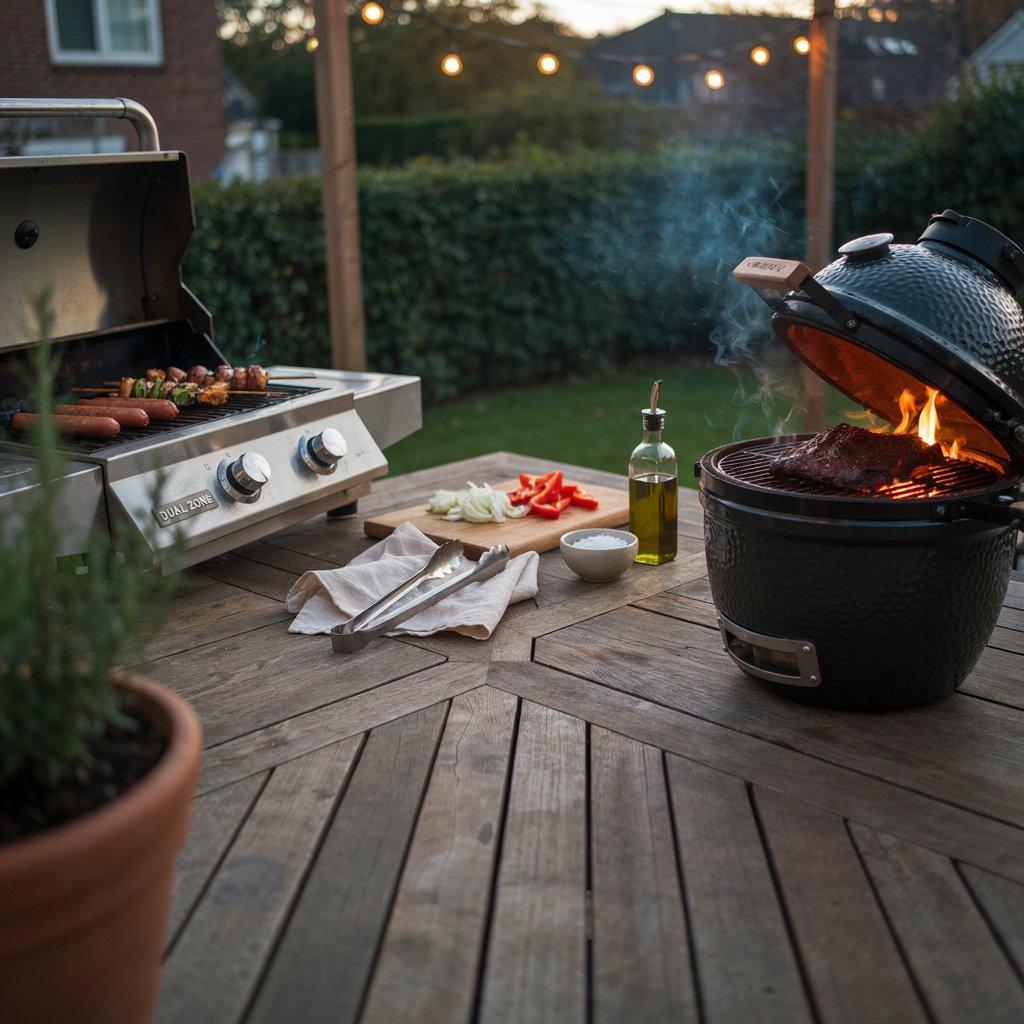
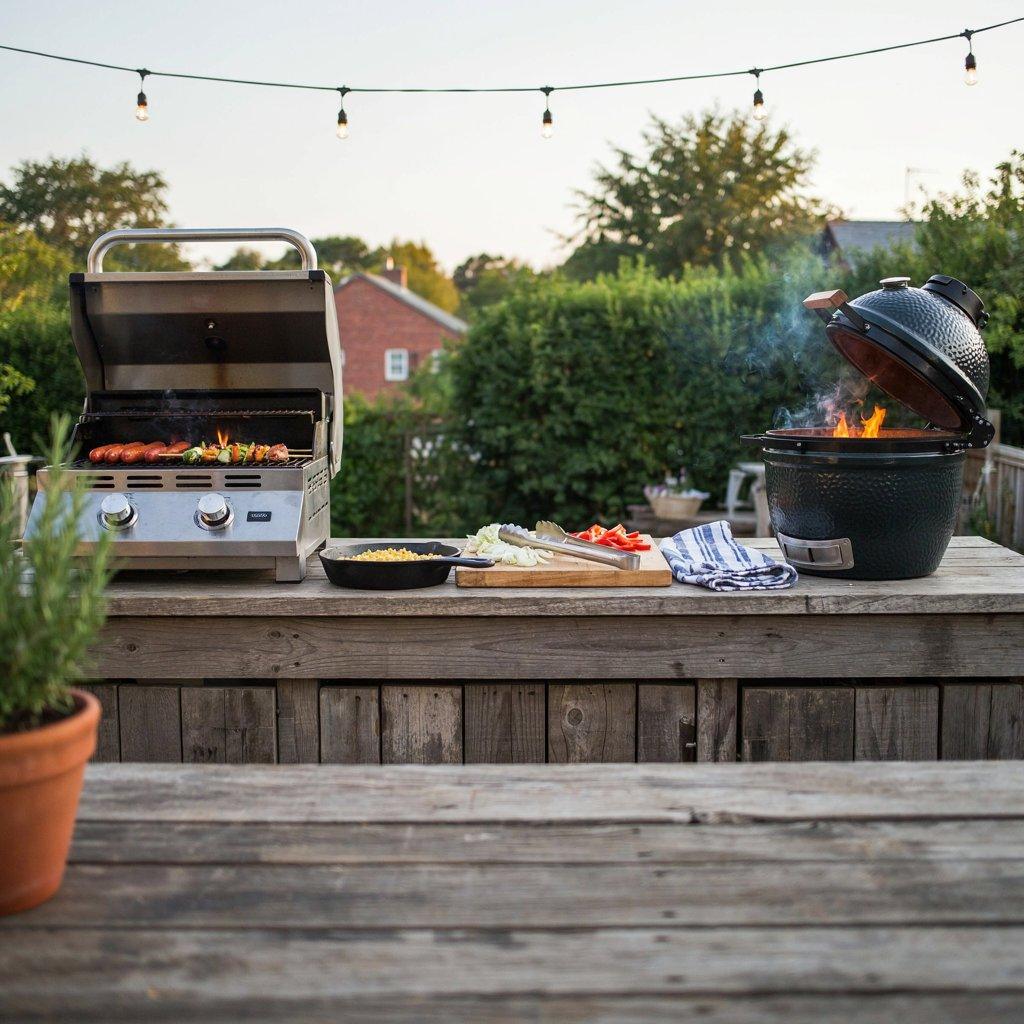
Gas for quick weeknight dinners, charcoal or wood for weekend projects. Having both options sounds like overkill until you actually cook this way.
A two-burner gas grill handles hot dogs and veggie skewers on a Tuesday. A kamado or kettle grill takes over when you want smoke and char. The upfront cost is higher, but you stop compromising.
I’ve set up dual zones on a single counter run with a gap between them for prep. It keeps the two heat sources separate and gives you a landing spot for tools and platters.
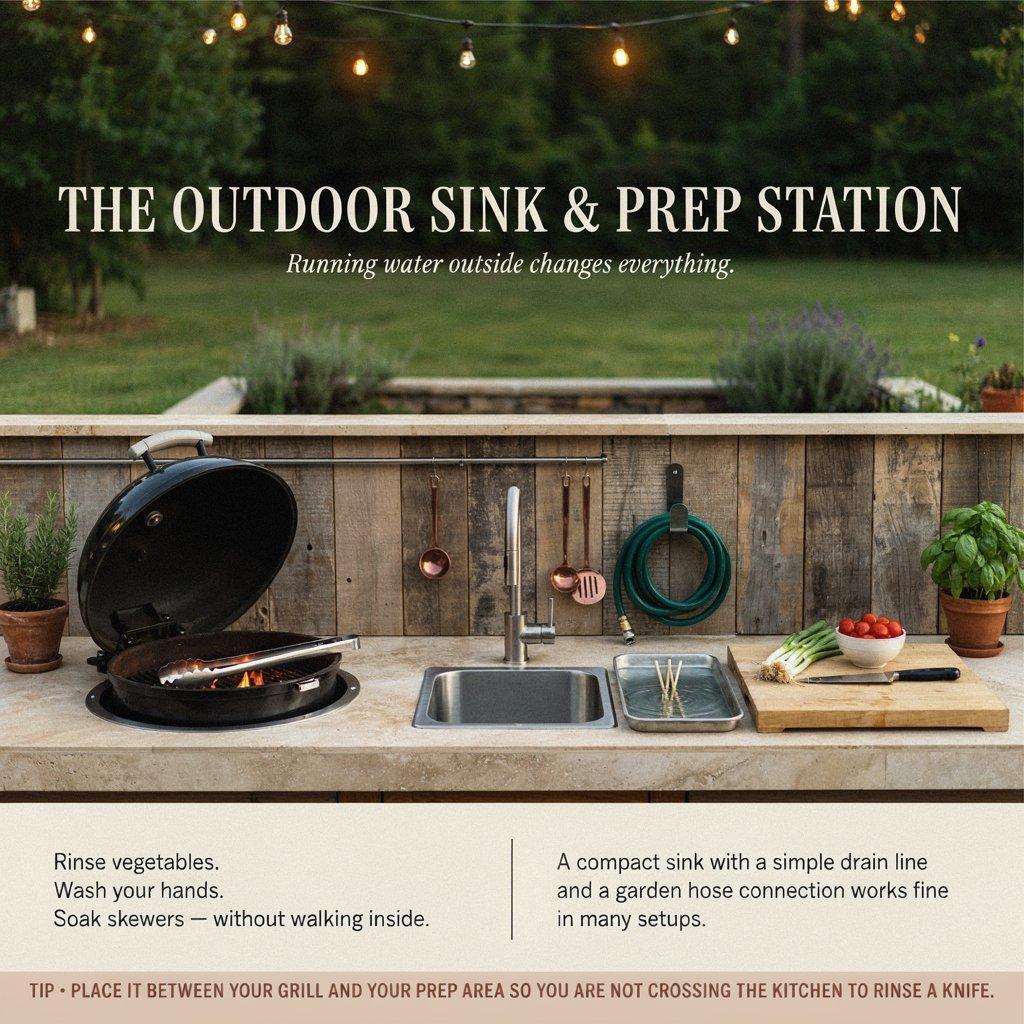
10. The Outdoor Sink and Prep Station
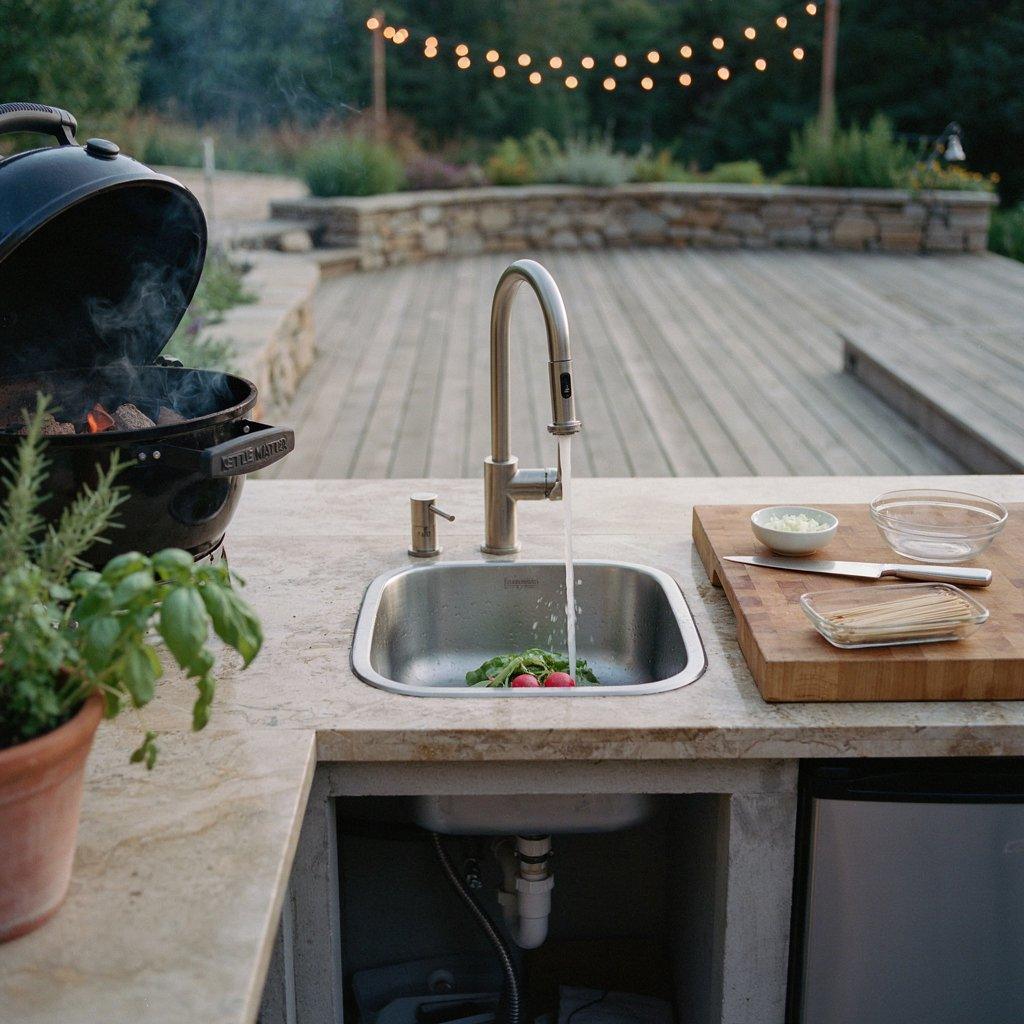
Running water outside changes everything. You rinse vegetables, wash your hands, and soak skewers without walking inside. You don’t need a full plumbing setup.
A compact sink with a simple drain line and a garden hose connection works fine in many setups. Just plan it before you pour concrete or lay stone. Retrofitting a sink into a finished counter is a headache.
Put it between your grill and your prep area so you’re not crossing the kitchen to rinse a knife. Small sinks save counter space and still do the job.
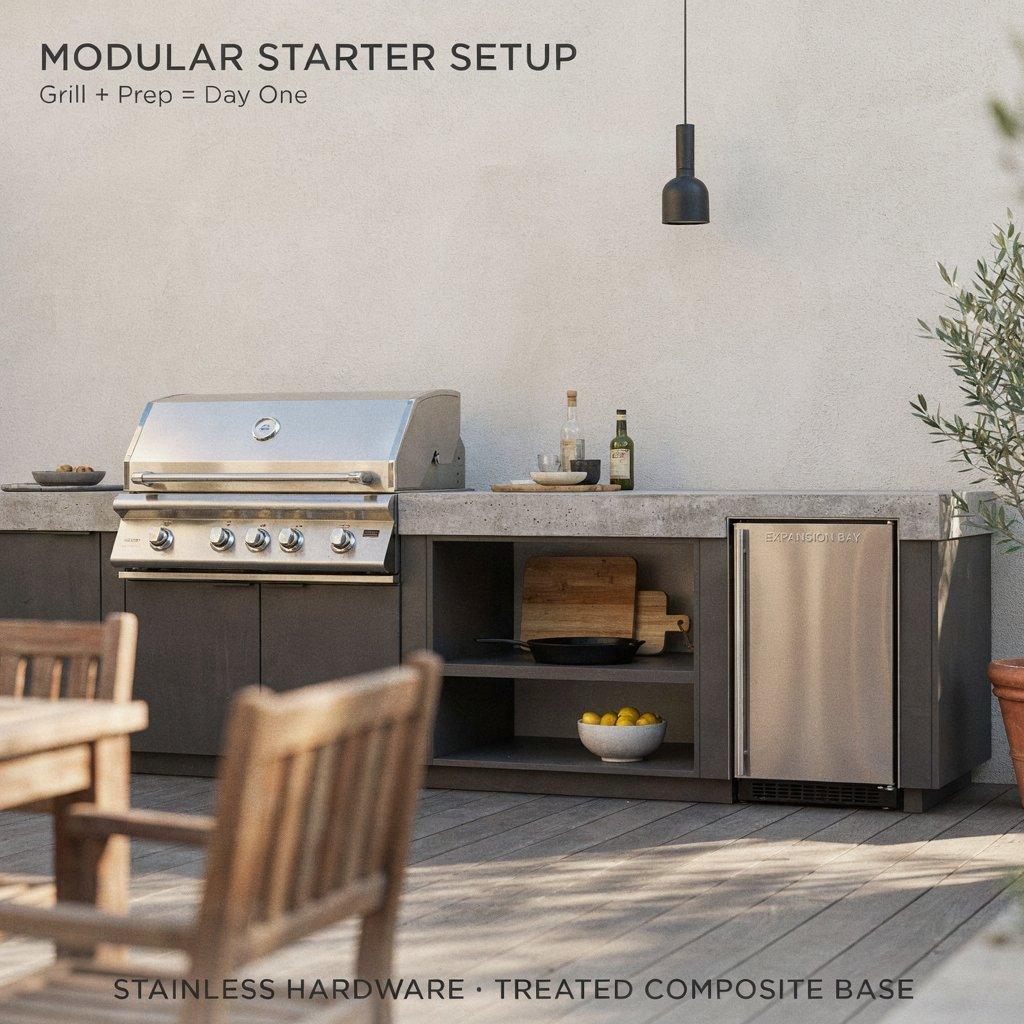
11. The Modular Starter Setup
Modular units let you start small and add on later. Begin with a grill station and a prep counter. Next year, add a fridge module or a bar section. The flexibility is real, but quality matters.
Cheaper modular kits can warp or loosen at the joints after a harsh winter. Look for units with stainless hardware and treated or composite bases.
The nice thing about modular is you’re never locked in. Your outdoor kitchen grows with your budget and your needs. It’s a smart way to avoid overbuilding on day one.
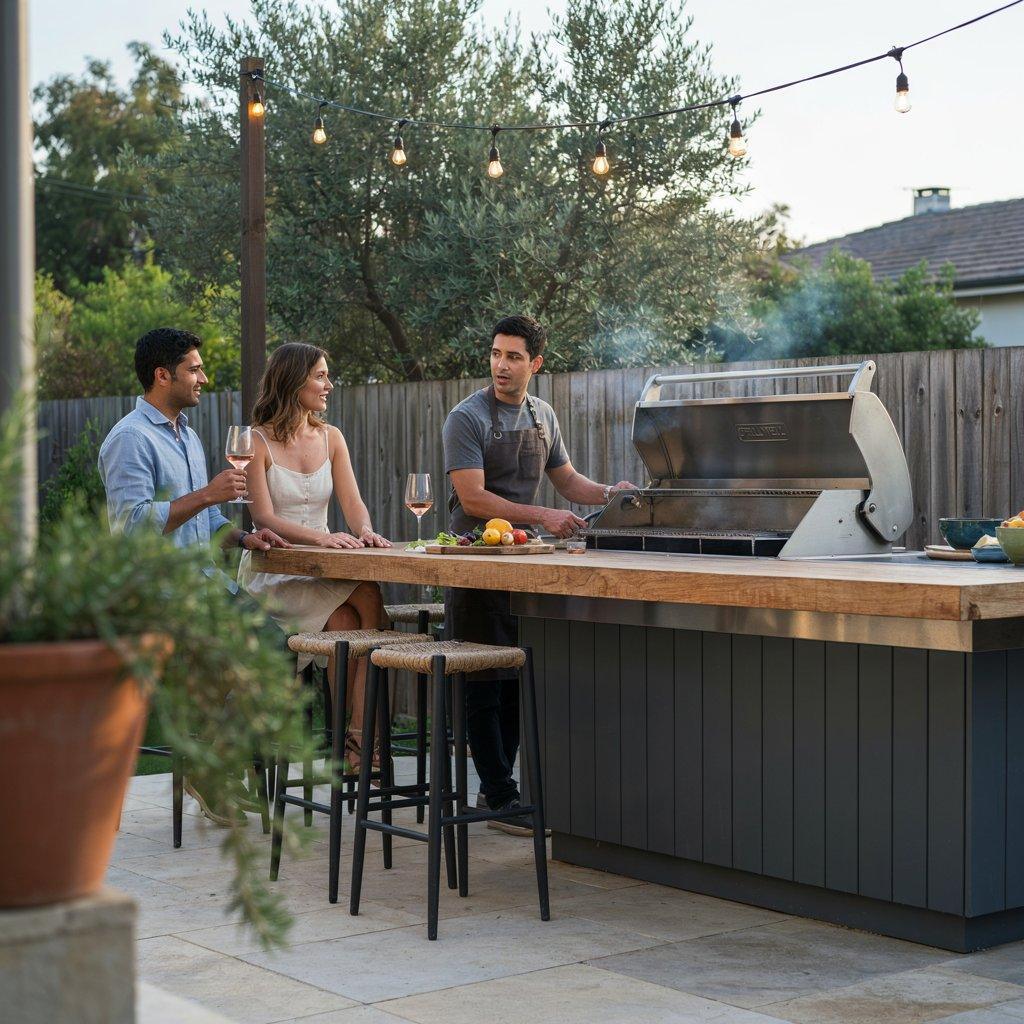
12. The Bar-Style Counter with Seating
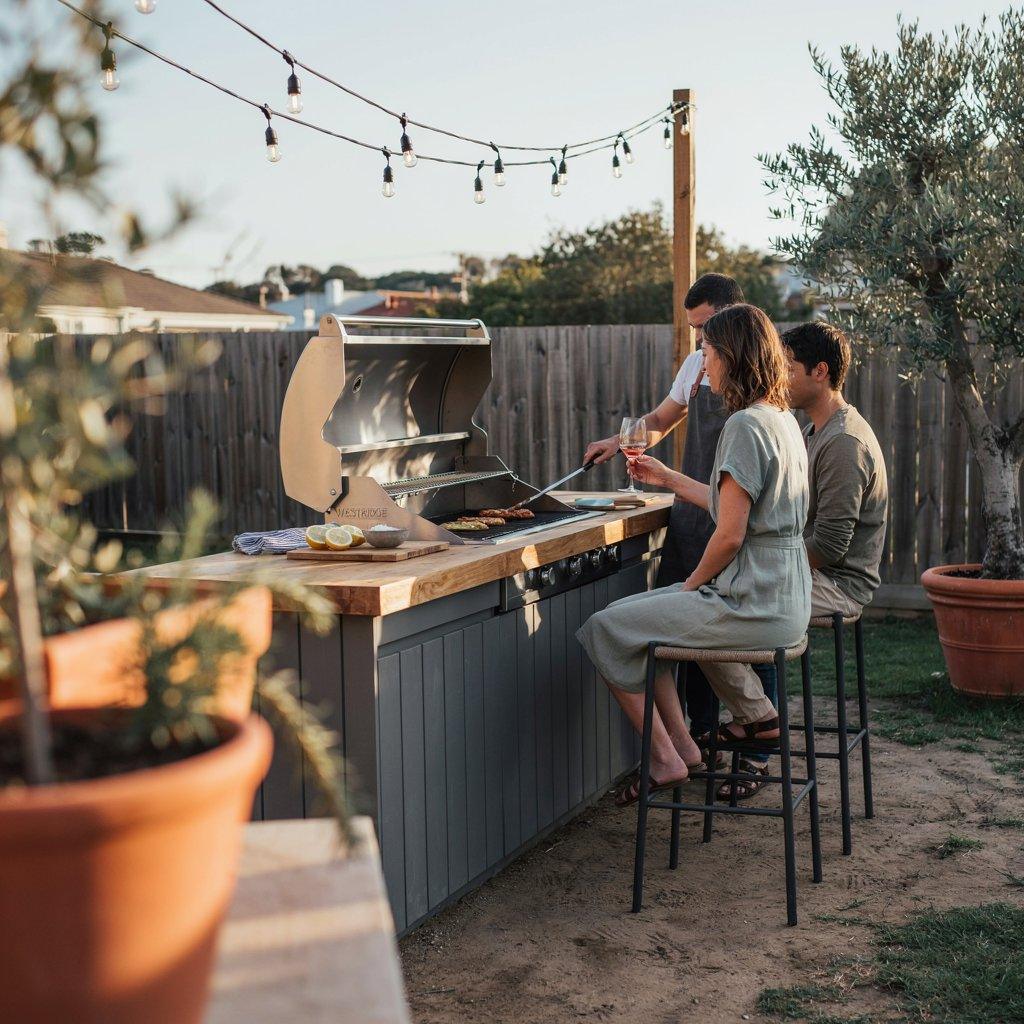
Flip the script on your outdoor kitchen by making it a bar. Guests sit on the outside, you cook on the inside. It’s social, space-efficient, and feels intentional.
A raised bar ledge hides the mess of prep on the cooking side. Bar stools tuck under when not in use. I’ve done this in medium yards where a full island felt too bulky.
The key is counter height. Standard bar height is 42 inches, which works for standing and tall stools. Make sure your grill lid opens fully without hitting the ledge.
Large Backyards (Over 300 sq ft)
13. The Full Outdoor Kitchen Island
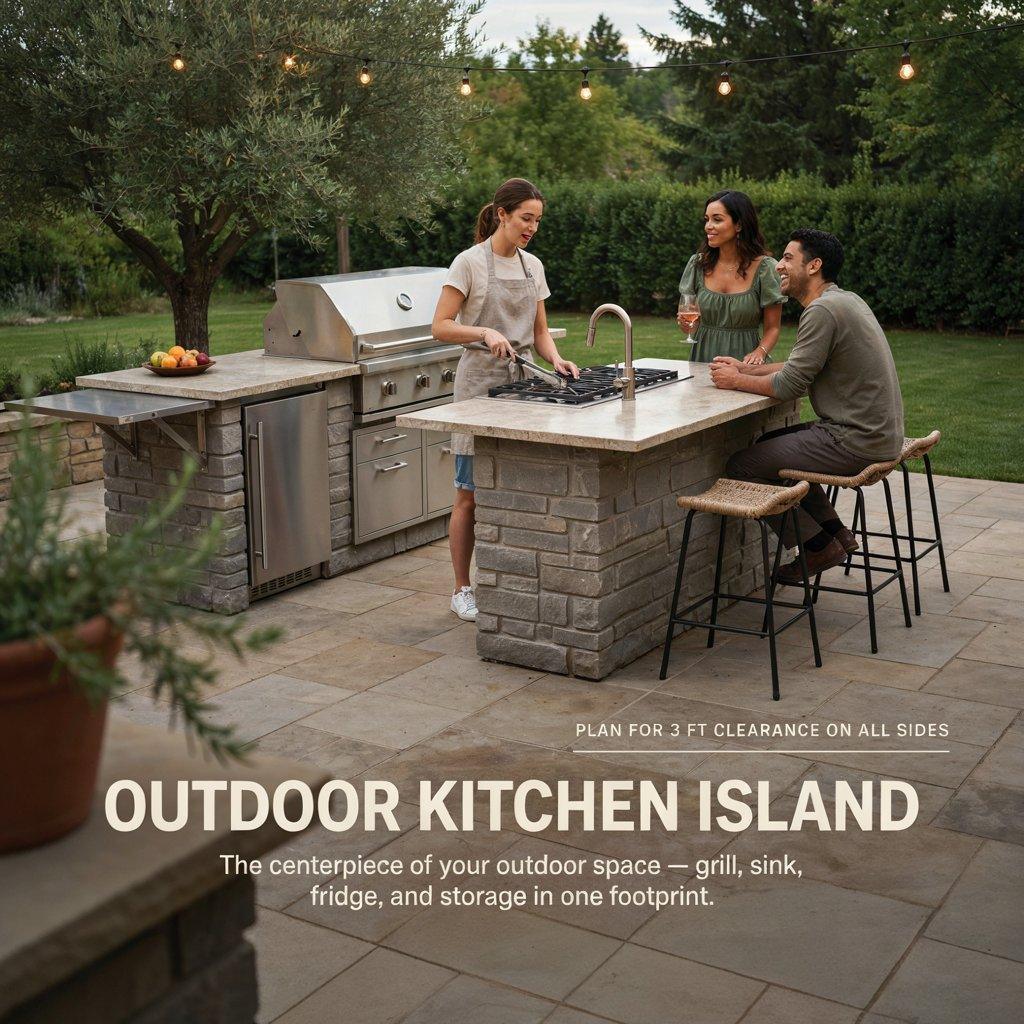
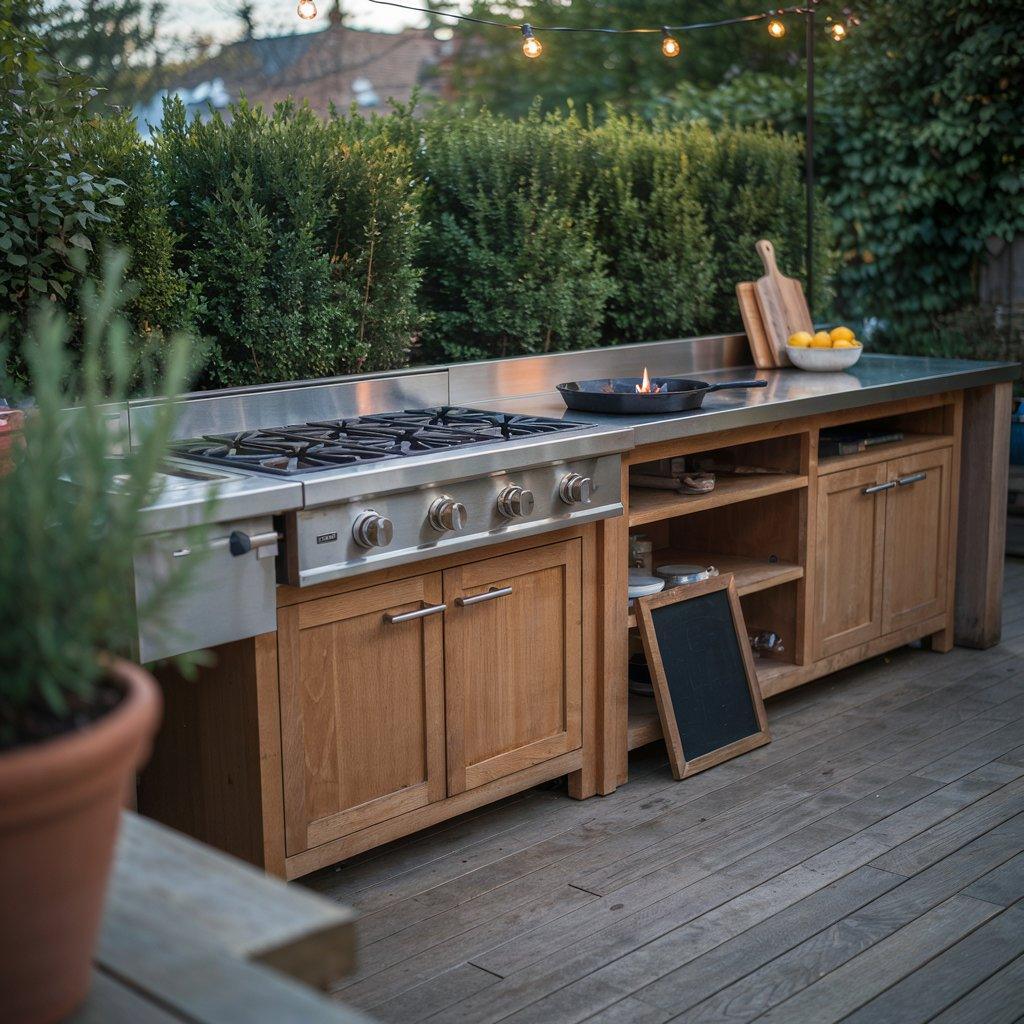
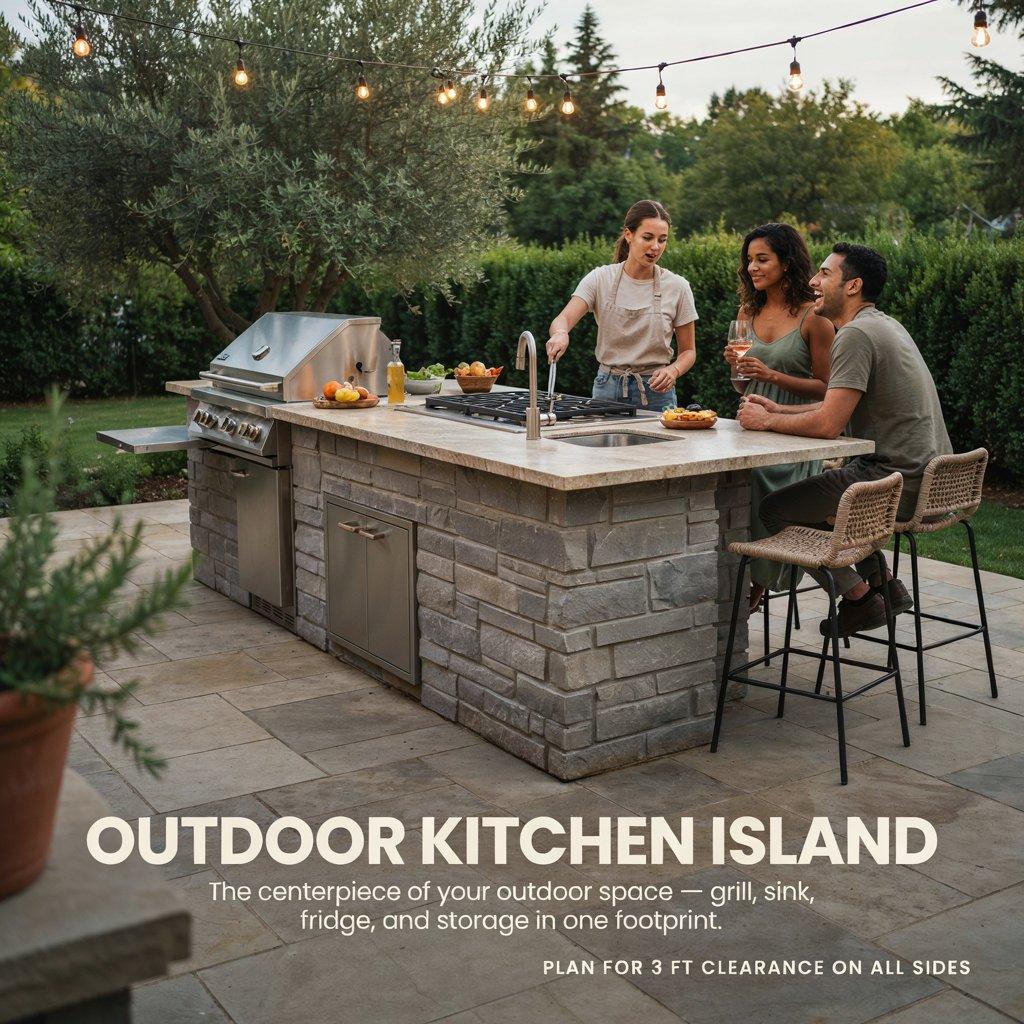
An island gives you 360-degree access and becomes the centerpiece of your outdoor space. You can integrate a grill, sink, fridge, and storage into one footprint.
Islands work best when you have room for people to walk all the way around. Plan for at least three feet of clearance on all sides. I’ve also added fold-down prep wings to islands in tighter yards.
They give you extra surface when you need it and disappear when you don’t. For a large yard, a full island with bar seating on one side turns the kitchen into the social hub.
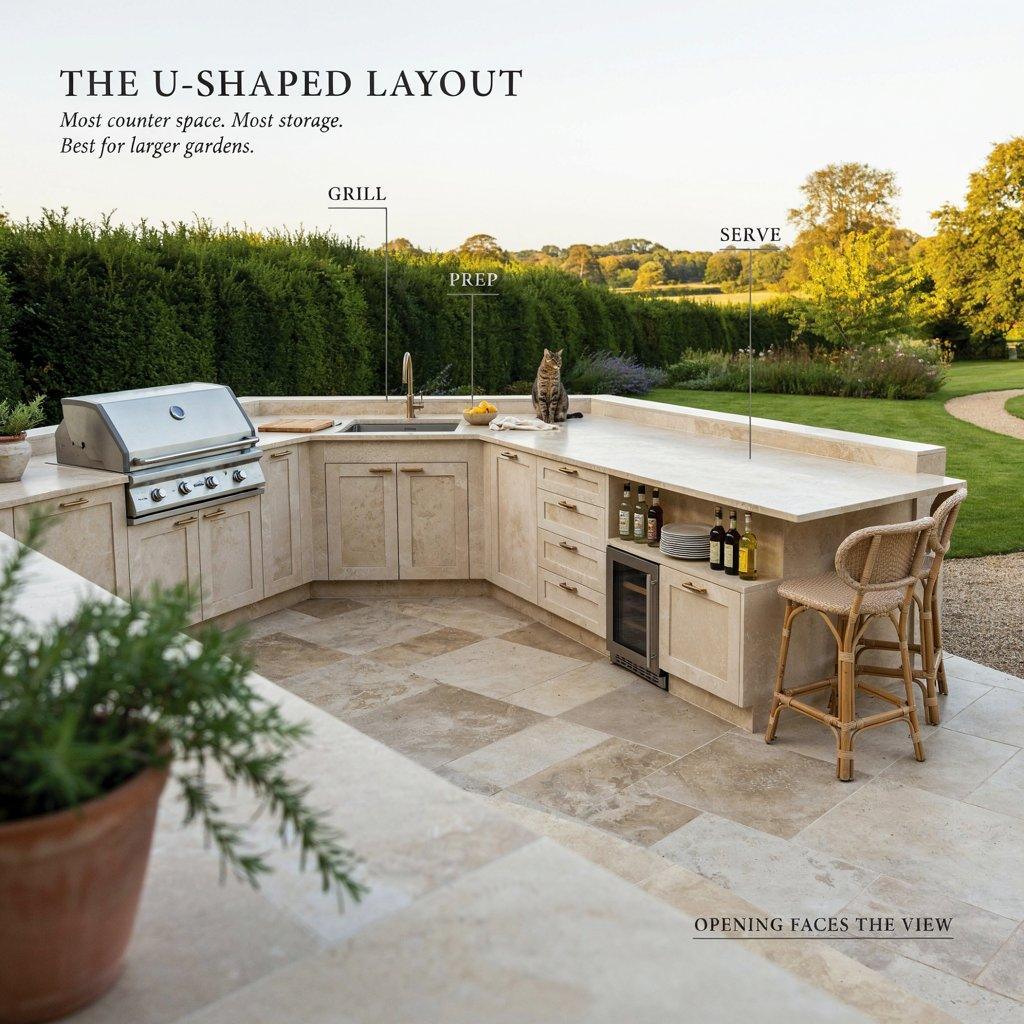
14. The U-Shaped Layout
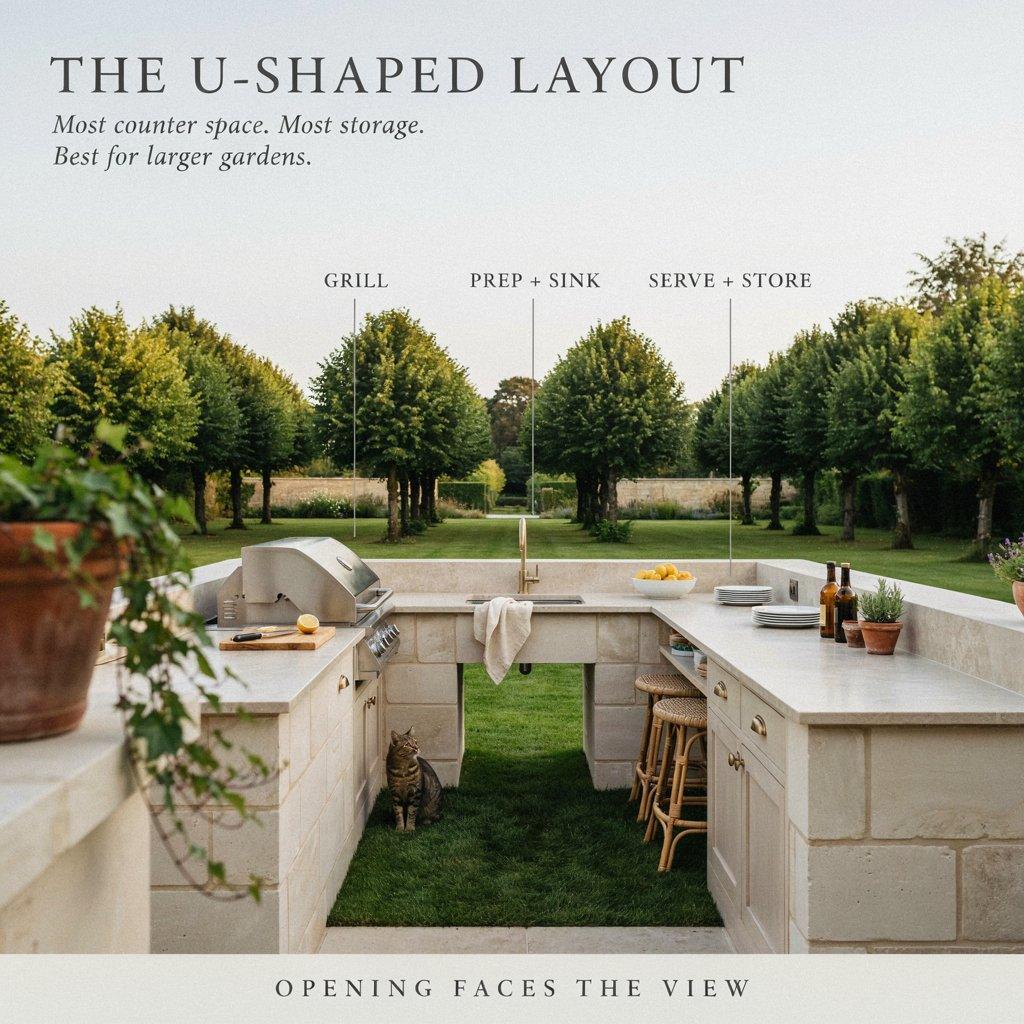
U-shaped outdoor kitchens give you the most counter space and storage of any layout. They work best in larger gardens with generous clearances.
The U-shape creates a natural cooking zone with everything within a few steps. One side for the grill, one for prep and sink, one for serving and storage. It can feel enclosed if the walls are too tall, so keep the outer sides open or use low walls.
I’ve designed U-shaped kitchens where the opening faces the view, so you’re cooking and looking at the garden at the same time.
15. The Pizza Oven Nook
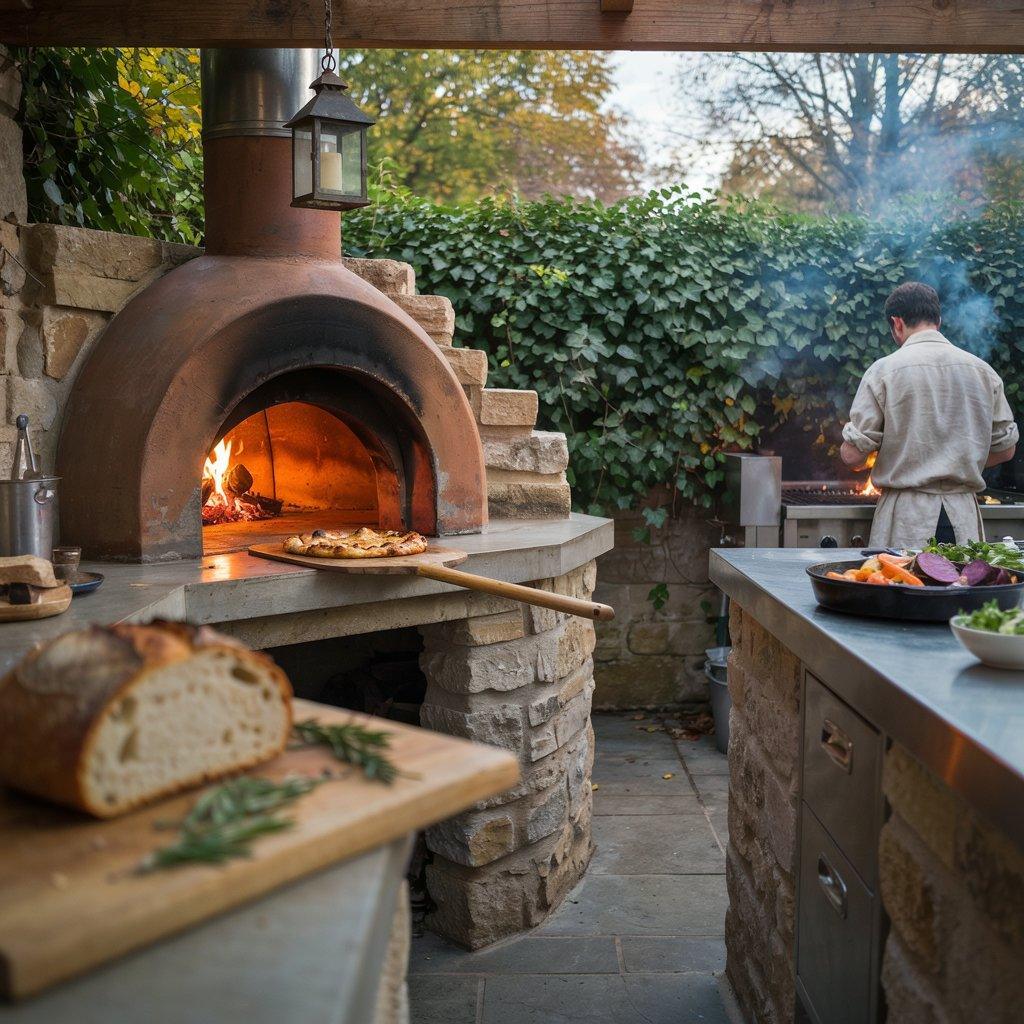
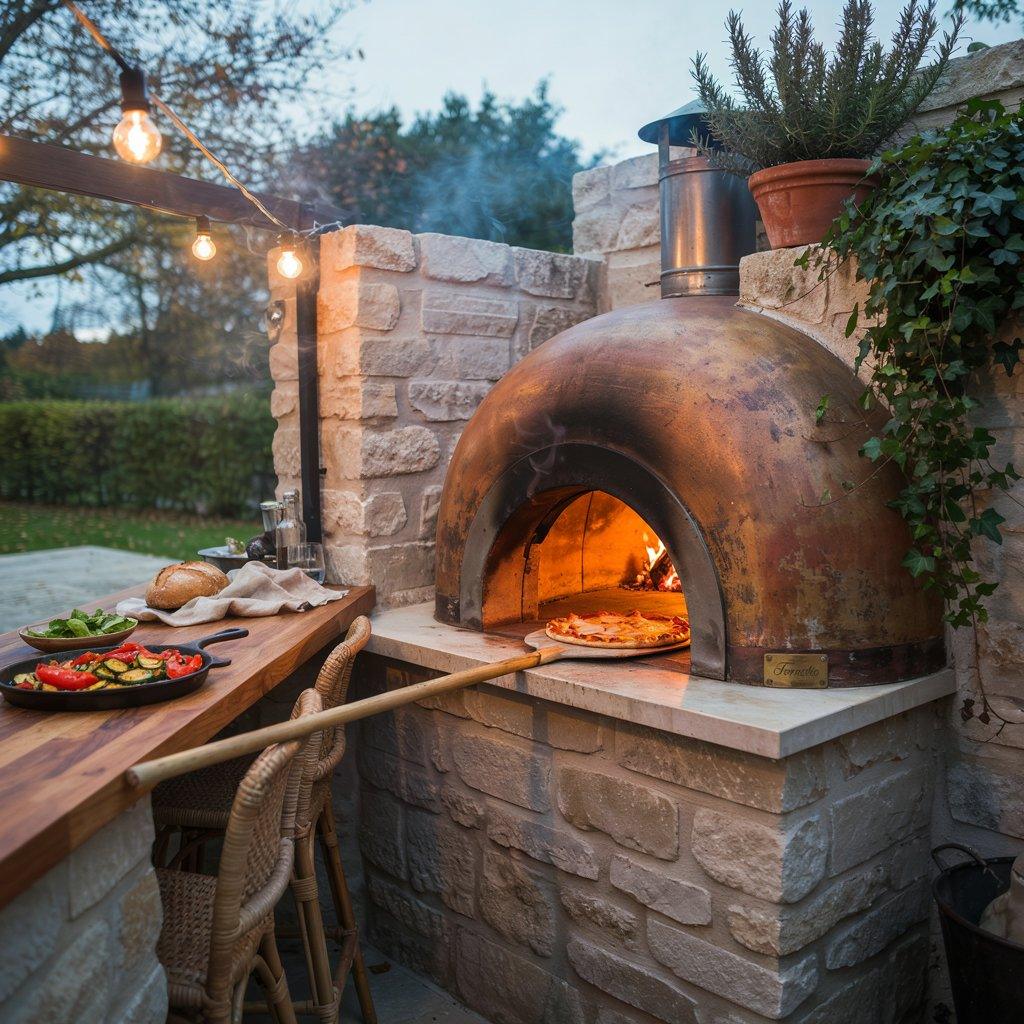
A built-in pizza oven isn’t just for pizza. It roasts vegetables, bakes bread, and becomes the warm heart of your outdoor kitchen on cool evenings.
Ovens need proper clearance and a non-combustible surround. Masonry or concrete works well. I’ve tucked pizza ovens into a corner of a larger kitchen run, with a small landing counter beside it for sliding pies in and out.
Wood-fired ovens add a learning curve, but the results are worth it. Gas-assisted models give you more control if you’re not ready for full wood management.
16. The Multi-Zone Entertaining Setup
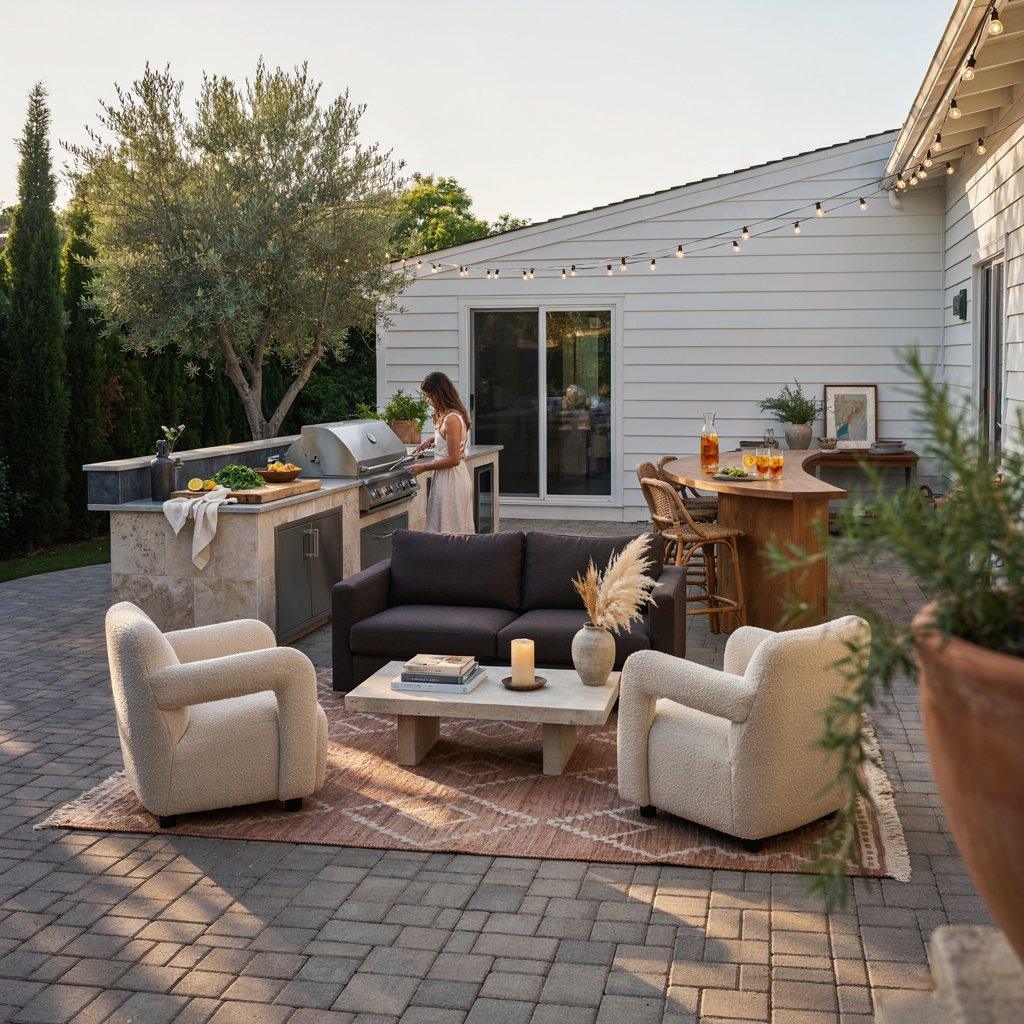
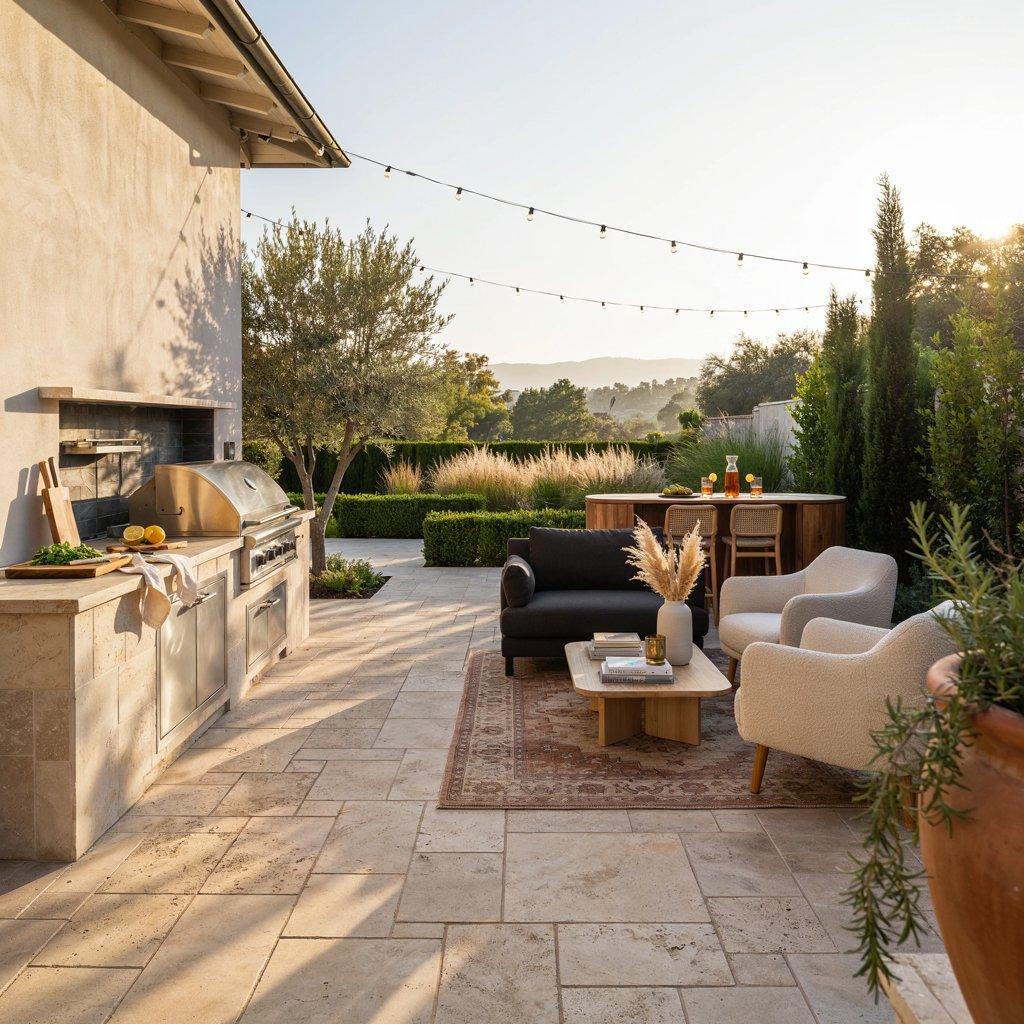
The best large outdoor kitchens aren’t just kitchens. They’re multiple zones: a cooking zone, a prep zone, a bar zone, and a lounge zone.
Designers are calling this the “three rooms” approach, where prep, cooking, and gathering each get their own space. A loveseat can act as a divider between the kitchen and lounge. An outdoor rug anchors the seating area.
This setup keeps the cook from feeling isolated and gives guests places to gather without crowding the grill. It’s how you make a big yard feel intentional instead of empty.
17. The Full Appliance Suite
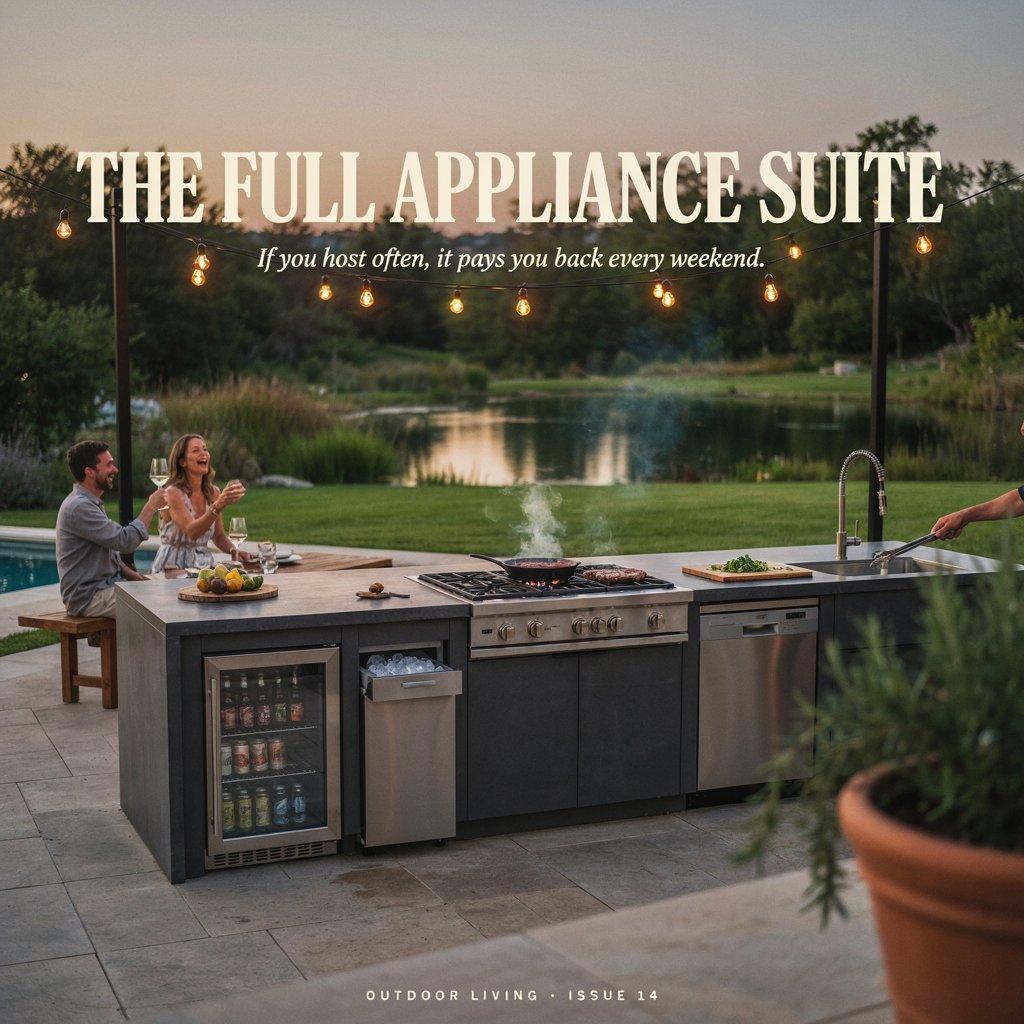
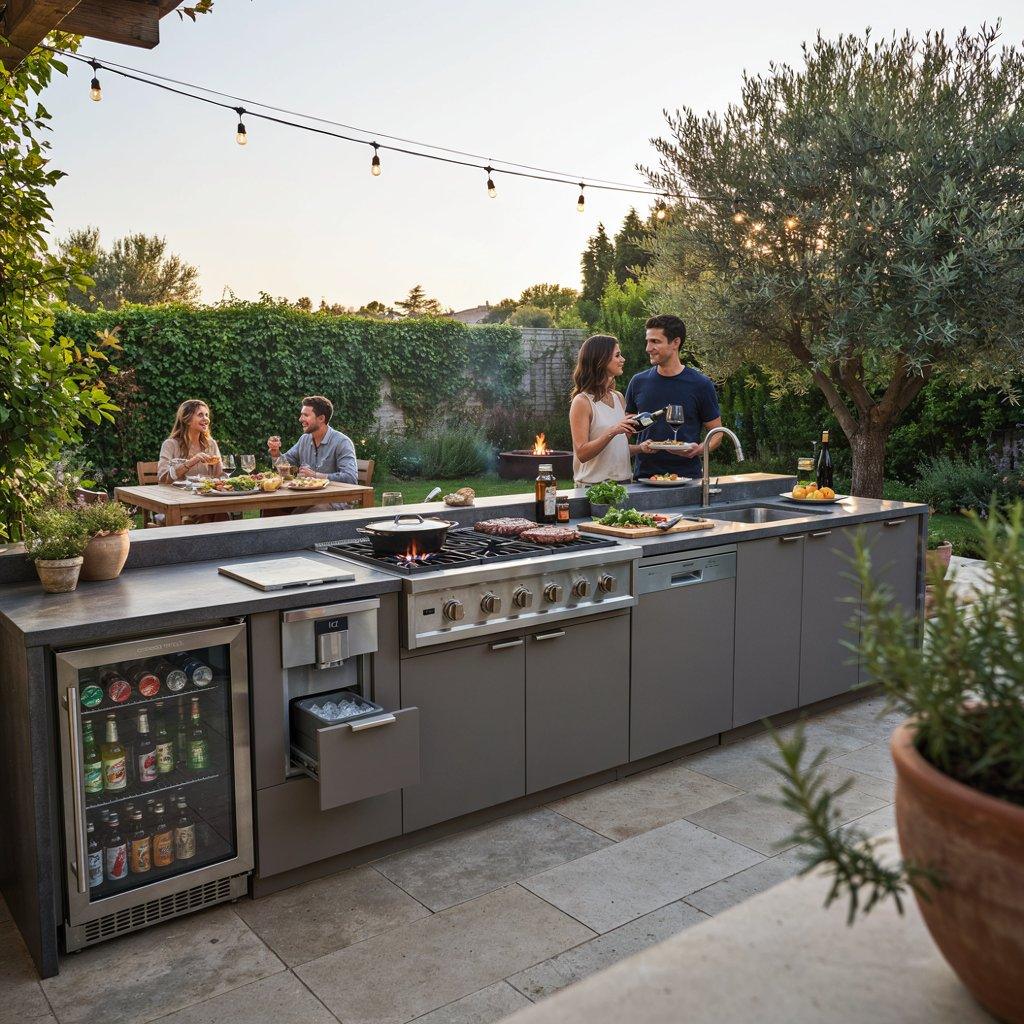
If you’re going big, go all in. Beverage fridges, ice makers, burners, dishwashers, and dedicated prep sinks are showing up in more outdoor kitchens than ever.
People want to entertain outside without constantly running back inside. A full appliance suite means you can cook, serve, and clean up without missing the party. The trade-off is cost and complexity. You’ll need proper electrical circuits, plumbing, and ventilation.
But if you host often, it’s a setup that pays you back in convenience every single weekend. Just make sure the appliances are rated for outdoor use.
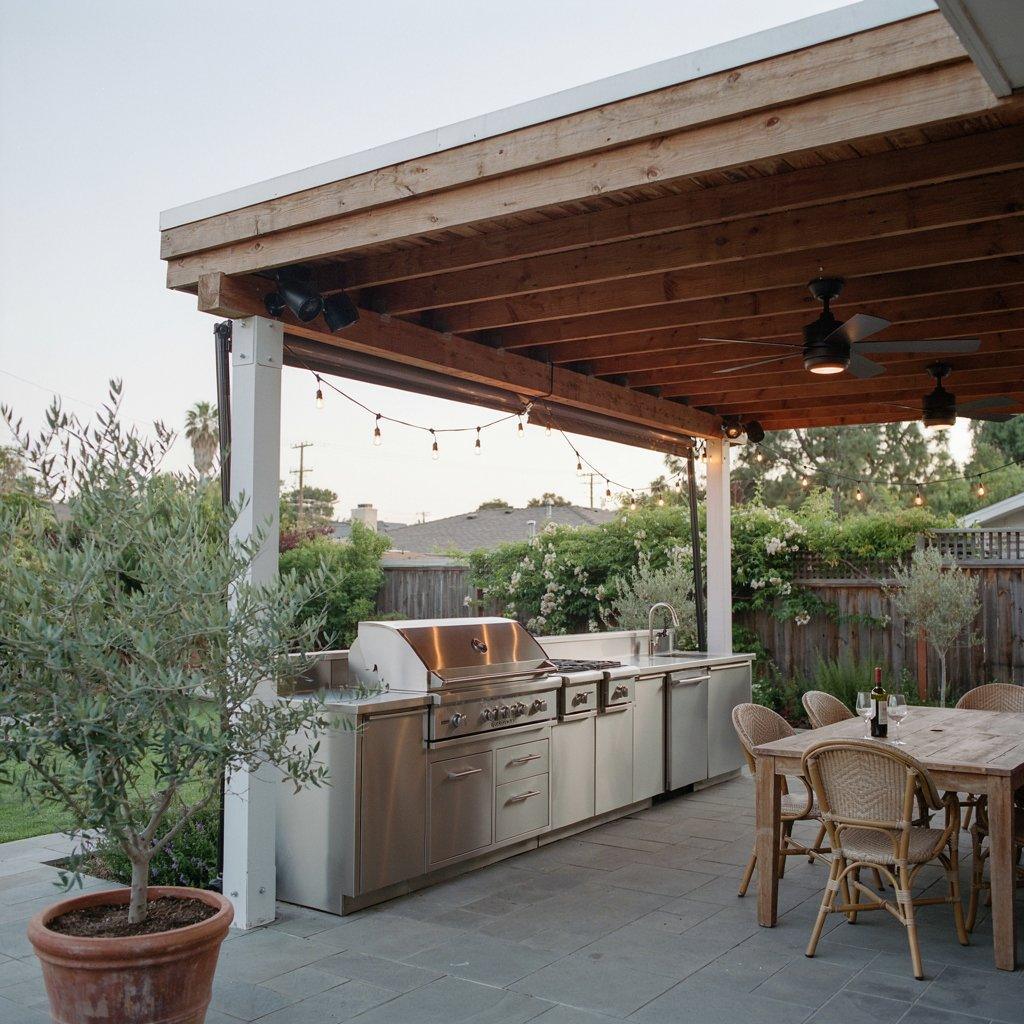
18. The Covered Pavilion Kitchen
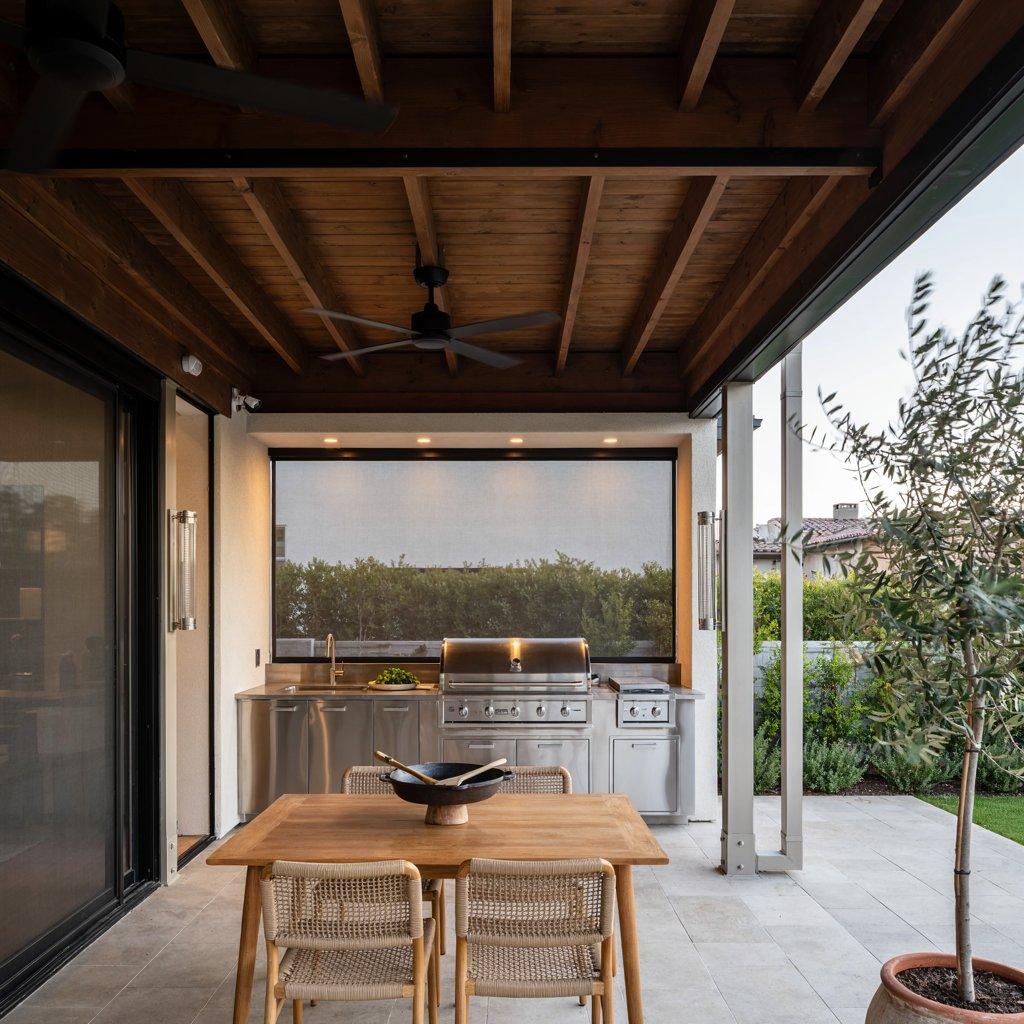
A pavilion or covered structure takes an outdoor kitchen to the next level. It’s not just shade. It’s a full outdoor room with integrated lighting, ceiling fans, heaters, and even retractable screens.
You can cook in light rain, stay cool in the heat, and extend your outdoor season well into the shoulder months. The structure needs to be designed around your appliances.
Some grills aren’t compatible with overhead structures, so check the manufacturer’s requirements first. A well-built pavilion becomes the best room in the house, even though it’s technically outside.
FAQs
What’s the best layout for a small outdoor kitchen?
Linear or L-shaped layouts work best for small spaces. They keep everything within reach and don’t require you to walk around an island. A single run along a wall or fence line is the most space-efficient option.
Add a fold-down counter or a rolling cart if you need extra prep space without a permanent footprint.
How do I weatherproof an outdoor kitchen?
Use stainless steel, stone, concrete, or treated wood for surfaces and structure. Marine-grade hardware and sealants make a real difference in humid or coastal areas. Cover your grill when not in use.
If you live somewhere with harsh winters, consider removable or covered modules so you can store sensitive parts. Quality materials upfront save you from rust and warping later.
Do I need a permit for an outdoor kitchen?
It depends on your local building codes. If you’re running electrical, gas, or plumbing lines, you almost certainly need a permit and a licensed contractor.
Even simple structures like pergolas sometimes require approval. Check with your local building department and homeowners association before you start. It’s a boring step that saves you from expensive problems later.
Can I build an outdoor kitchen on a budget?
Absolutely. Start with a freestanding grill and a portable prep table. Add a rolling cart with storage. Skip built-in appliances for now.
Use reclaimed or budget-friendly materials for counters, like concrete or treated wood. The key is to start small and add on as your budget allows. Modular setups are built for this approach. You don’t need a full island on day one.
What’s the most important thing to get right in an outdoor kitchen?
The layout. A beautiful kitchen with a bad layout is frustrating to use. Think about how you cook. Where do you prep? Where do you set down hot trays? Where do guests gather? Put your grill and prep surface close together. Keep the path from the house clear. Get the layout right, and everything else is easier to fix later.
Wrapping It Up
An outdoor kitchen doesn’t have to be big, expensive, or complicated. It has to work for you. A rolling cart on a tiny patio can be just as useful as a full pavilion kitchen in a big backyard. The point is to make cooking outside feel less like a chore and more like the reason you wanted a backyard in the first place.
Start with one idea from this list that fits your space. Maybe it’s a fold-down counter. Maybe it’s a simple sink station. Maybe it’s just a better cart with locking wheels. Build from there. Add as you go. The best outdoor kitchens aren’t designed all at once. They grow with the people who use them.
So pick your idea. Measure your space. And get cooking. Your tongs are waiting.
Related Post: