
A custom outdoor kitchen island can cost thousands. But here’s the truth: with the right materials and a free weekend, you can build one yourself that looks like you hired a pro.
I’ve spent years digging through DIY forums, builder blogs, and real backyard projects to find the ideas that actually work.
These 18 backyard budget kitchen island ideas use cinder blocks, pallets, stock tanks, old furniture, and more. Each one is buildable, durable, and genuinely impressive. Let’s get into it.
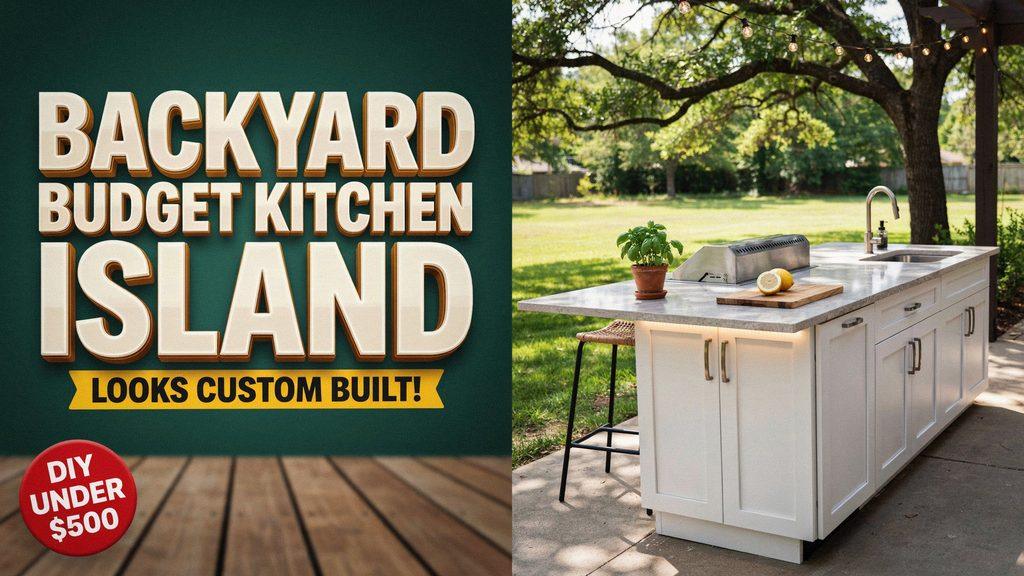
1. Cinder Block and Paver Grill Station
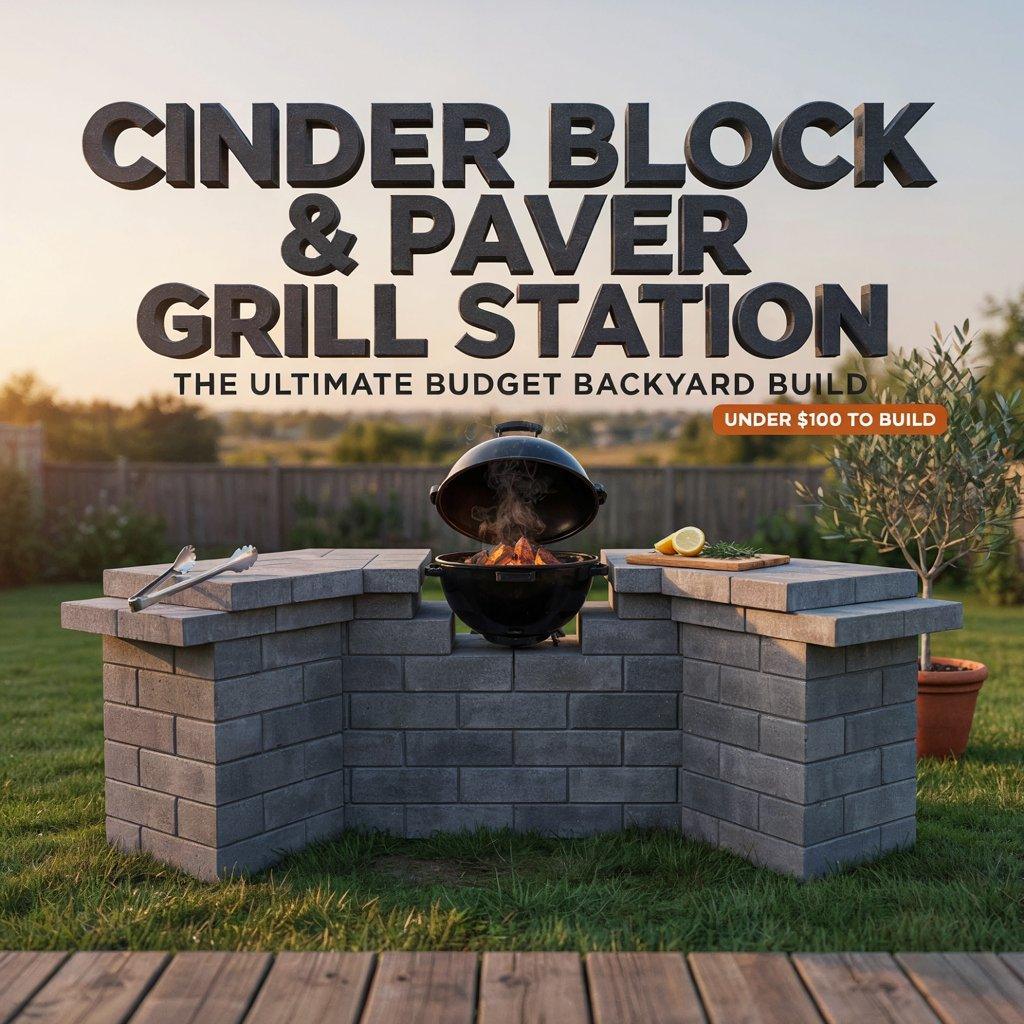
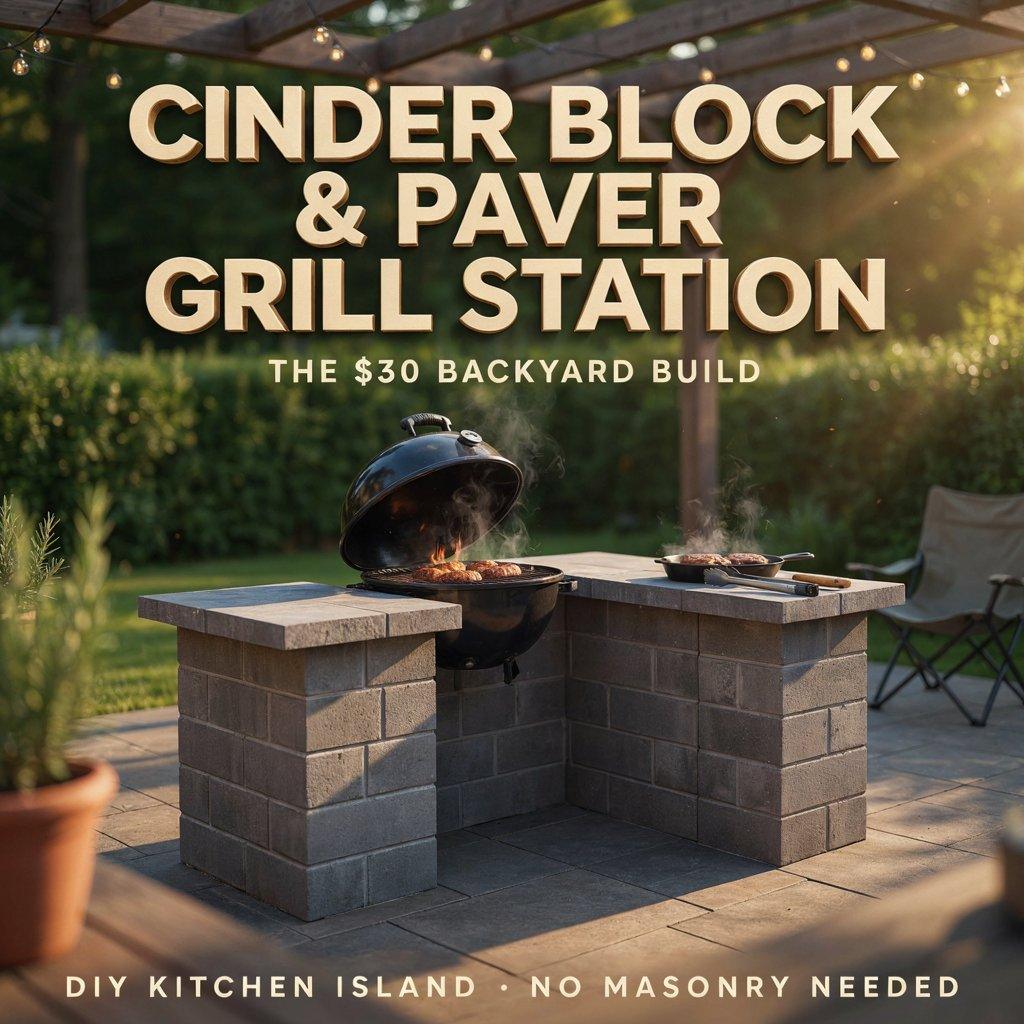
Stack cinder blocks in a U-shape and top them with large concrete pavers. That’s the whole build. Concrete blocks cost less than $3 each at most hardware stores, and 24×24 pavers give you a heat-resistant, easy-to-clean surface.
Lay the blocks in a running bond pattern for stability, and use construction adhesive between layers so nothing shifts. You can leave the blocks raw for an industrial look or cover them with stucco or faux stone veneer later.
This is one of the most affordable and durable budget kitchen island ideas for anyone who wants a permanent structure without the masonry price.
2. Pallet Wood Island with Butcher Block Top
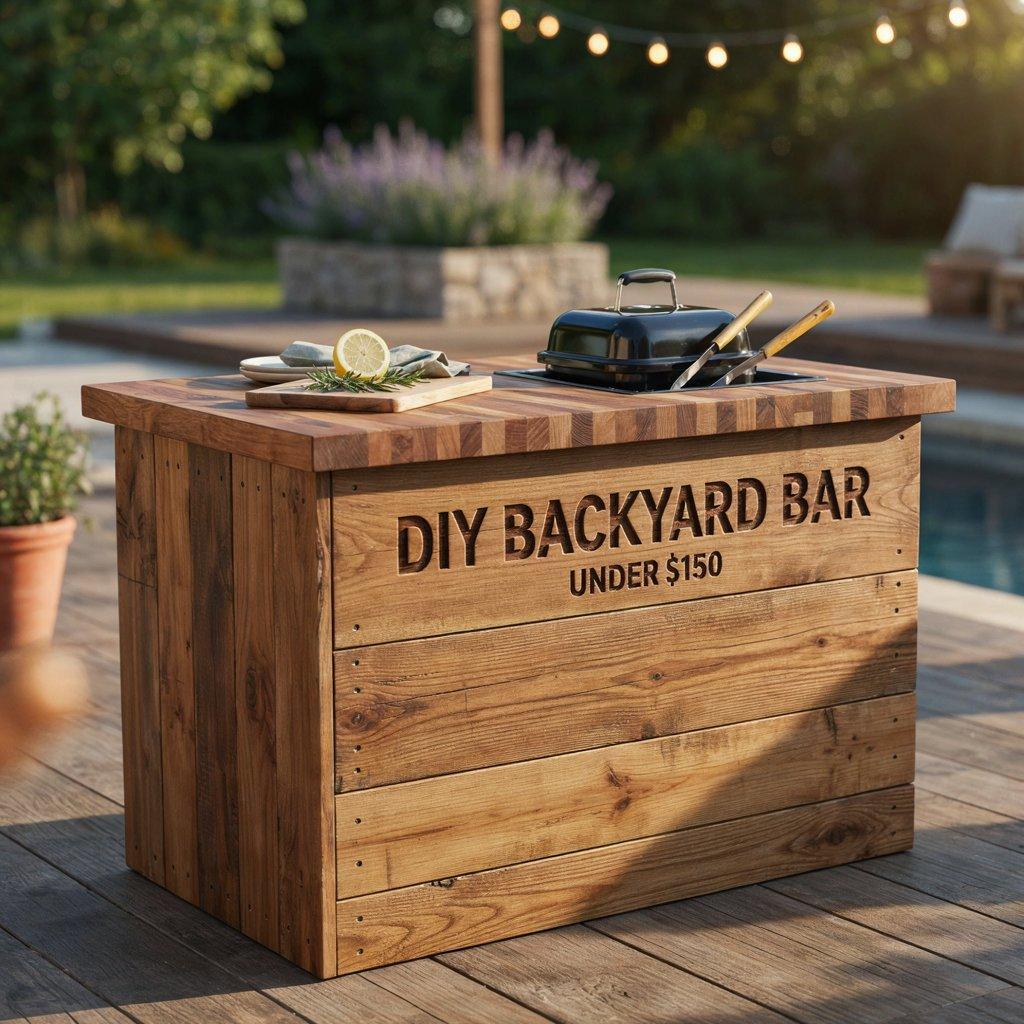
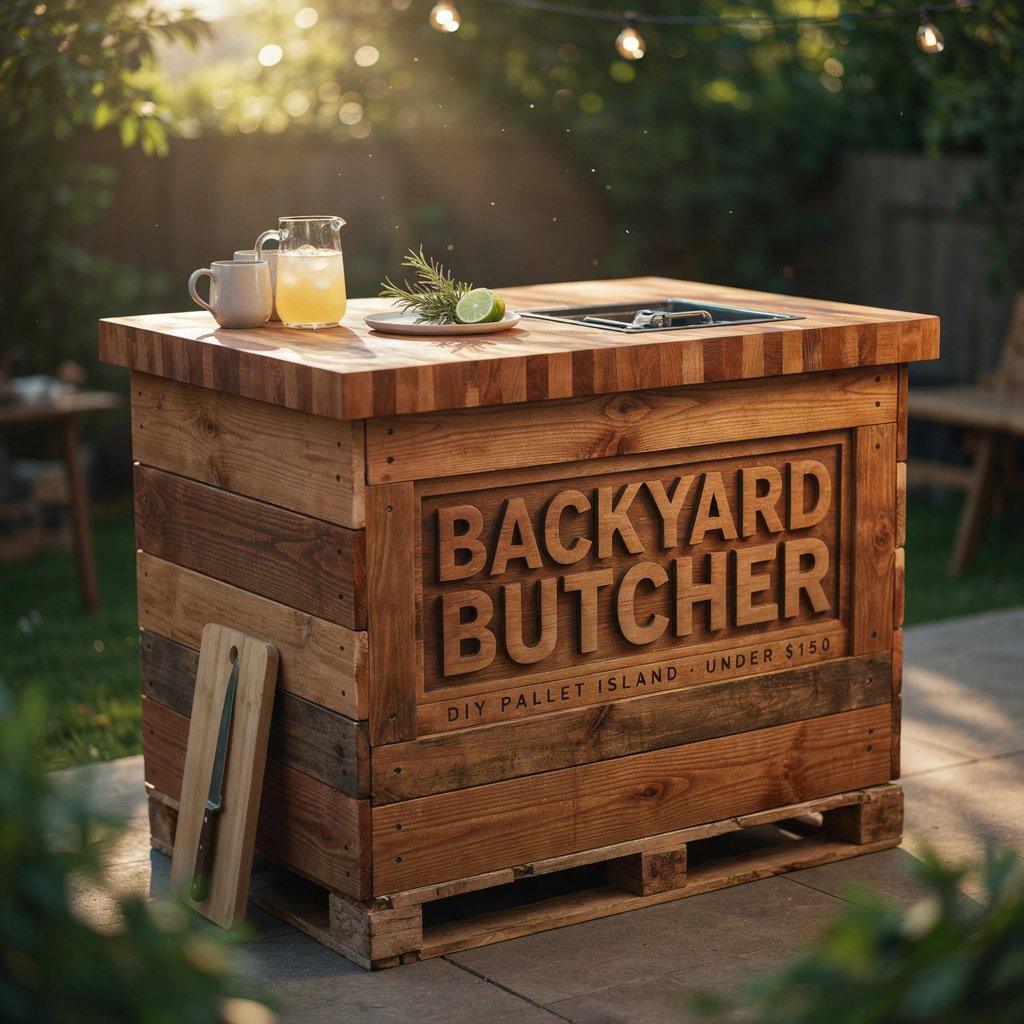
Pallets are free at most warehouses, grocery stores, and equipment rental shops. Stack three pallets together to form a counter-height base, then close off the sides with boards from a fourth pallet. Top it with a thick butcher block counter and cut a recessed bay for a portable grill.
Seal everything with exterior wood oil in a warm walnut or teak tone. A well-built pallet island can look like it belongs in a boutique backyard bar not like something assembled from shipping surplus. Expect to spend under $150 total.
3. IKEA GRILLSKÄR Rolling Island
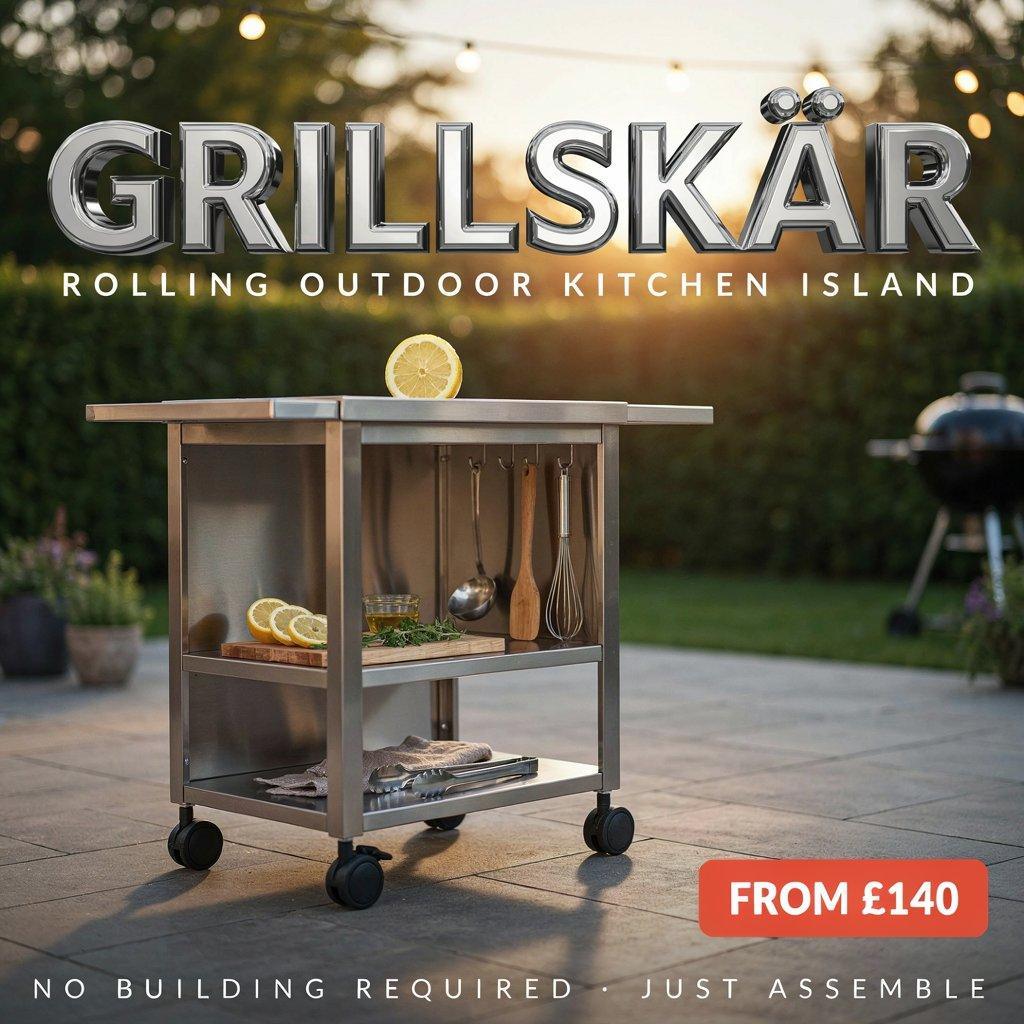
IKEA’s GRILLSKÄR outdoor kitchen island is a modular stainless-steel unit that works as a standalone prep station or as part of a larger setup. It has a stainless steel work surface, two shelves, and a back panel for hanging tools.
At around £140, it’s one of the cheapest ready-made options that still looks sharp. You can roll it next to your grill for extra prep space or use it as a bar cart when you’re hosting. No building required just assembly.
4. Repurposed Stainless Steel Utility Cart
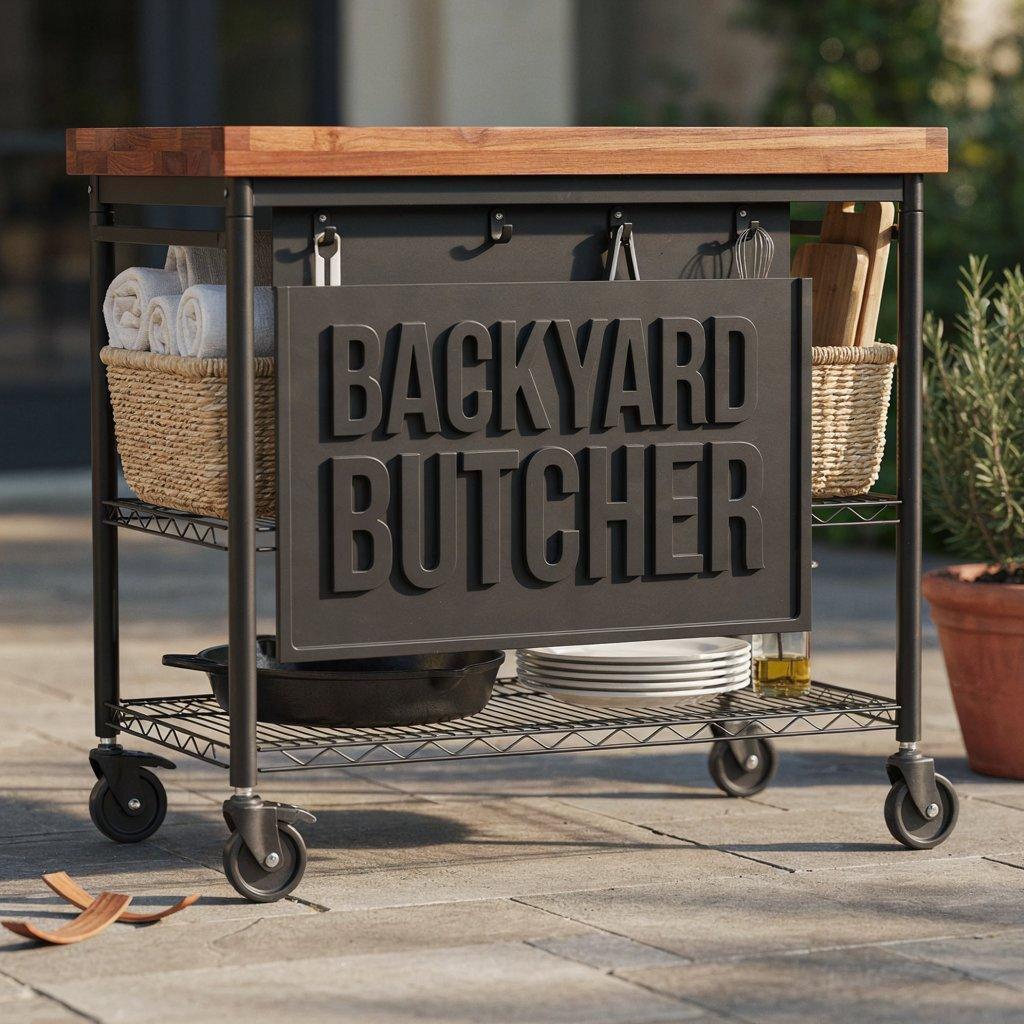
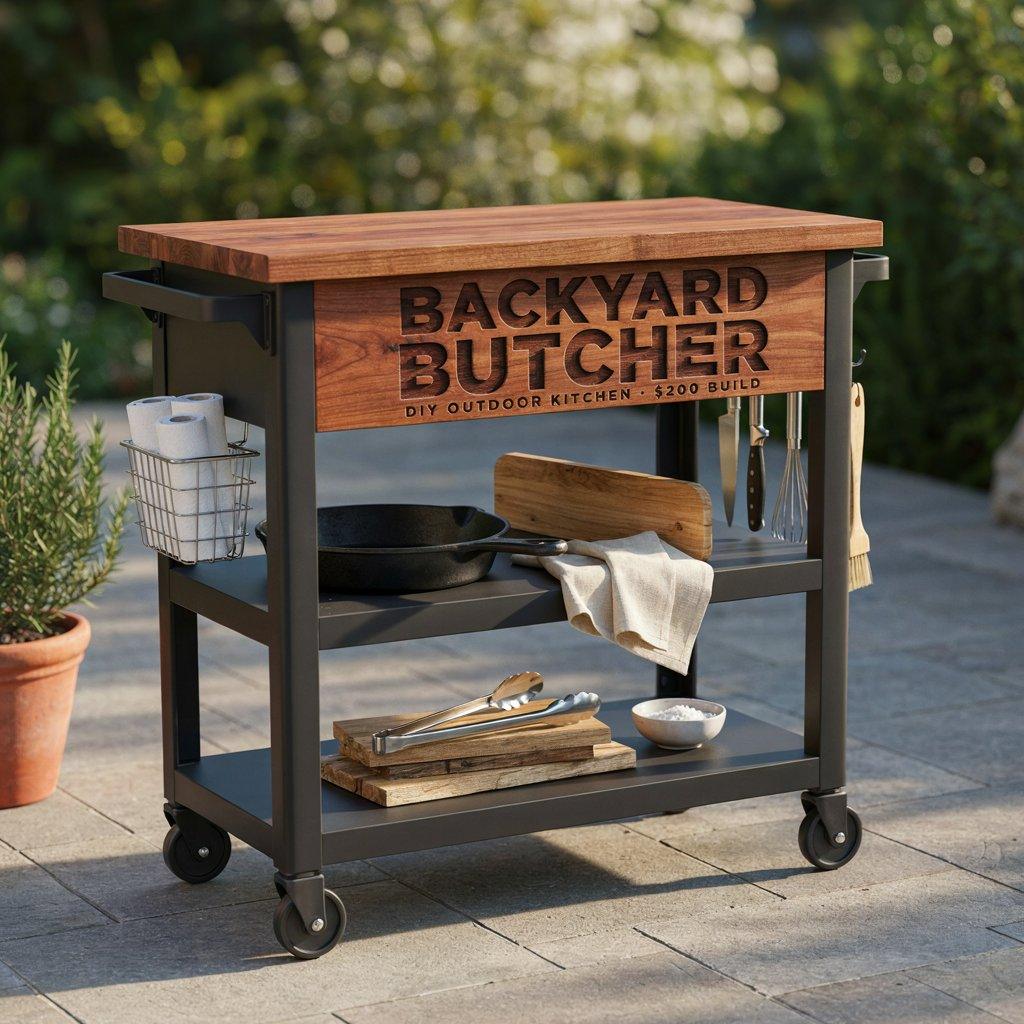
A plain stainless-steel utility cart from Uline or Metro becomes the backbone of your outdoor kitchen when you treat it as raw material rather than a finished product.
Paint it matte black with Rust-Oleum, add a wood top made from 1×6 redwood or cedar, and attach magnetic hooks and baskets for tools and towels.
The whole project takes about half a day and costs around $200. Casters make it portable, so you can roll it out of the rain when you’re done.
5. Stock Tank Island
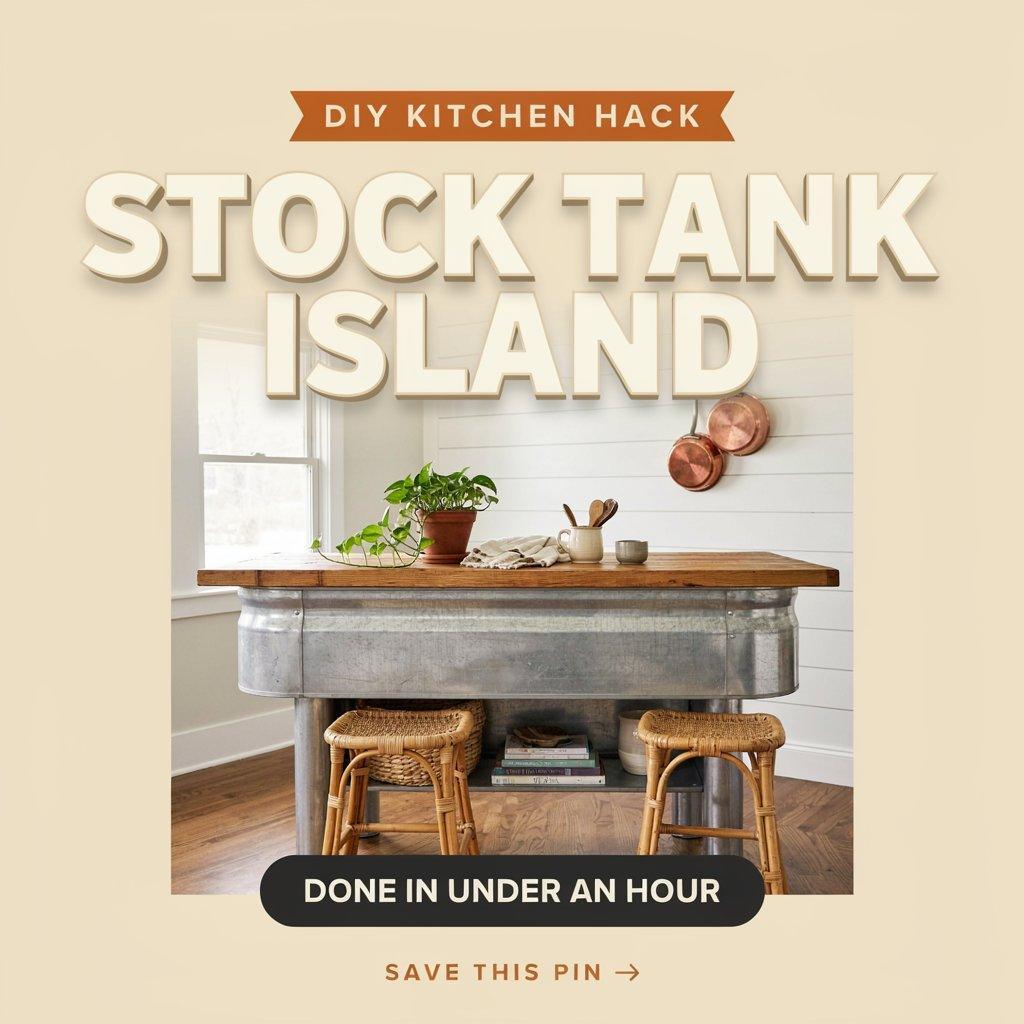
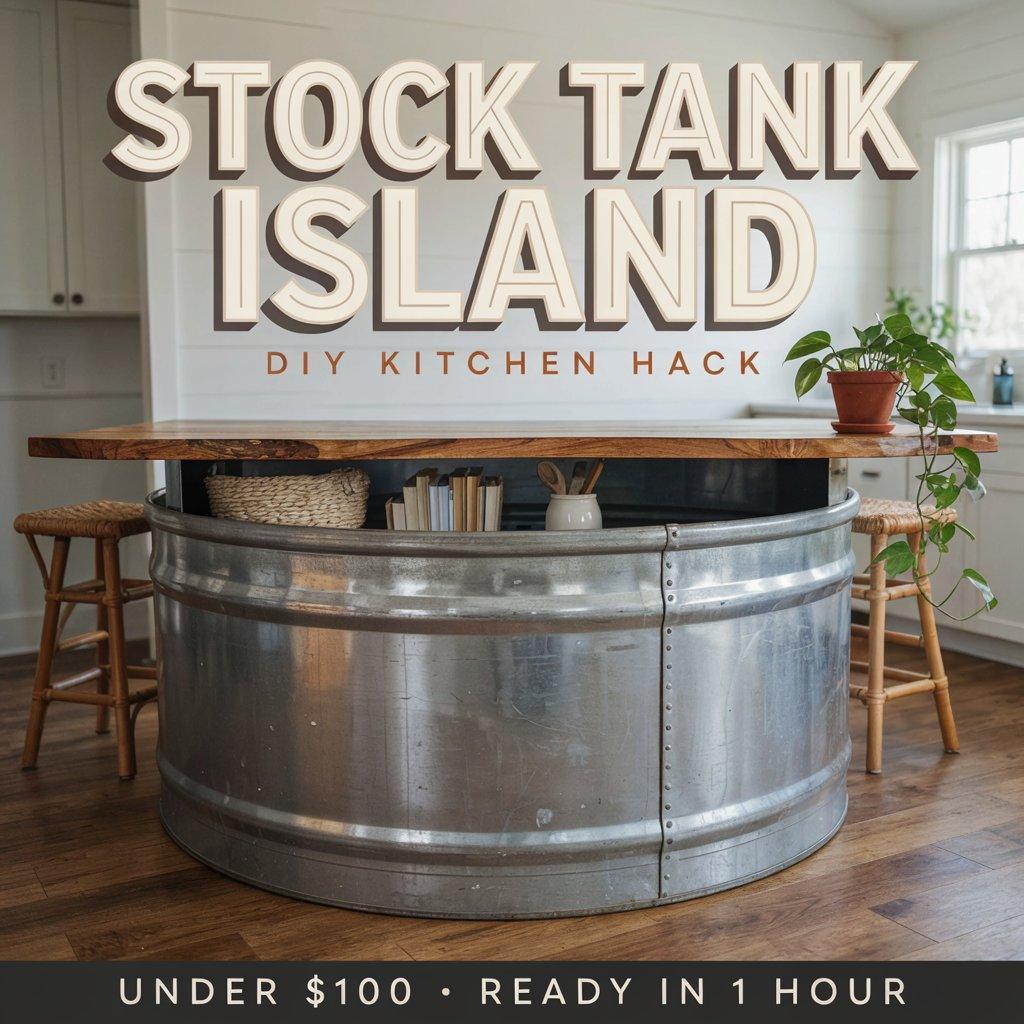
Flip a 4-foot or 6-foot galvanized stock tank upside down and you have an instant island base. The metal is weather-resistant, and the shape gives you a deep, sturdy structure with built-in storage space underneath. Top it with a wood slab or a piece of remnant granite.
You can paint the tank any color or leave the galvanized finish for a rustic farmhouse look. This is one of the fastest budget kitchen island ideas you can have it set up in under an hour.
6. Vintage Dresser Turned Outdoor Island
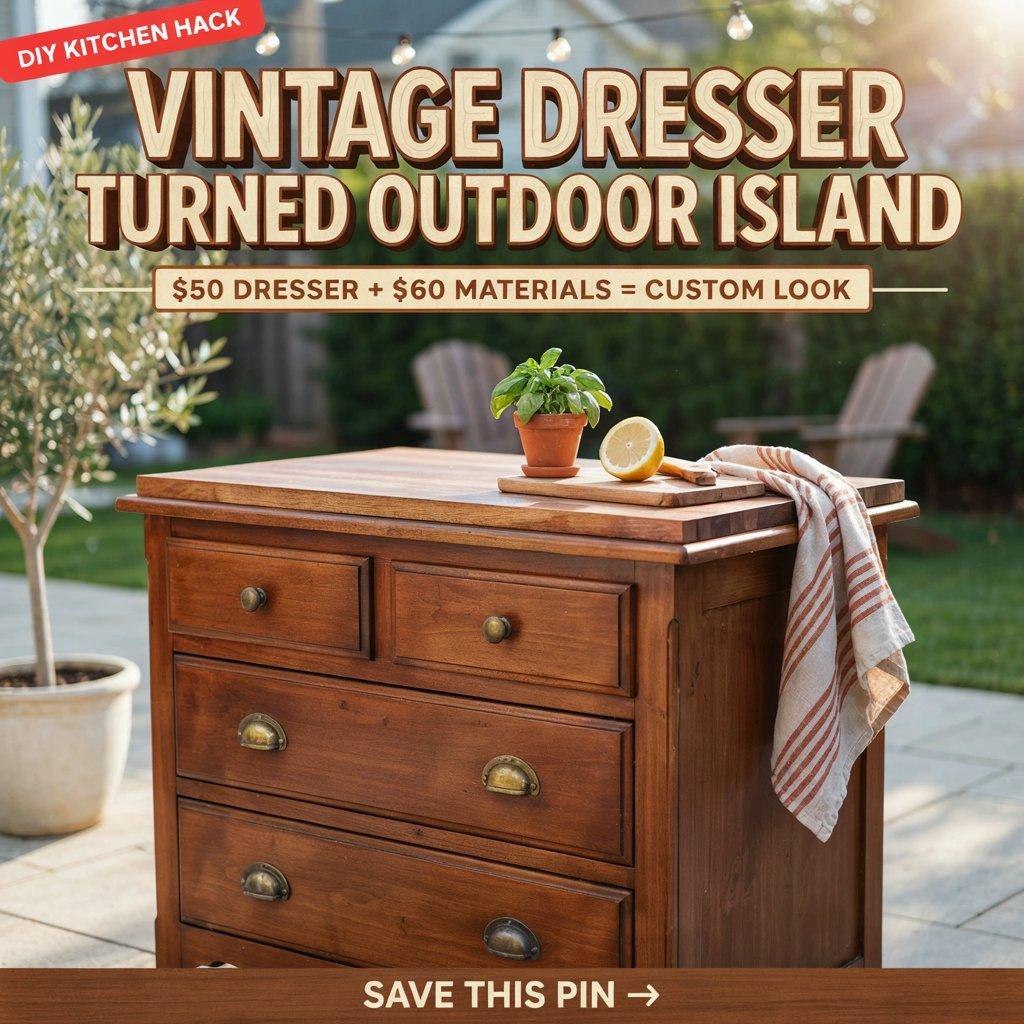
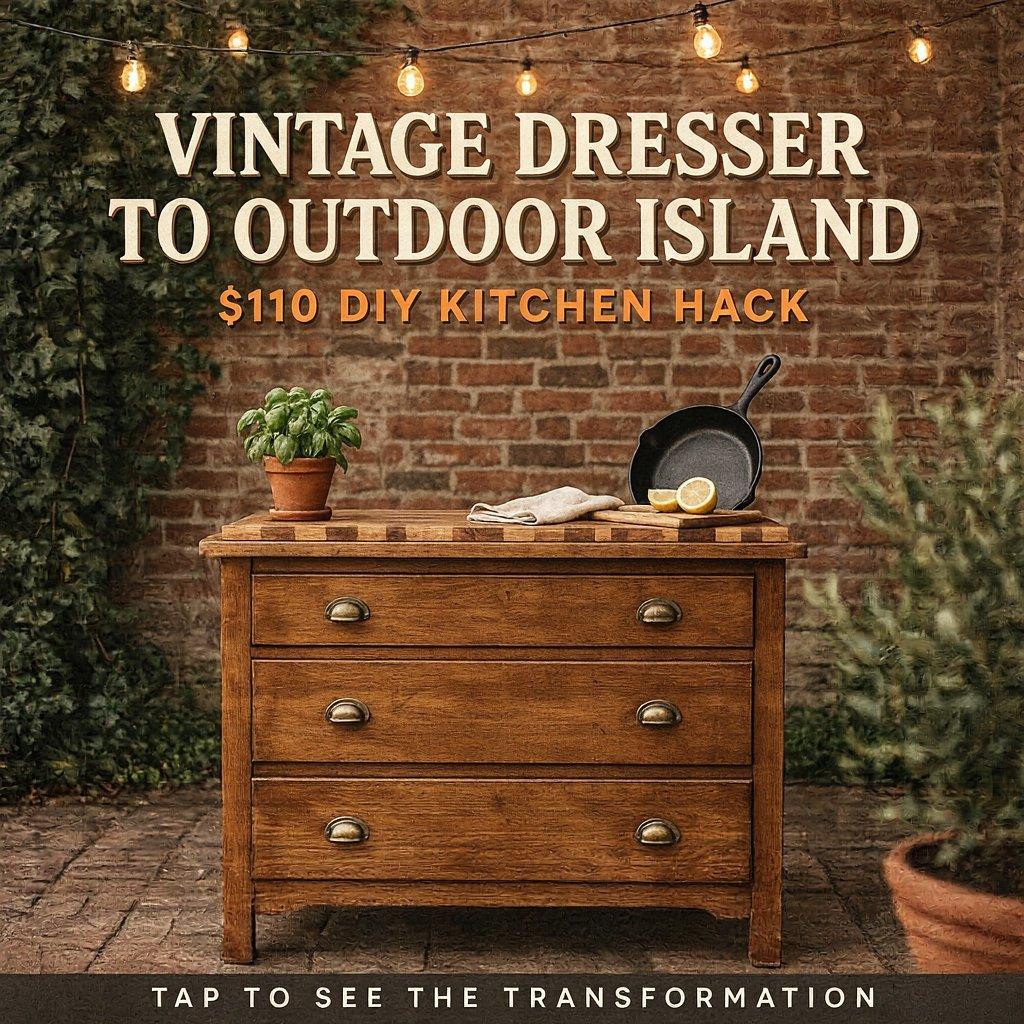
An old dresser from Facebook Marketplace or a thrift shop makes a surprisingly good outdoor island. The drawers give you storage, and the top becomes your prep surface. Seal the whole thing with exterior-grade polyurethane and add a butcher block or tile top for durability.
Look for solid wood pieces particle board won’t survive the elements. A $50 dresser plus $60 in materials gets you a custom-looking island that costs a fraction of a new one.
7. Concrete Paver and Pressure-Treated Lumber Island
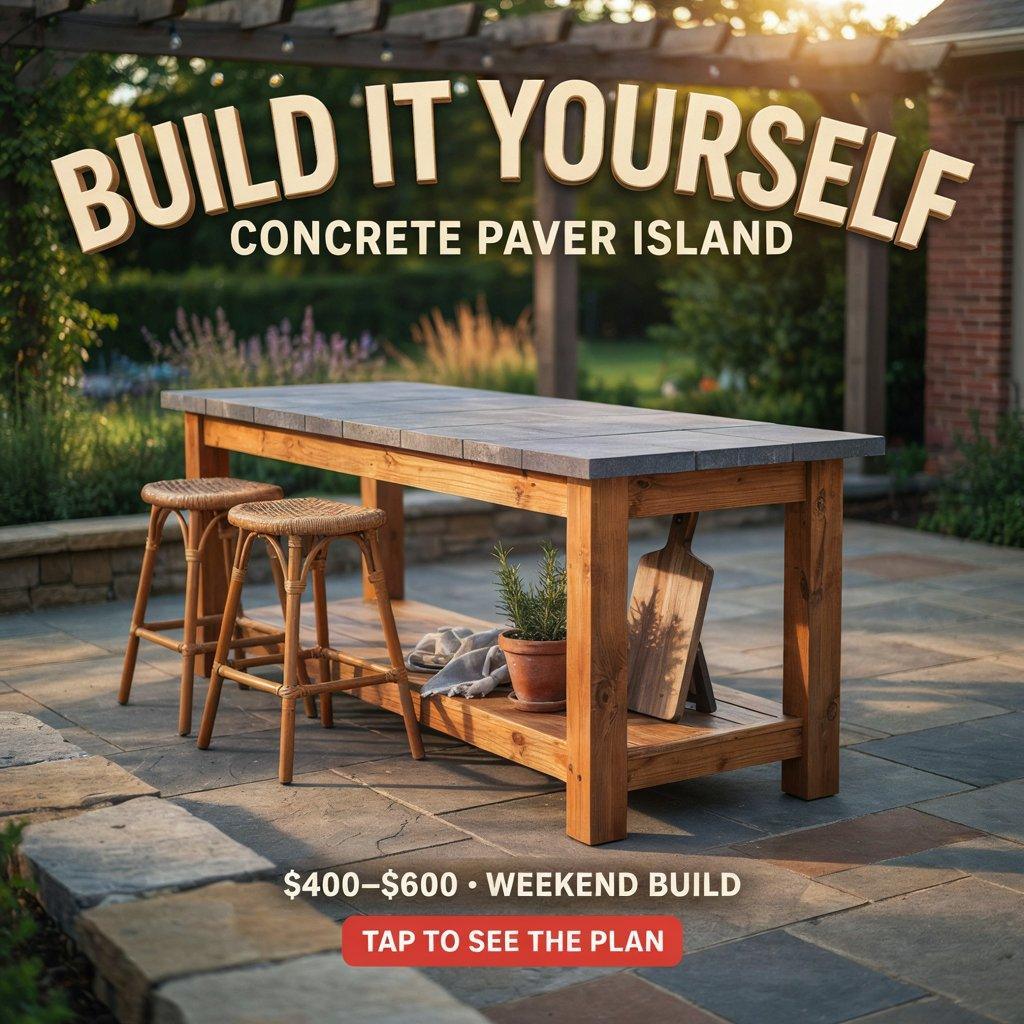
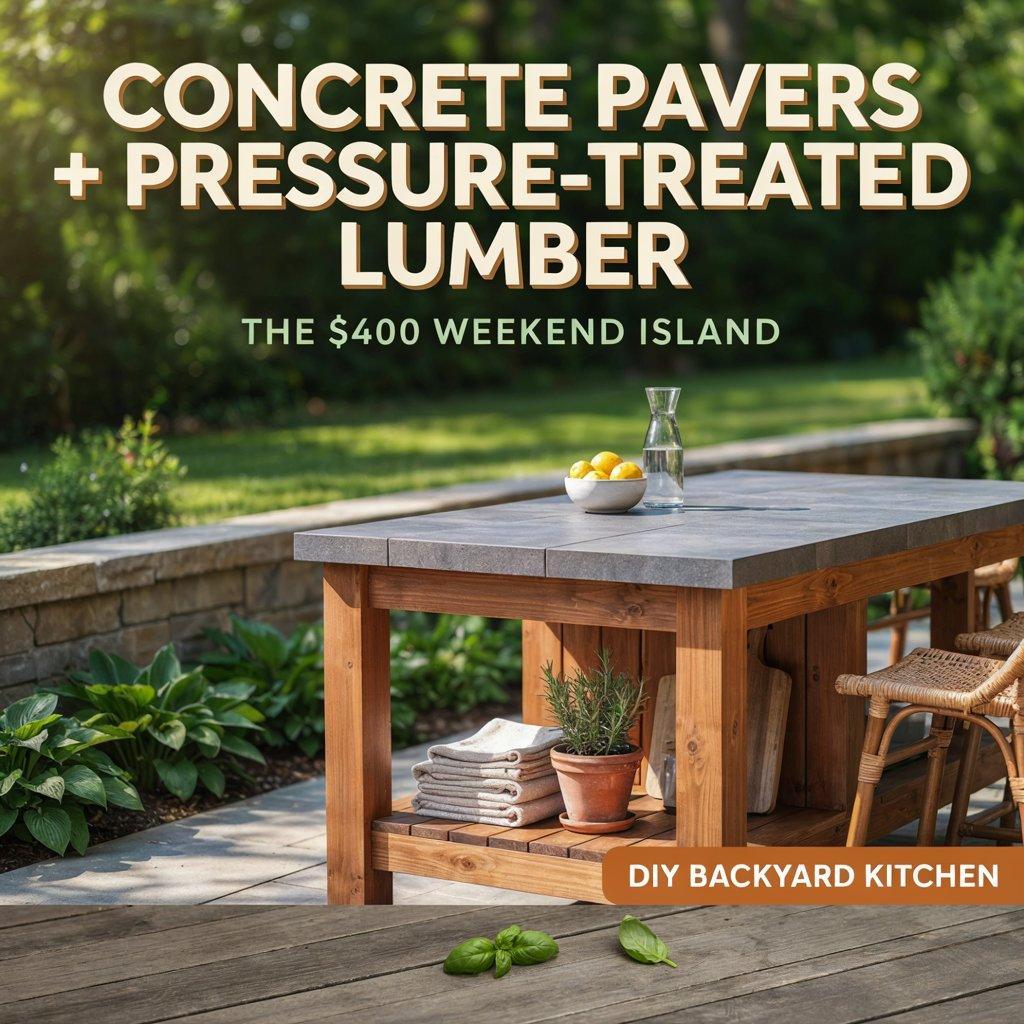
Build a simple frame from pressure-treated 2x4s and 4x4s, then top it with large concrete pavers. The wood frame stays rot-resistant, and the pavers give you a high-end, durable countertop for a fraction of the cost of a stone slab.
This modular approach lets you customize the size and shape to fit your space. Total cost for a 6-foot island runs around $400–$600, and you can build it in a weekend.
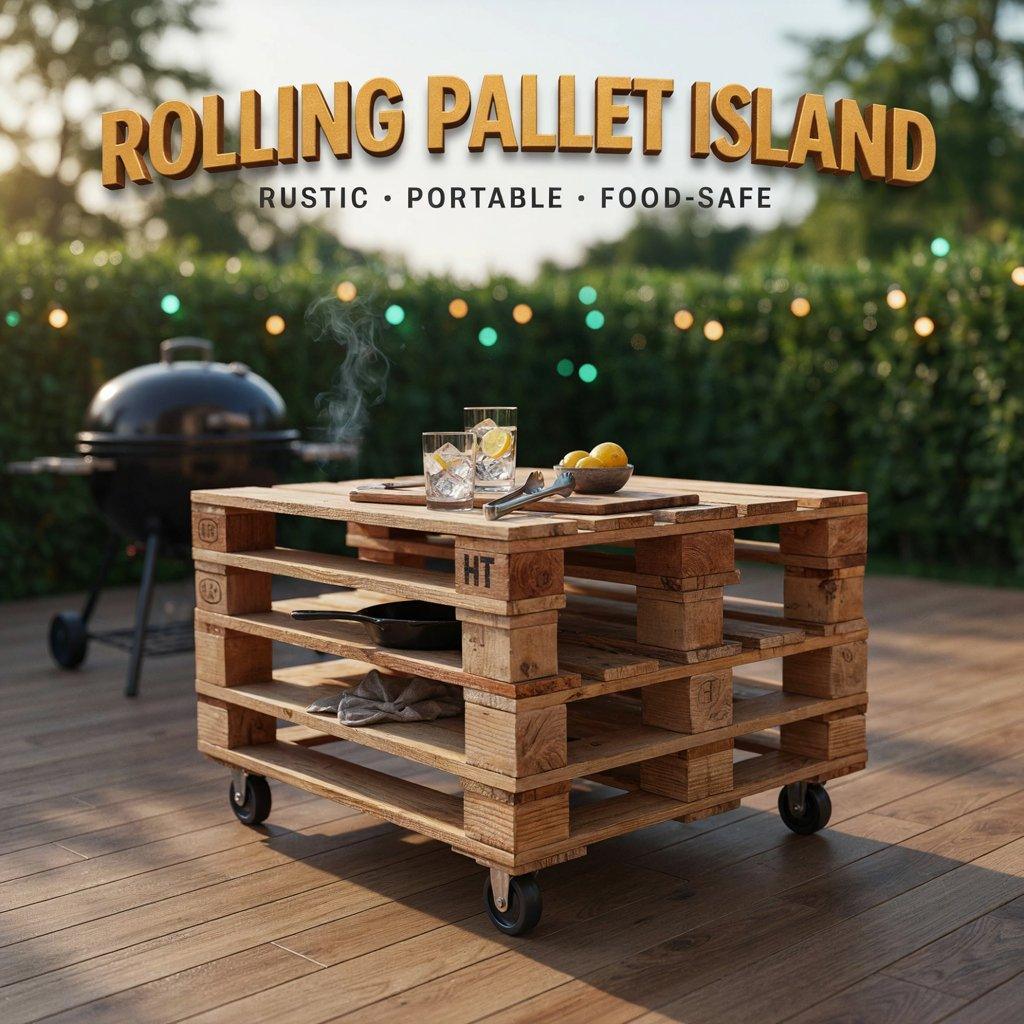
8. Rolling Pallet Island on Casters
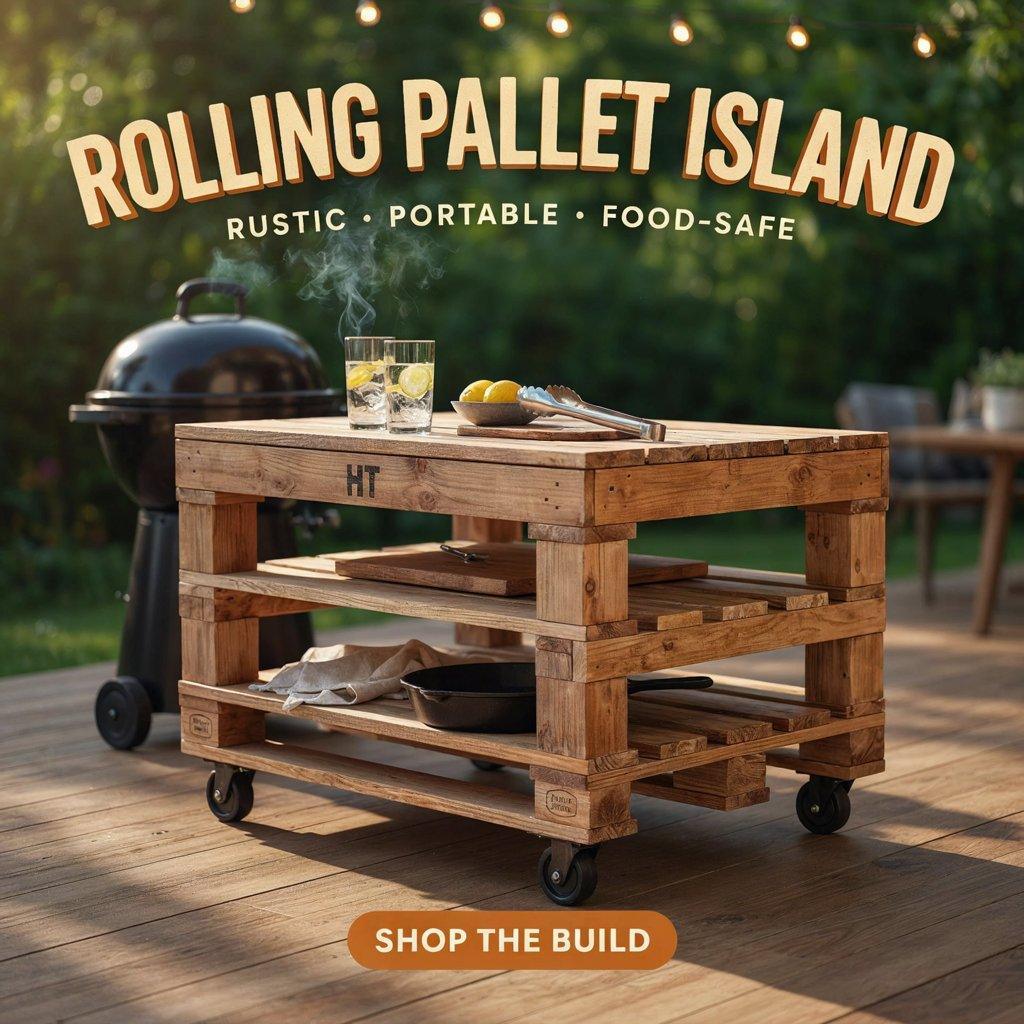
Add casters to the bottom of a pallet island and you get the best of both worlds: a rustic wood look with total portability. Position it next to your grill when you’re cooking, then roll it to the patio when you’re serving drinks.
Use heat-treated pallets marked with an HT stamp they’re safe for food-contact surfaces. Seal the wood with exterior oil, and you’re done. This is a great option for renters or anyone who rearranges their backyard often.
9. Old Sewing Cabinet Conversion
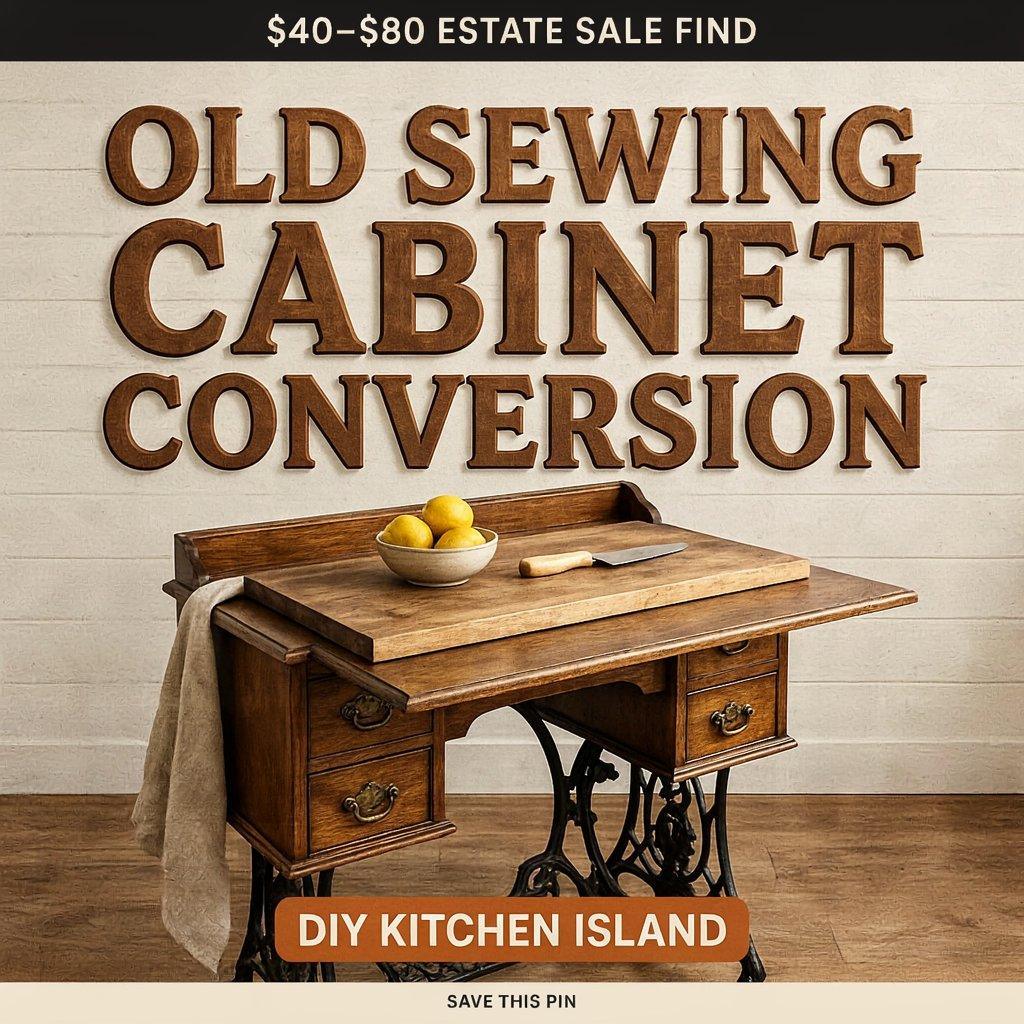
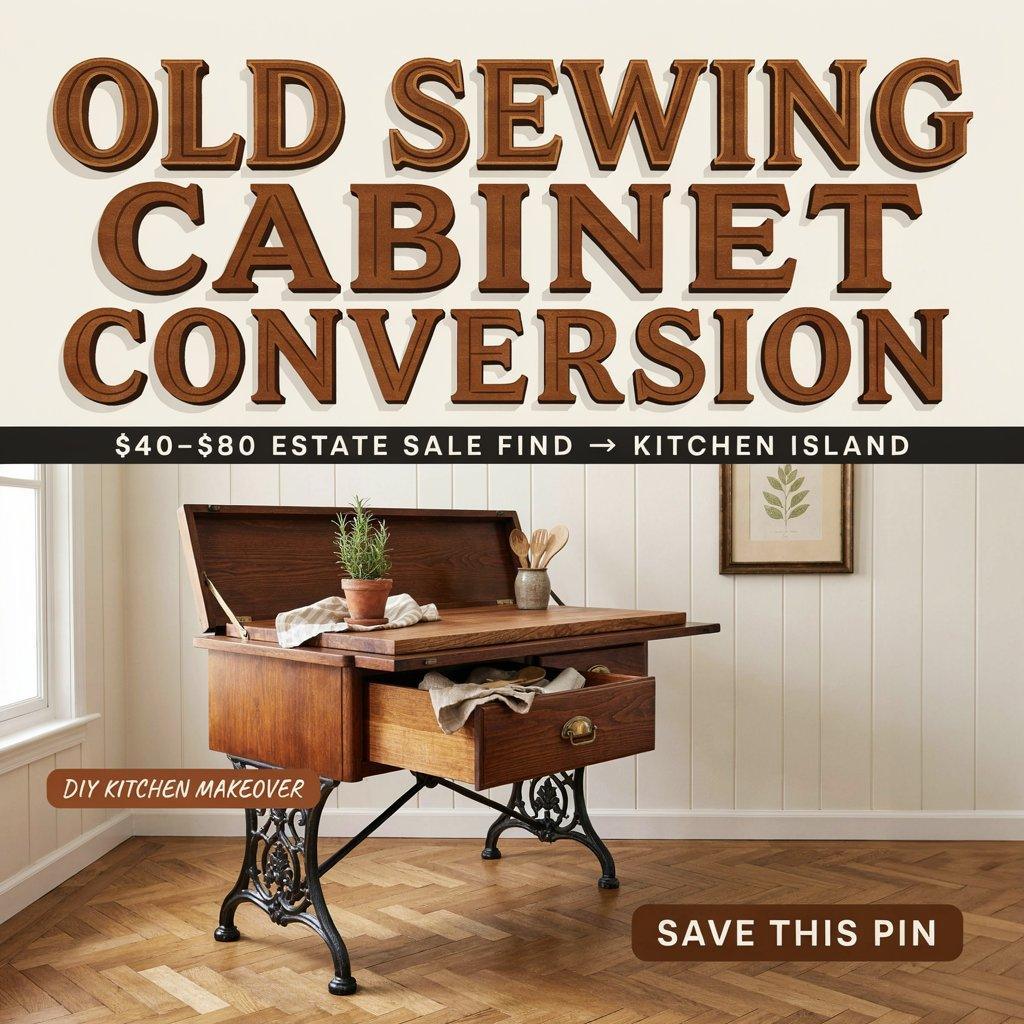
A vintage sewing cabinet has a solid wood body, cast-iron legs, and often a built-in drawer or two. Flip the top open and you have an instant prep surface. These cabinets cost $40–$80 at estate sales and flea markets, and they’re built like furniture which means they’ll last.
Sand it down, seal it, and add a cutting board top if you want more workspace. The cast-iron base gives it a weight and presence that cheap plastic islands can’t match.
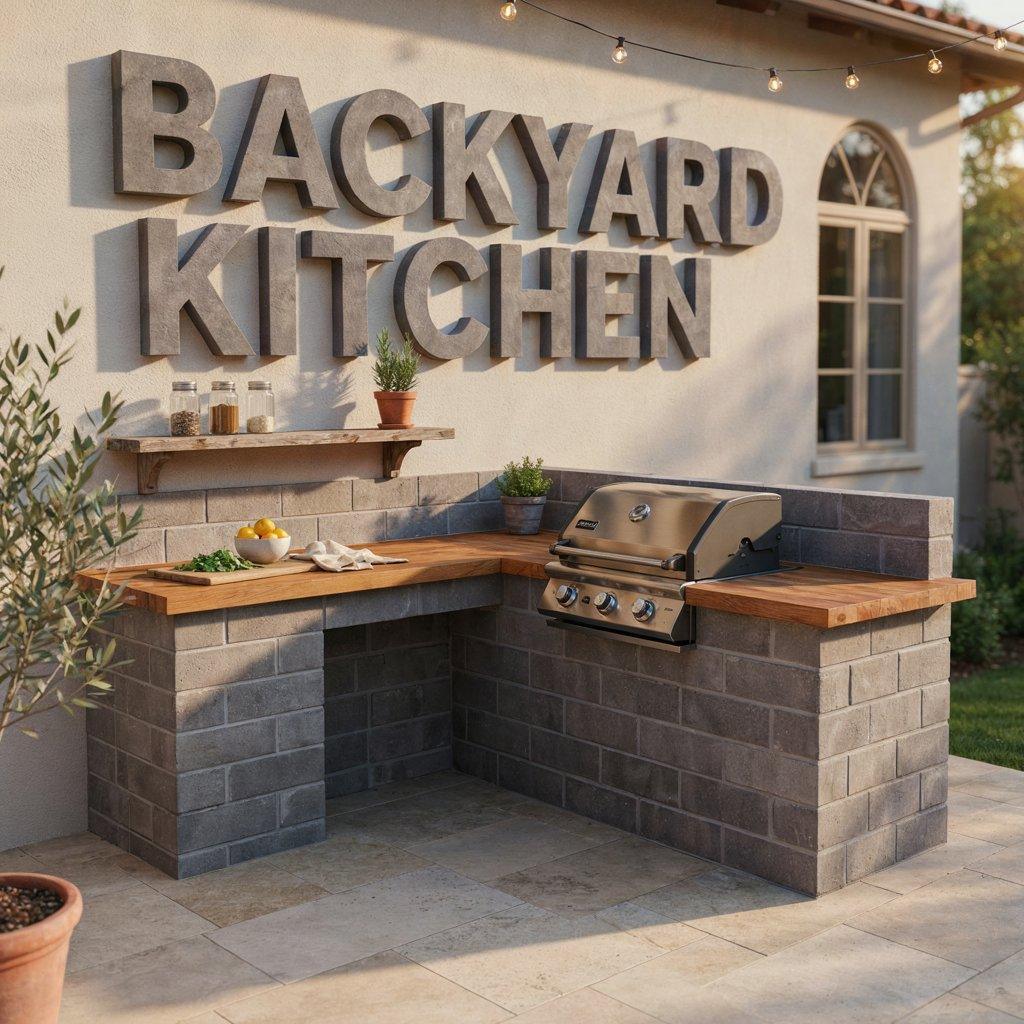
10. L-Shaped Cinder Block and Wood Counter
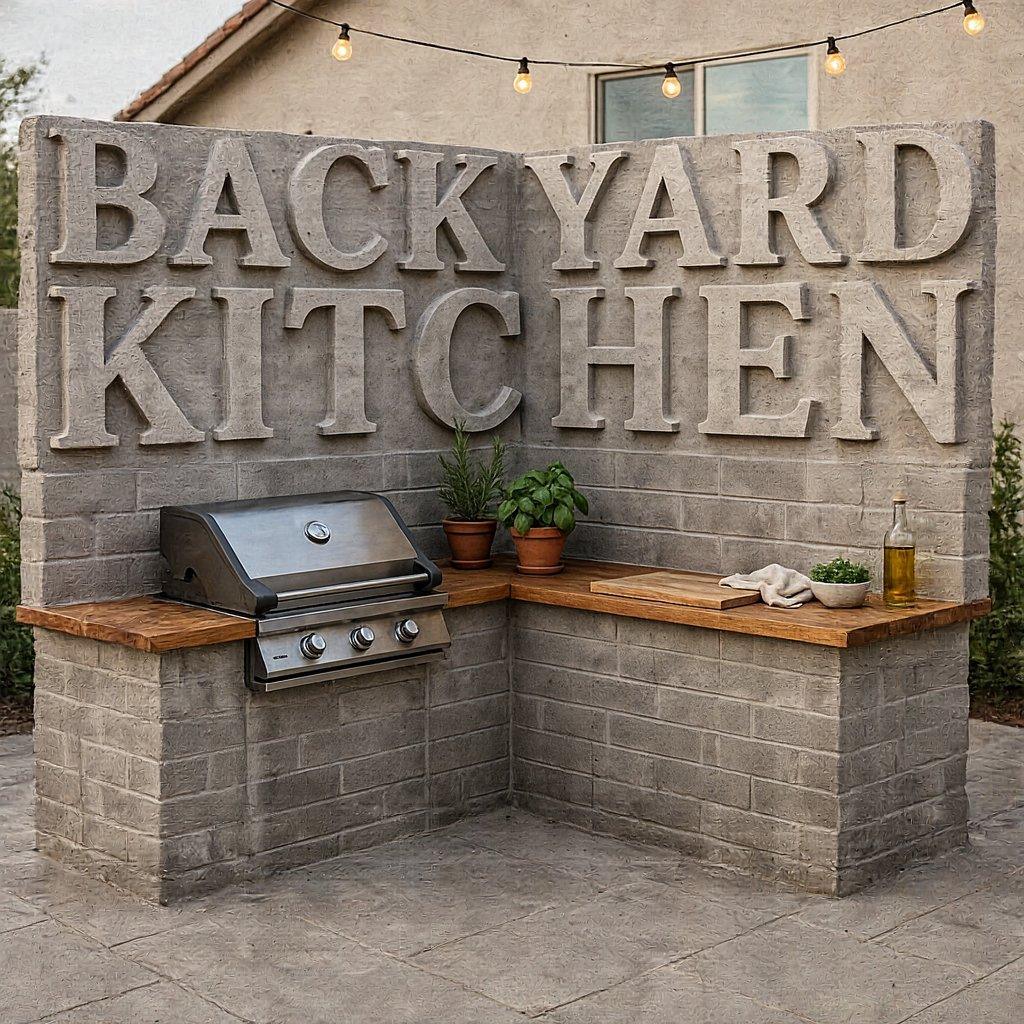
For smaller patios, an L-shaped layout fits perfectly into a corner and leaves the rest of the space open. Build the base from cinder blocks in an L formation, then top it with sealed wood planks or concrete pavers.
One side can house your grill; the other becomes a prep and serving counter. This setup gives you the functionality of a full outdoor kitchen in a compact footprint. The blocks cost around $2–$3 each, making this one of the most budget-friendly layouts.
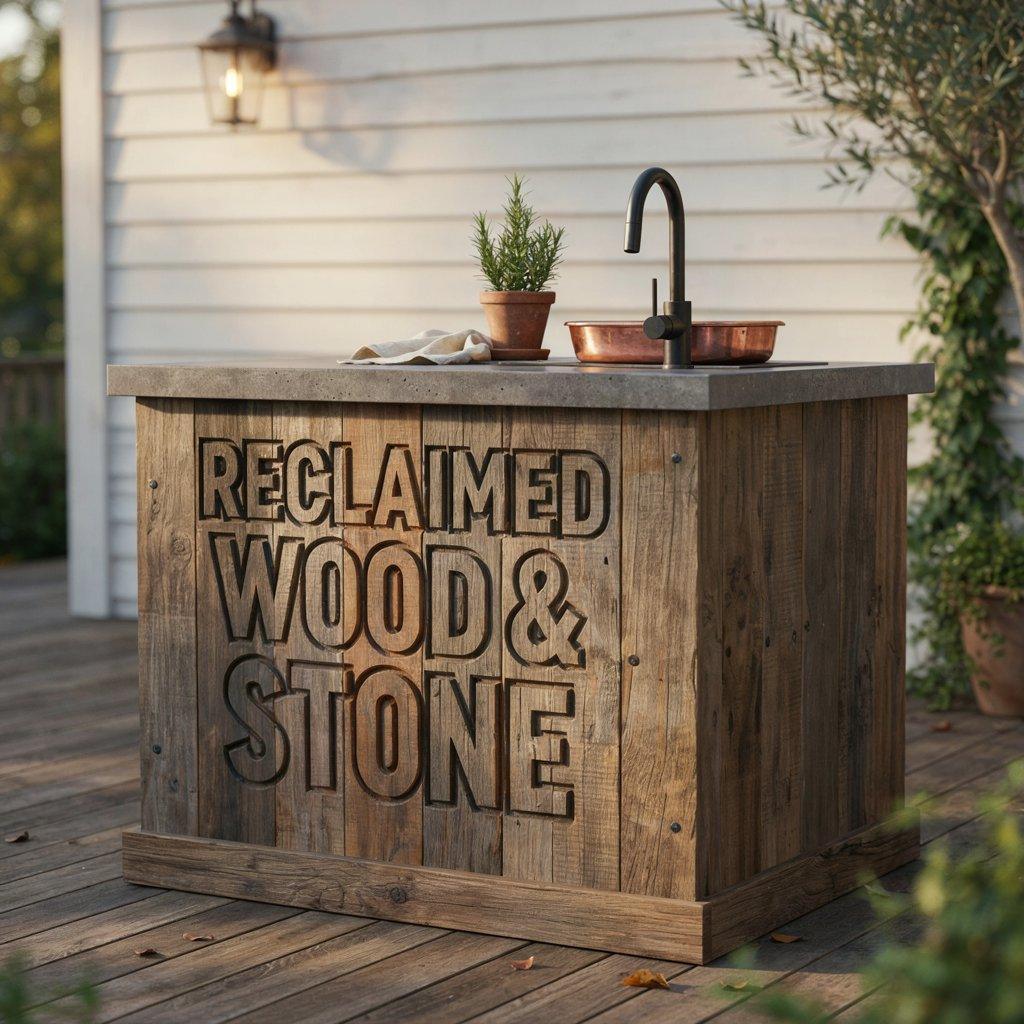
11. Reclaimed Wood and Stone Island
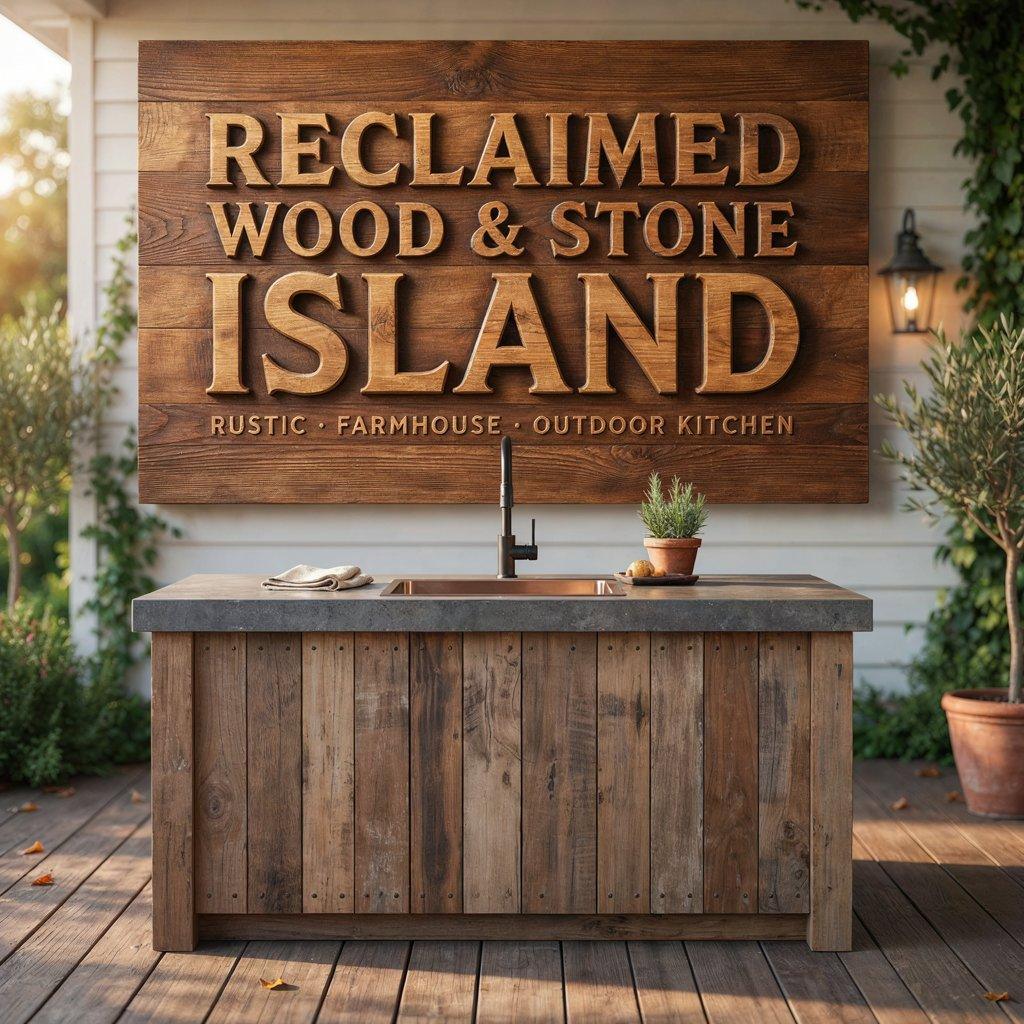
If you can get your hands on reclaimed barn wood or salvaged timbers, you can build an island that looks like it belongs in a design magazine.
Pair the wood base with a stone or concrete countertop for contrast. Seal the wood with exterior oil to protect it from rain and sun.
This look works best in rustic or farmhouse-style backyards, but it can also work in modern spaces if you keep the lines clean and the finish smooth.
12. Murphy Bar Fold-Down Island
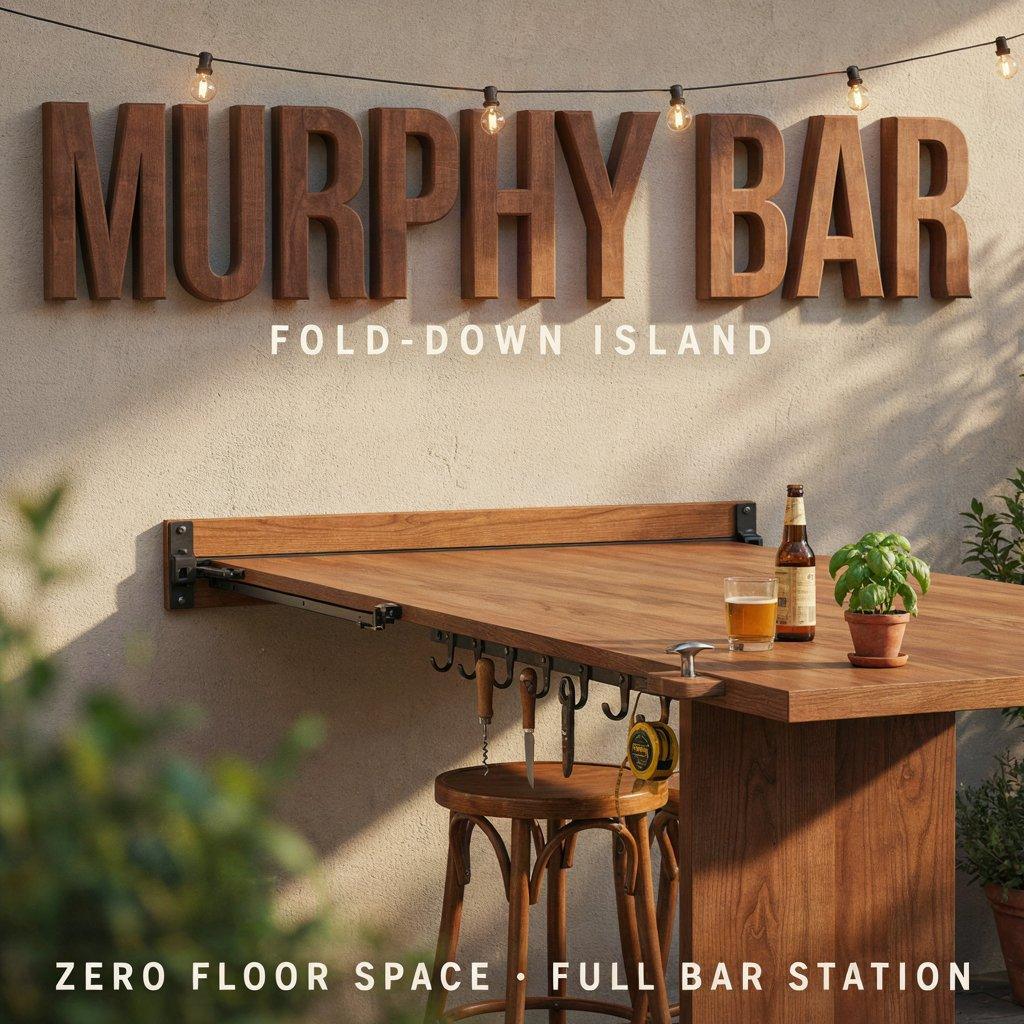
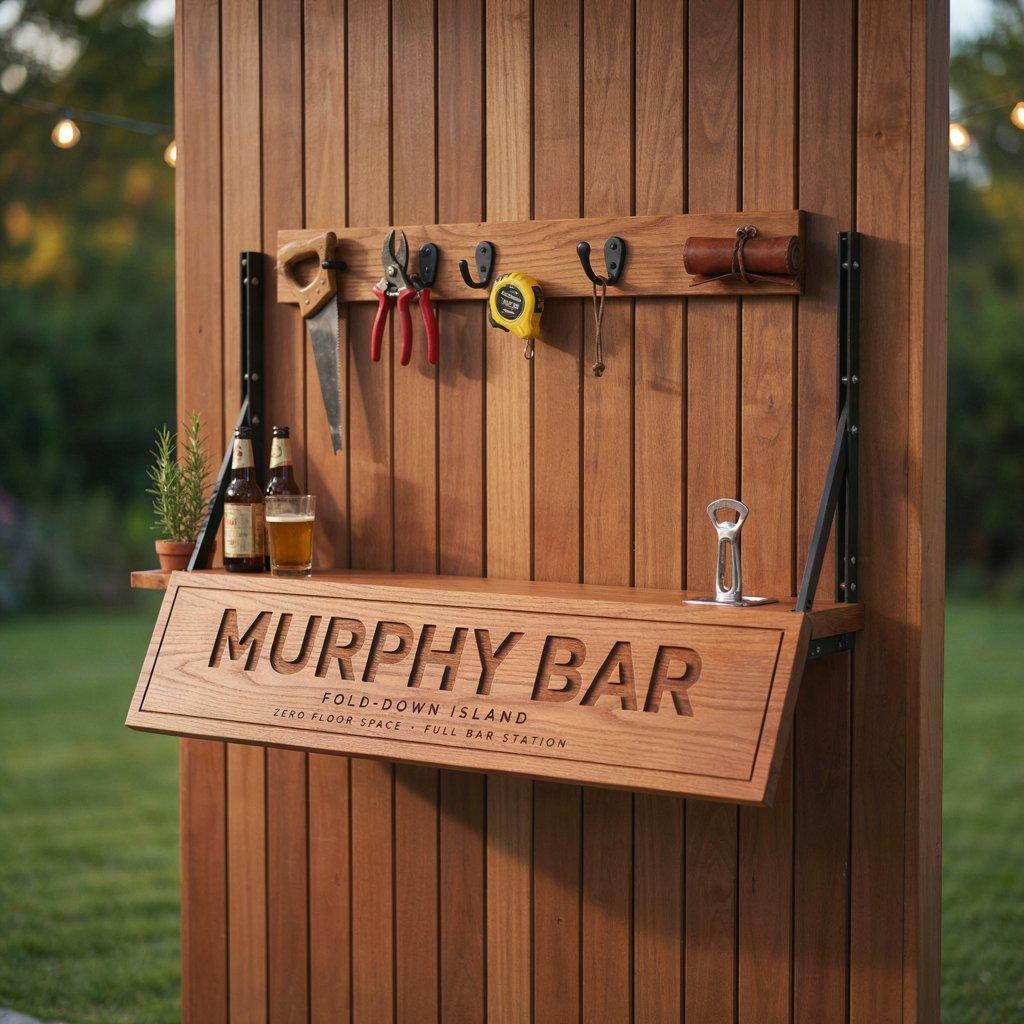
A Murphy bar attaches to an exterior wall and folds down into a sturdy work surface when you need it. When you’re done, it folds flat against the wall and disappears.
This is perfect for small backyards where space is at a premium. You can build one from plywood and hinges for under $100, or buy a ready-made kit.
Add hooks for tools and a bottle opener, and you’ve got a full bar and prep station that takes up zero floor space when not in use.
13. Metal Pipe and Plywood Island
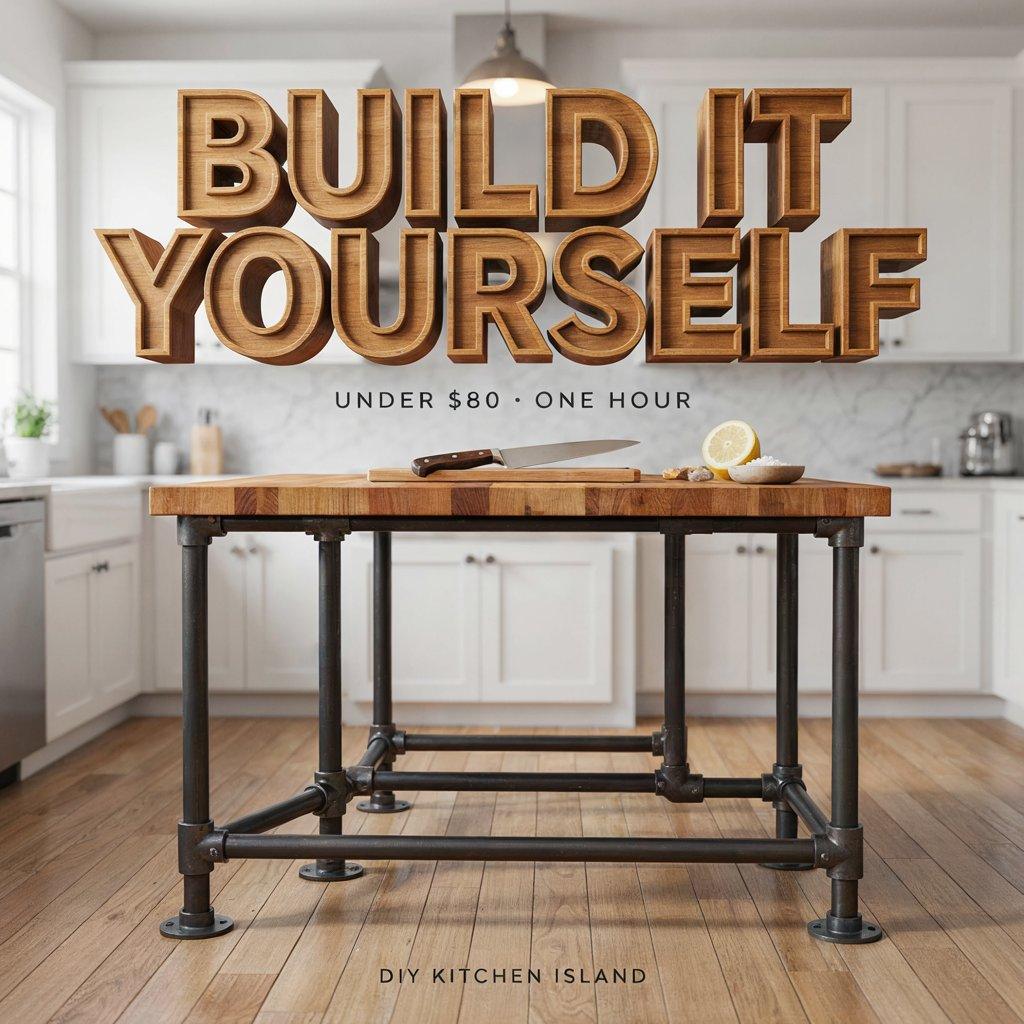
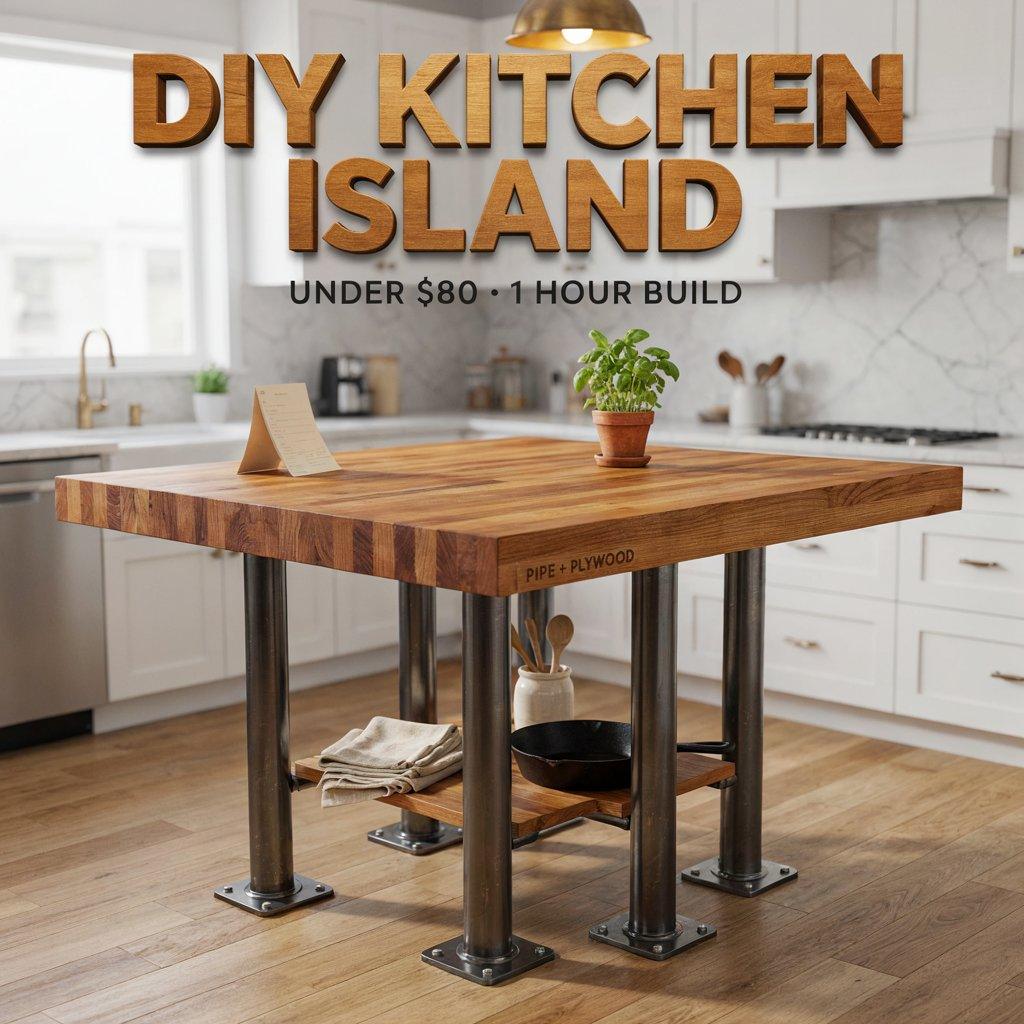
This is a simple, industrial-style build: four metal pipe legs screwed into flanges, topped with a piece of plywood or butcher block. Paint the pipes black and seal the wood.
The whole thing costs under $80 and takes about an hour to assemble. It’s not as heavy as a cinder block island, but it’s sturdy enough for prep work, and you can move it easily. This is a great starter island if you’re not ready to commit to a permanent structure.
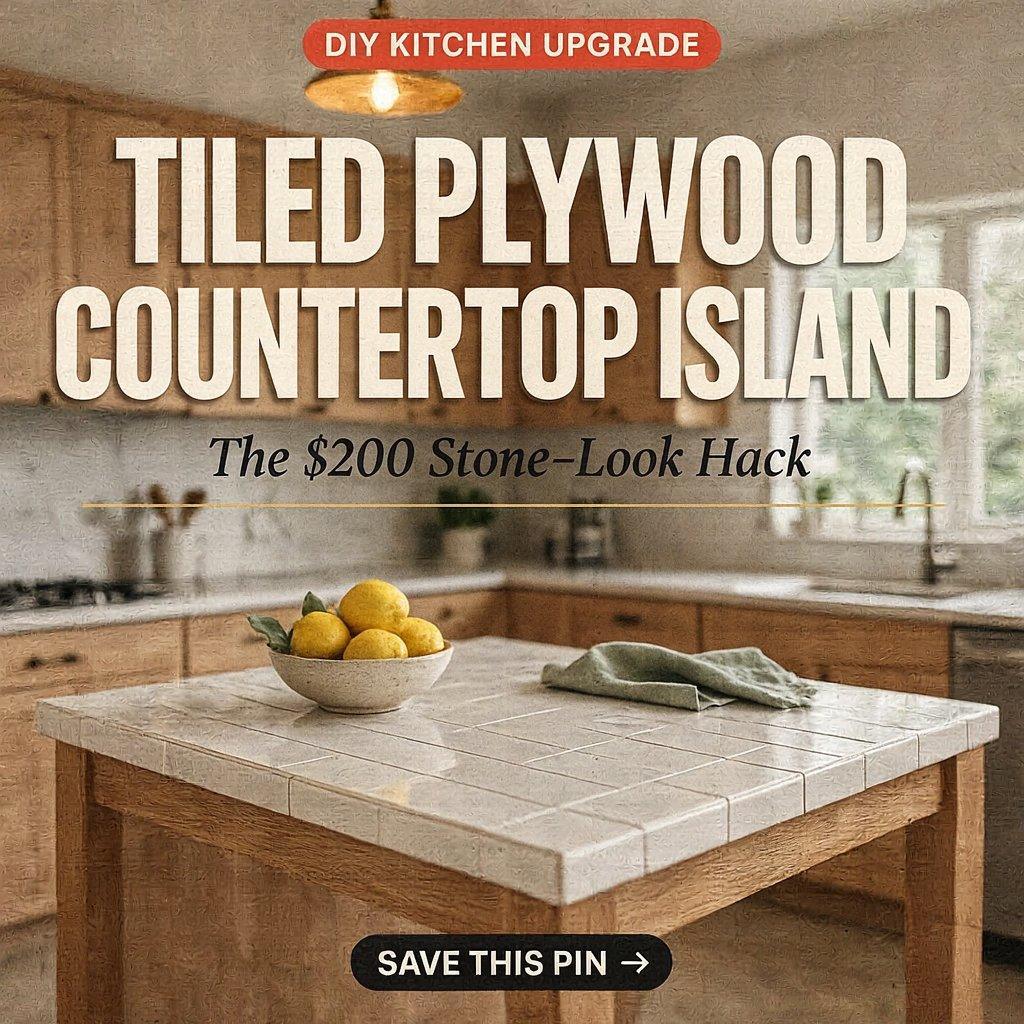
14. Tiled Plywood Countertop Island
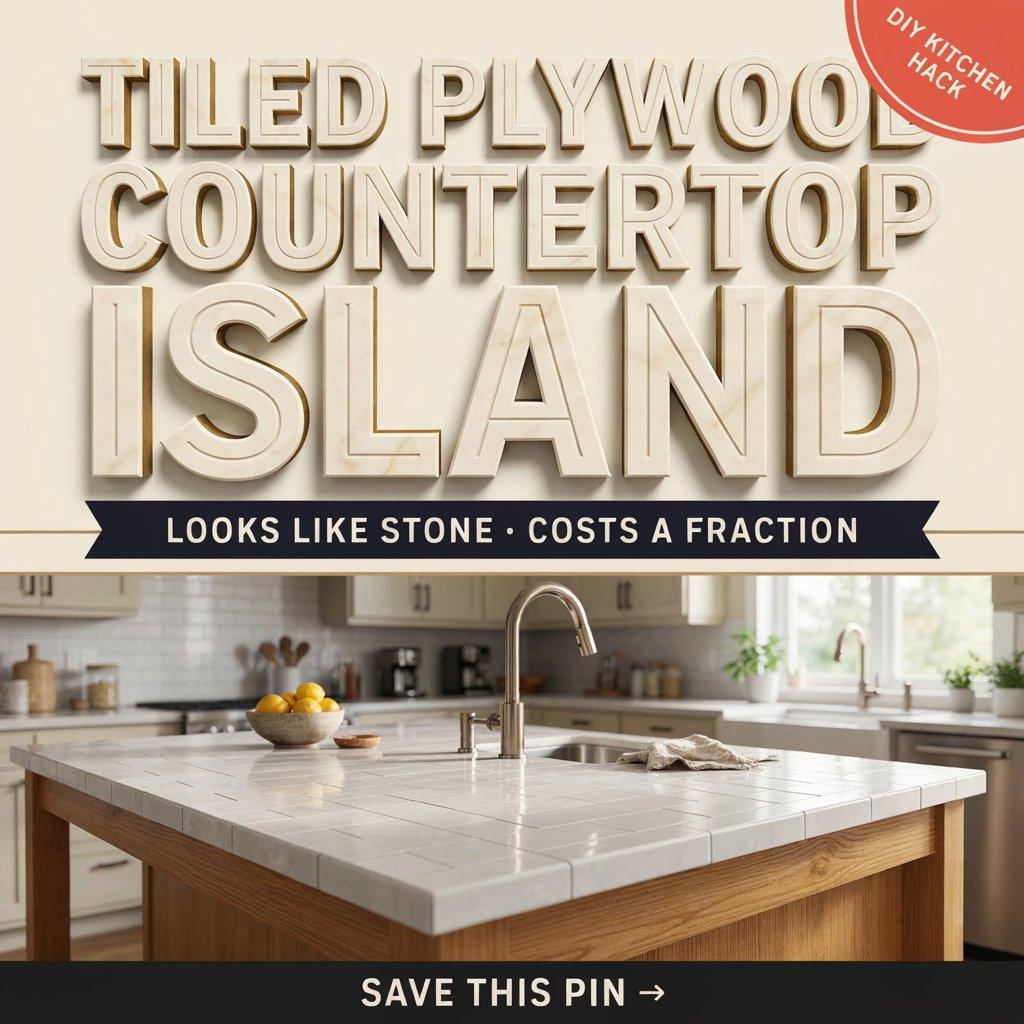
If you want the look of stone without the price, tile over plywood. Build a simple wood frame, cover the top with cement board, then lay ceramic or porcelain tile. Grout it, seal it, and you have a countertop that looks custom and costs a fraction of granite.
The tile is heat-resistant and easy to clean. This method works for any base cinder blocks, wood, or even an old table. It’s a smart way to upgrade a basic build into something that feels high-end.
15. Compact Island with Bar Seating
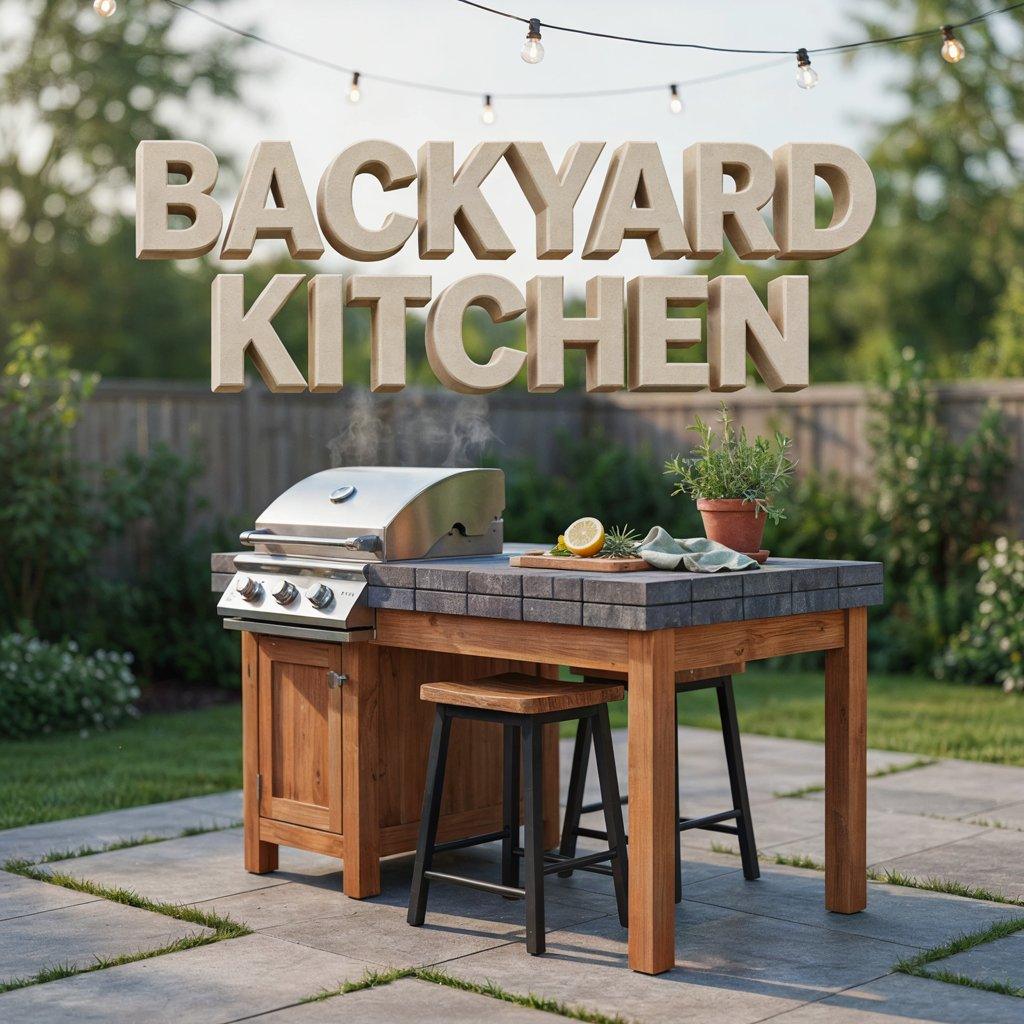
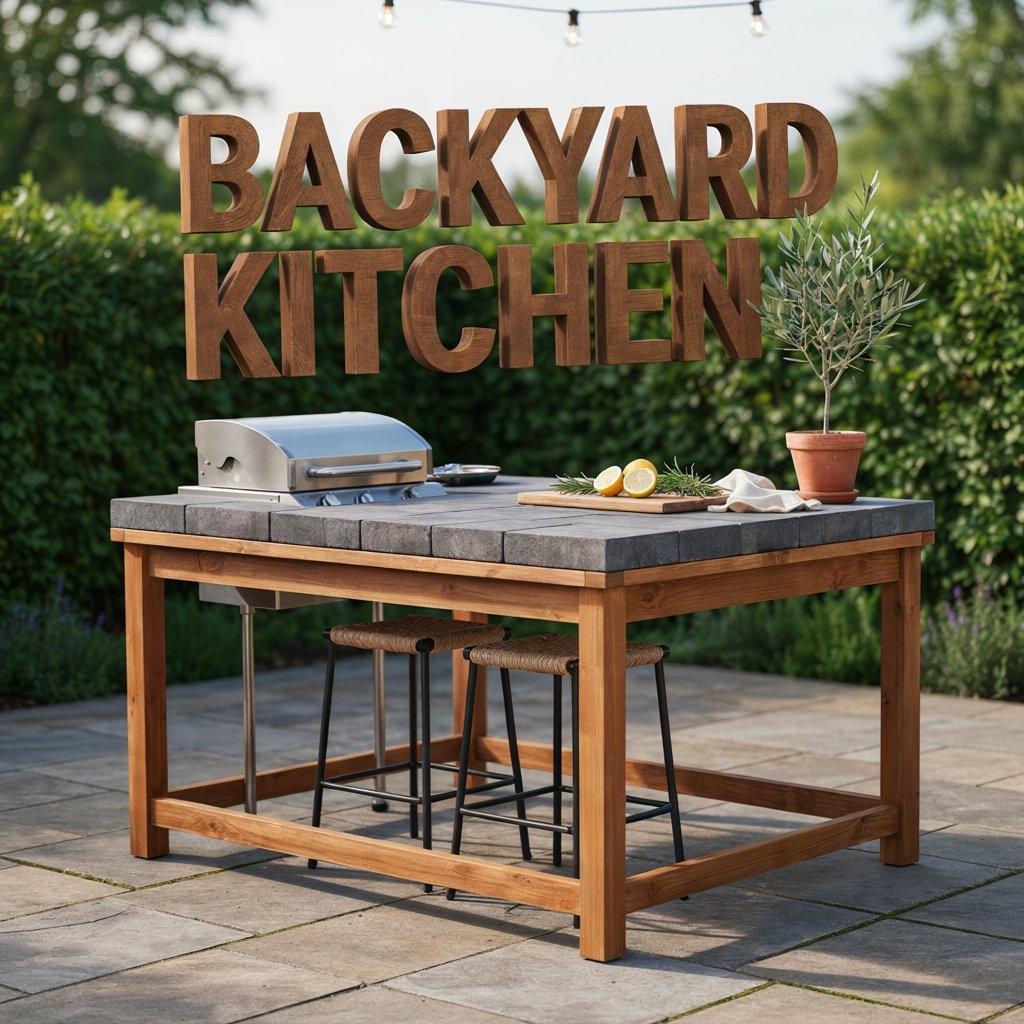
A compact island kitchen centers everything around a single unit. Put your grill on one side and a prep station on the other. Add two bar stools on the third side, and you have a casual dining spot.
Keep the footprint small a 4-foot by 3-foot island is plenty for most backyards. Use pressure-treated wood for the frame and concrete pavers for the top. This is ideal for small patios where every square foot counts.
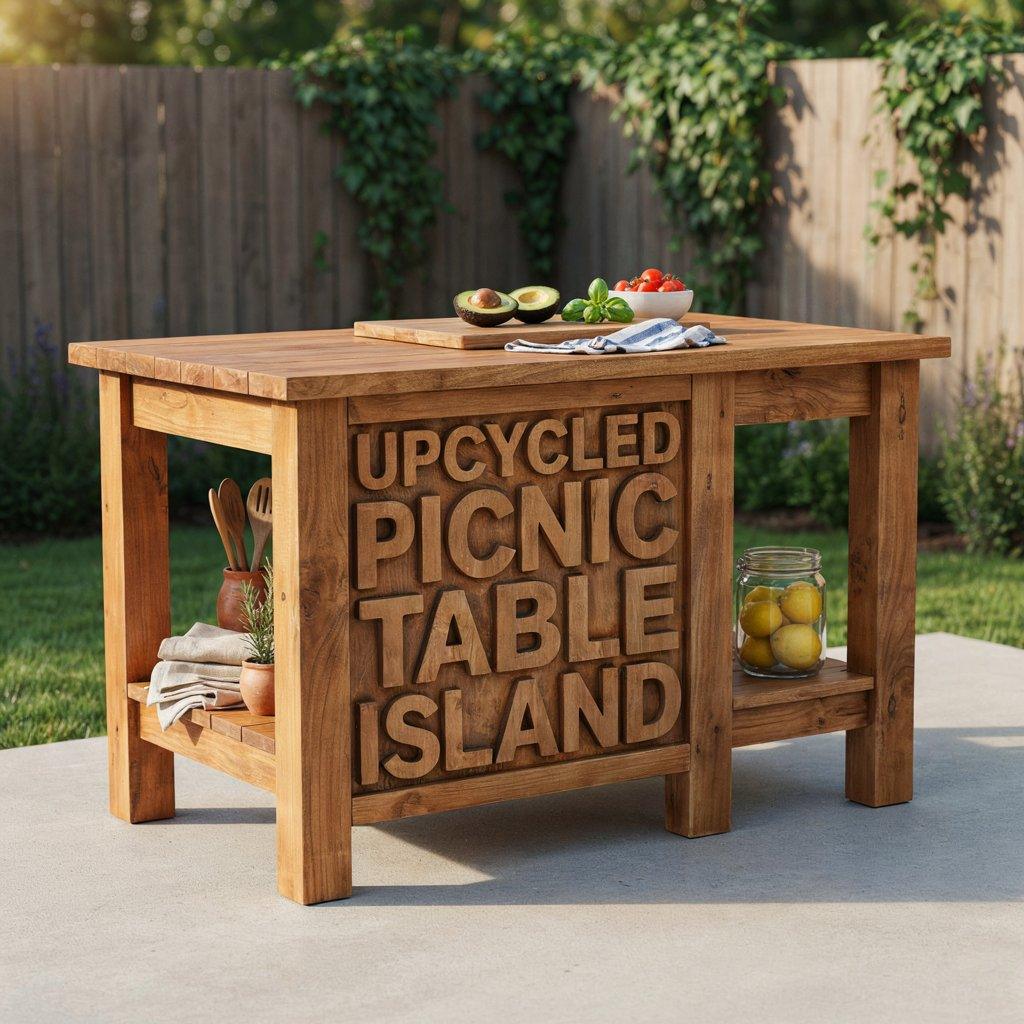
16. Upcycled Picnic Table Island
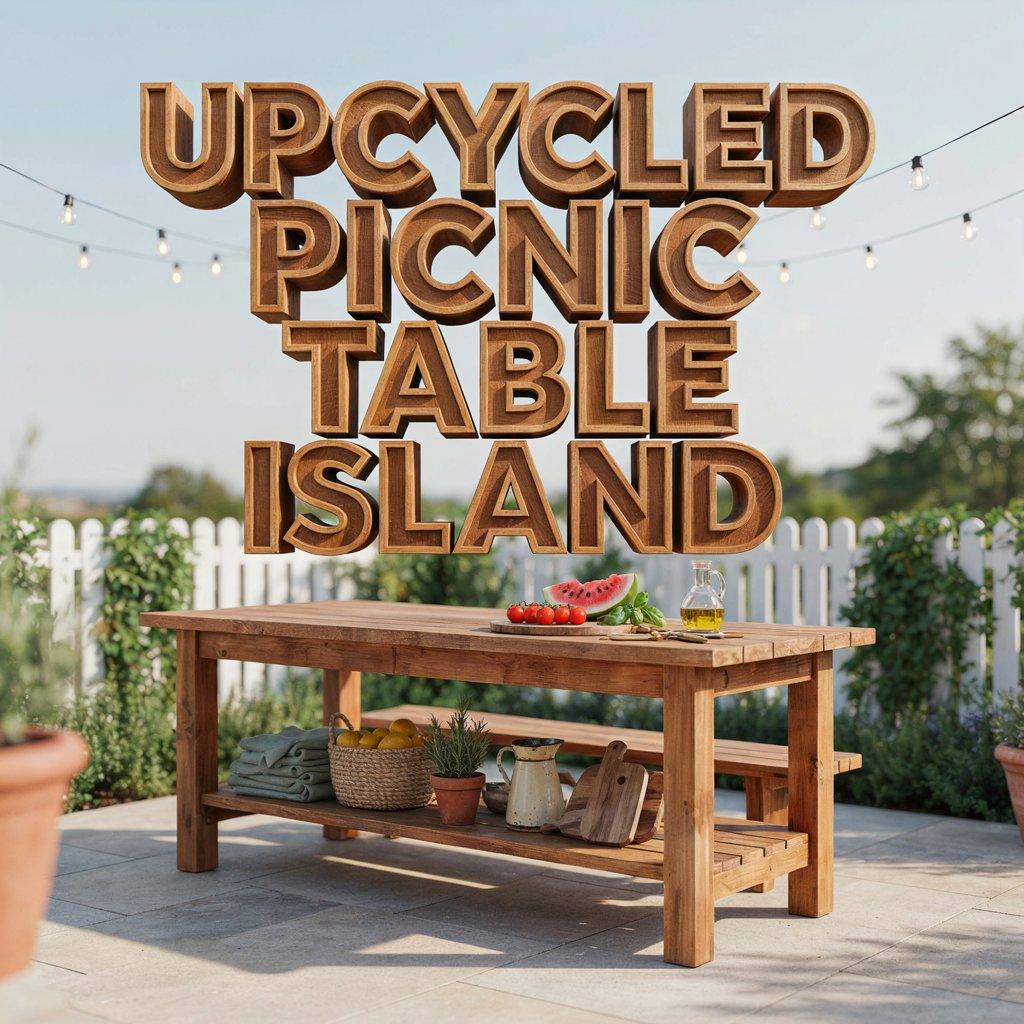
A sturdy wooden picnic table can be converted into an outdoor island with minimal effort. Cut the legs down to counter height, add a shelf underneath for storage, and seal the whole thing. You can often find used picnic tables for $50–$100 on marketplace sites.
The tabletop becomes your prep surface, and the bench seats can be repurposed as lower shelves. It’s a quick, cheap build that uses materials you might already have.
17. Galvanized Metal Cabinet Island
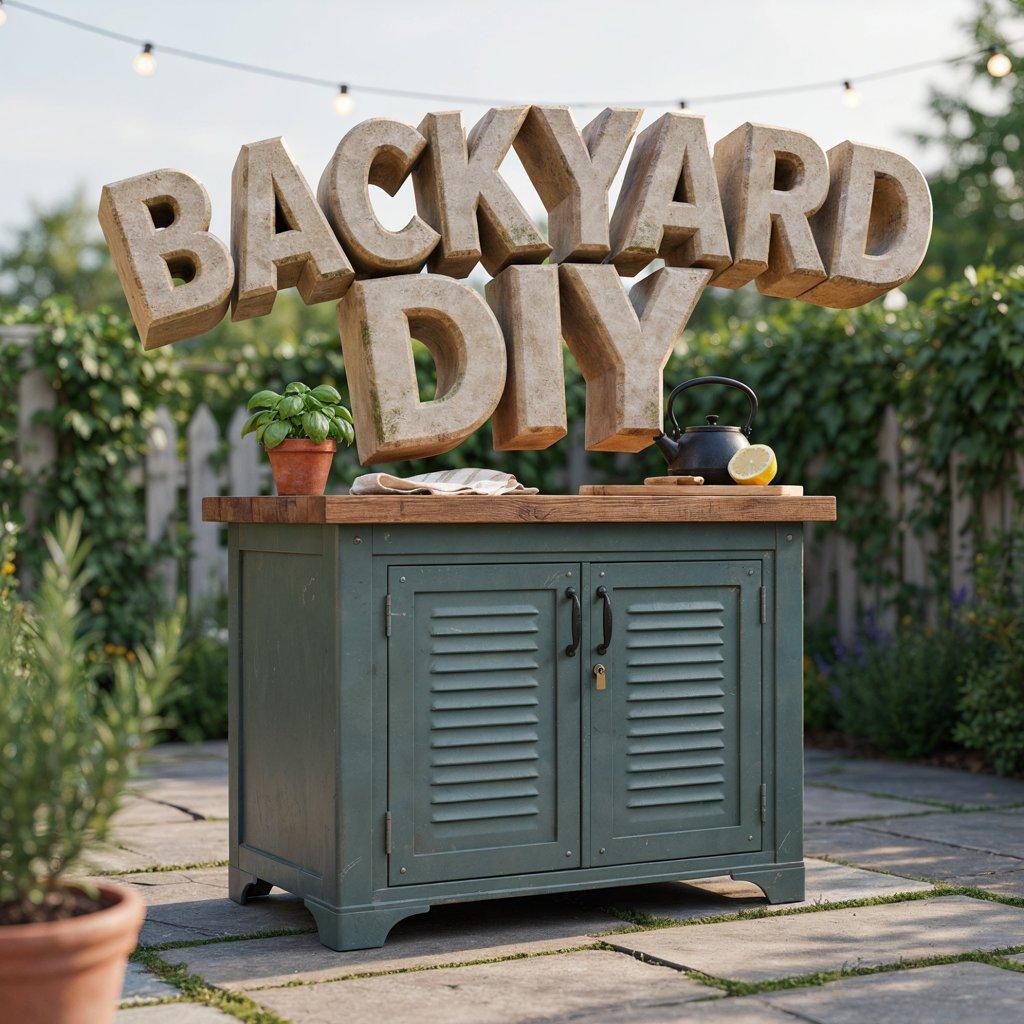
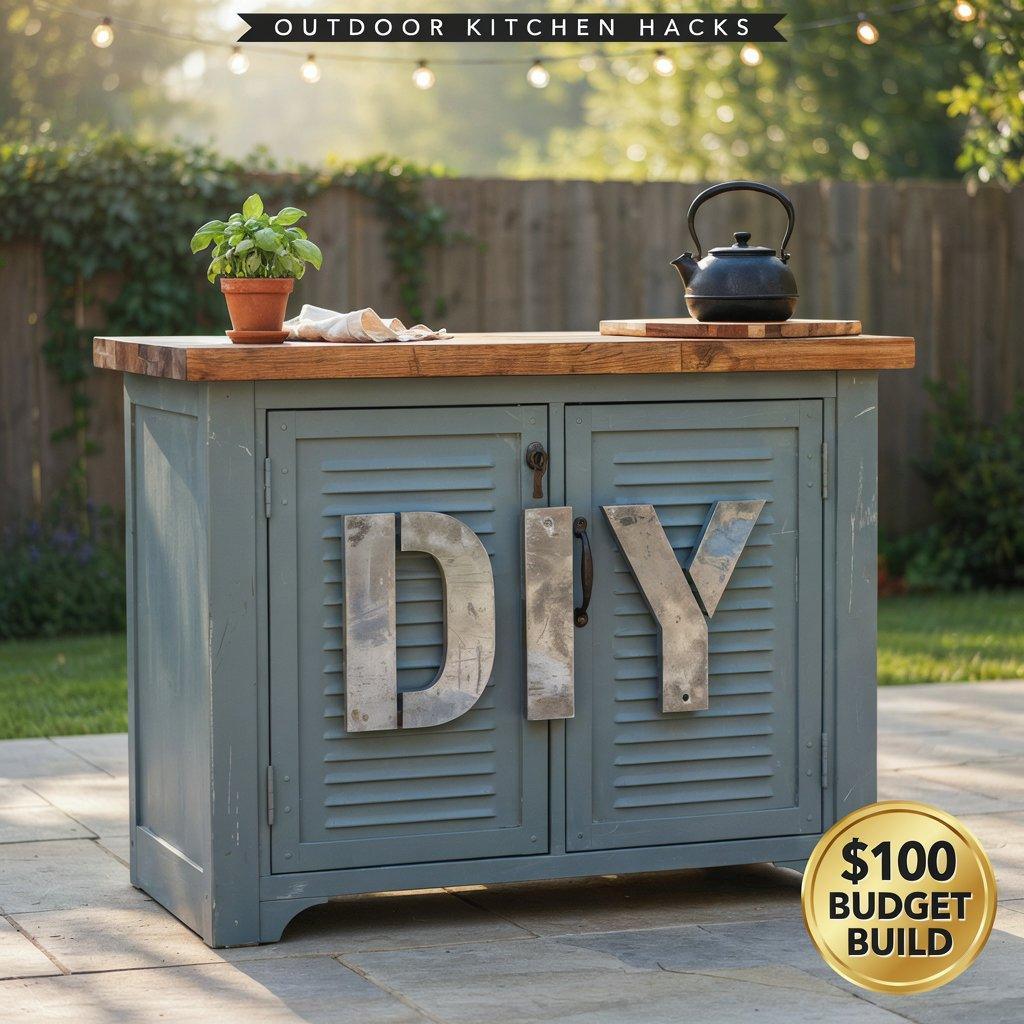
An old metal cabinet from a garage or workshop makes a surprisingly stylish outdoor island. The metal is weather-resistant, and the cabinet doors give you enclosed storage.
Paint it with exterior metal paint, add a wood or stone top, and you’re done. Look for cabinets at estate sales or architectural salvage yards. A $40 cabinet plus $60 in materials gets you a durable, lockable storage island that looks industrial and intentional.
18. Faux Stone Veneer Over Cinder Block
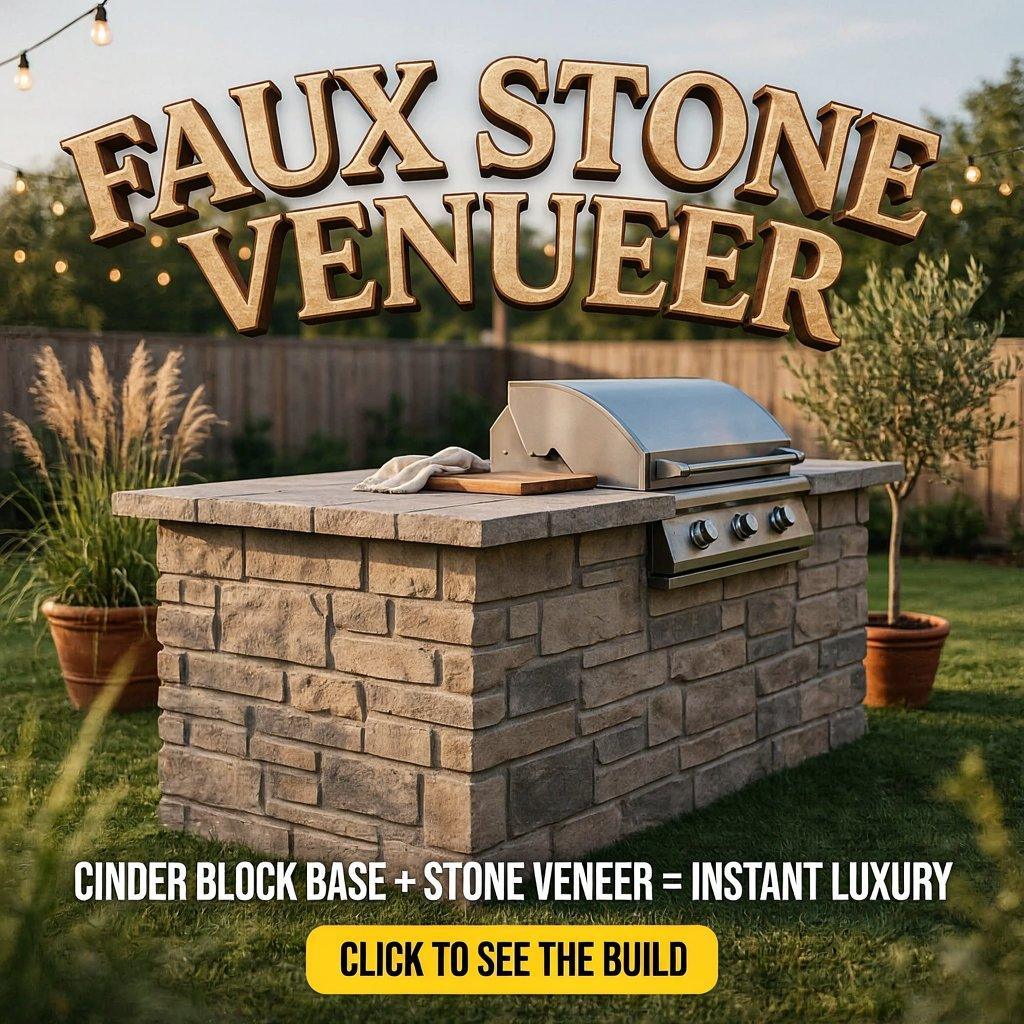
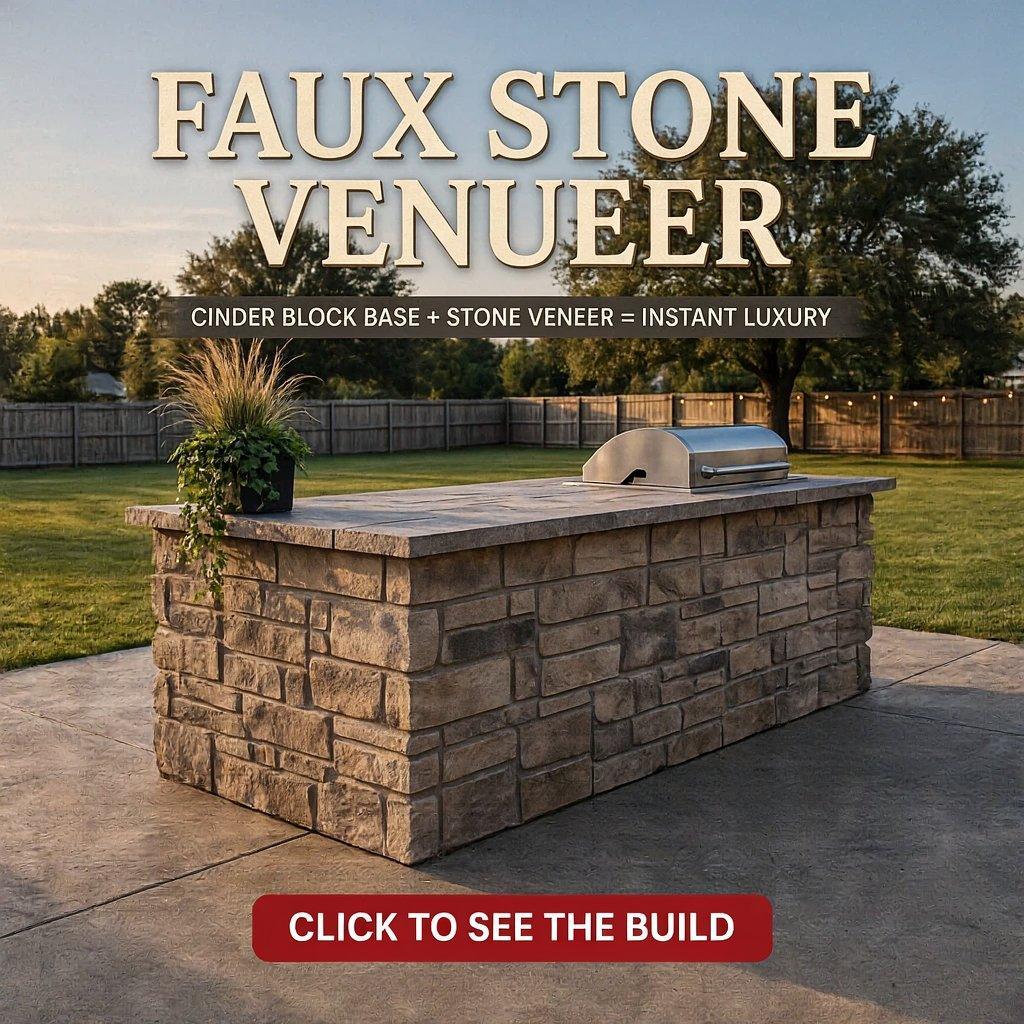
Start with a basic cinder block base, then cover it with faux stone veneer panels. The blocks provide the structure; the veneer provides the look. This combination gives you the appearance of a permanent stone structure without the masonry price.
The veneer panels are lightweight and easy to install with construction adhesive. Finish the top with concrete pavers or a poured concrete slab. This is the island idea to choose if you want maximum visual impact on a minimum budget.
5 Best Products to Recommend from This Post
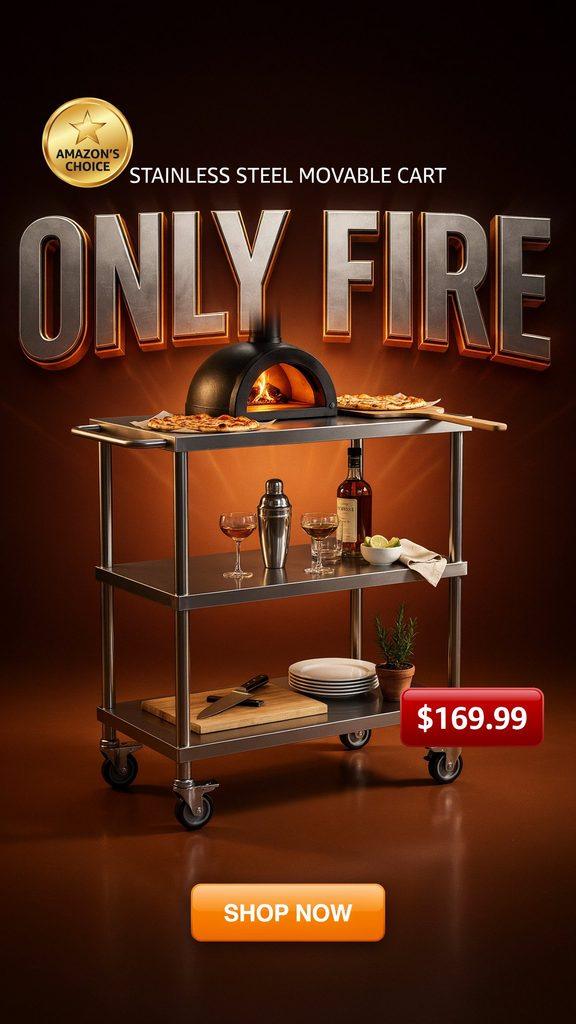
1. only fire Stainless Steel Movable Cart with Wheels
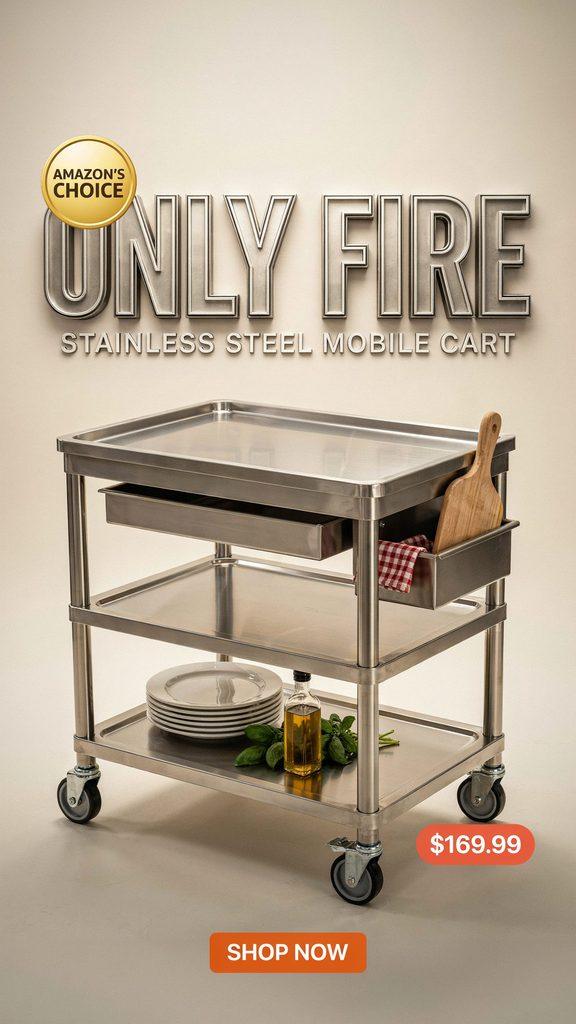
Which idea it supports: Idea #4 (Repurposed Stainless Steel Utility Cart) and Idea #8 (Rolling Pallet Island on Casters)
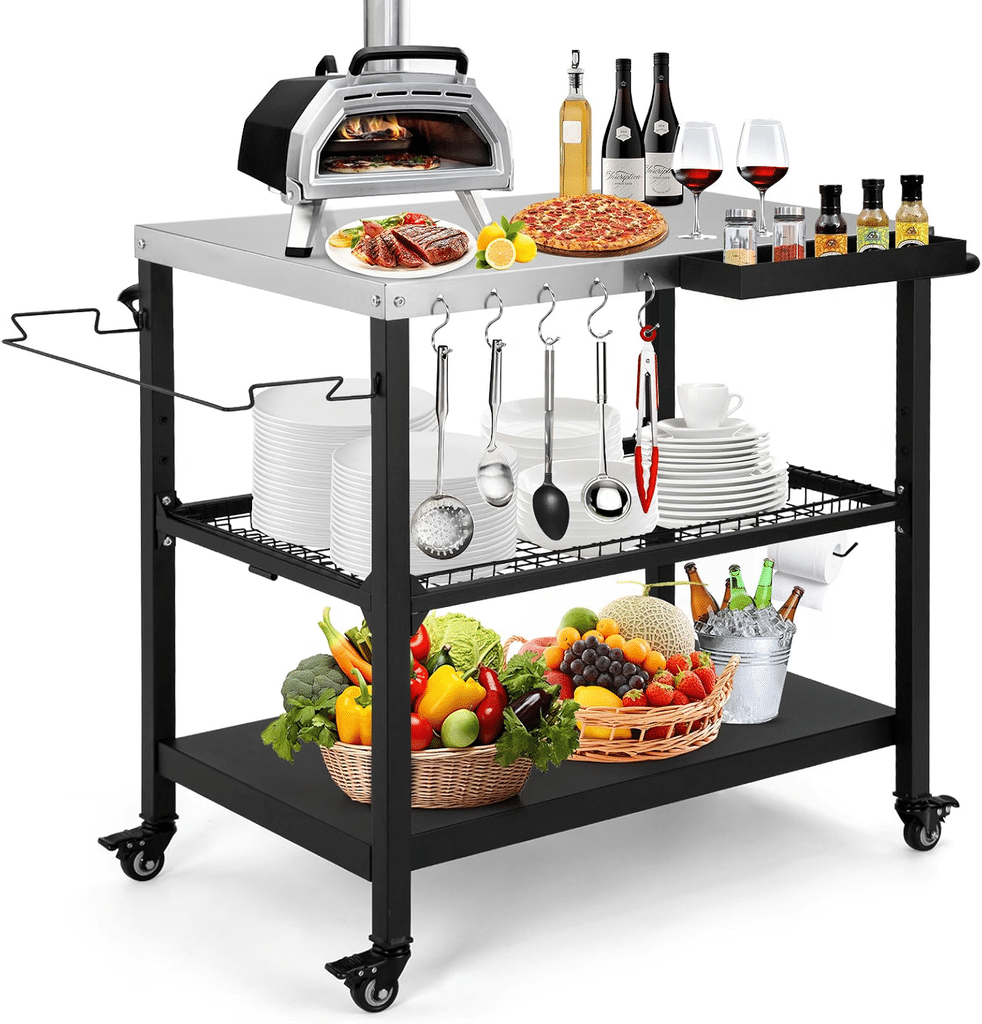
Why recommend it: This cart is Amazon’s Choice and has strong reviews for its versatility. It works as a standalone prep station, a pizza oven stand, or a mobile bar cart. The stainless steel top handles heat and wipes clean easily. It ships ready to assemble and rolls wherever you need it. At $169.99, it’s a mid-range product that earns solid commissions without feeling overpriced to your readers.
Best Rolling Outdoor Prep Cart: only fire Stainless Steel Cart
This Amazon’s Choice cart rolls anywhere, holds up to 120 lbs, and doubles as a pizza oven stand or serving table.
👉👉 Check price on Amazon.com
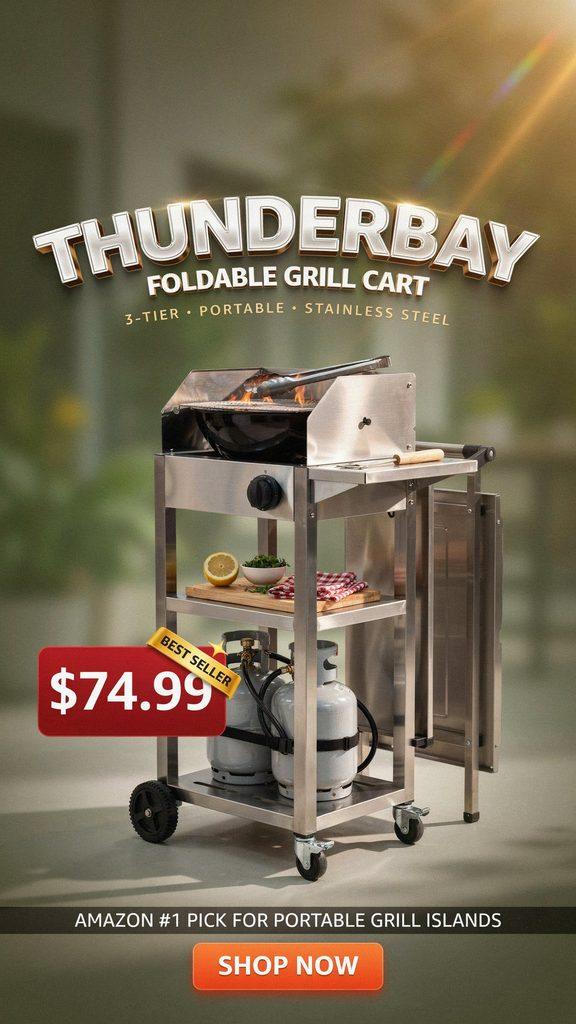
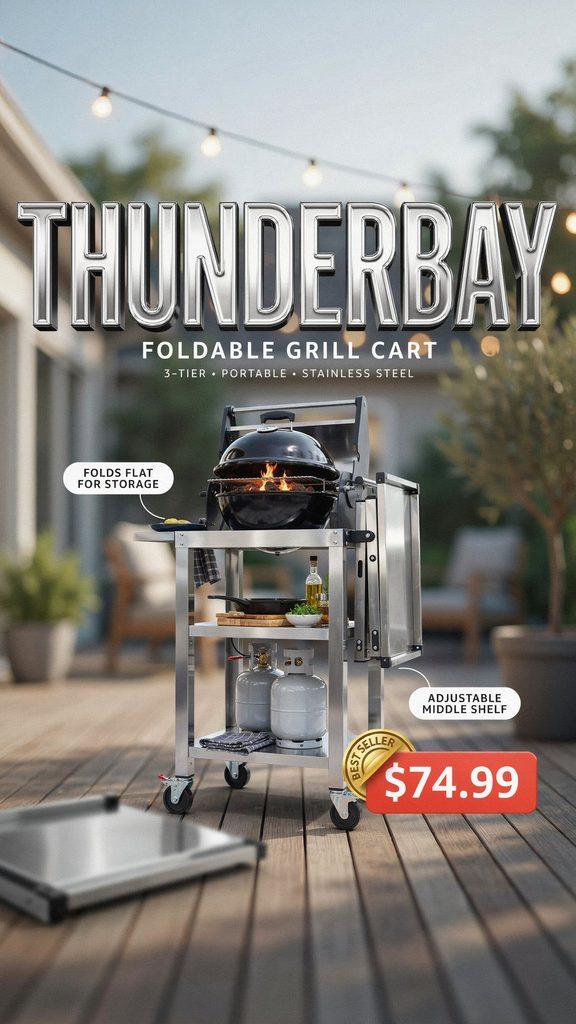
2. Thunderbay Foldable Grill Cart (3-Tier)
Which idea it supports: Idea #3 (IKEA GRILLSKÄR Rolling Island) and Idea #16 (Upcycled Picnic Table Island)
Why recommend it: This is the budget alternative to the IKEA island. At $74.99, it’s one of the most affordable stainless steel carts on Amazon. It folds flat for storage, has three tiers including an adjustable middle shelf, and the surface is easy to wipe down. Perfect for readers who want a portable island without building anything. The low price point means it’s an easy impulse buy for your audience.
Budget Pick: Thunderbay Foldable Grill Cart Under $80
Three shelves, folds flat, and wipes clean in seconds. The easiest way to add prep space to any patio.
👉👉 Check price on Amazon.com
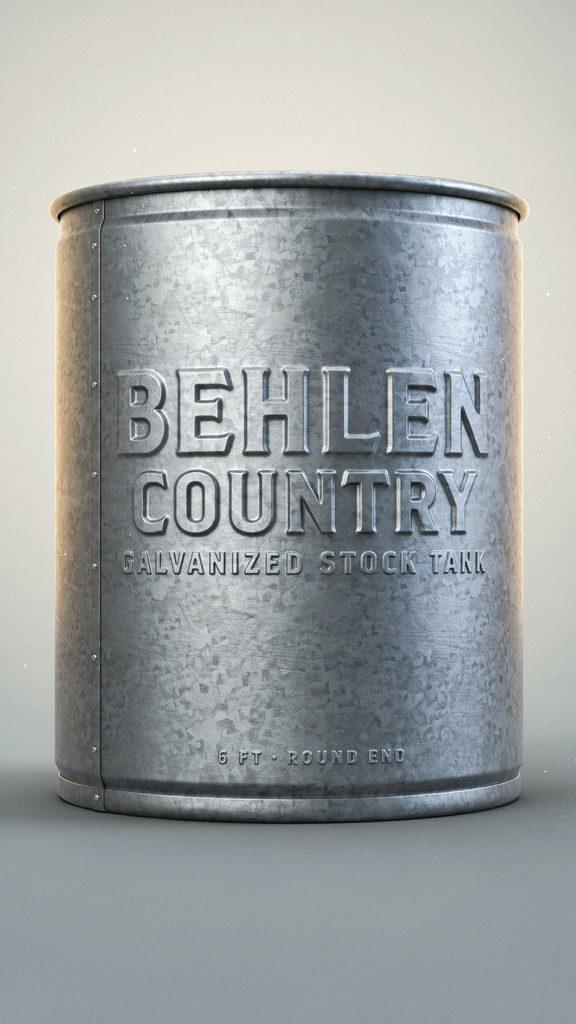
3. Behlen Country Galvanized Stock Tank (6 ft.)
Which idea it supports: Idea #5 (Stock Tank Island)
Why recommend it: This is the exact product that makes the stock tank island idea possible. Behlen Country is a trusted farm supply brand, and the 6-foot round-end tank is heavy-duty with a zinc coating for rust resistance.
Your readers can flip it upside down for an instant island base or use it upright for a rustic ice bucket or planter. It’s a higher-ticket item, which means better commissions, and the unique nature of the build makes it a memorable recommendation.
The Stock Tank That Makes the Easiest DIY Island
Flip it upside down and you have an instant base. Heavy-duty, rust-resistant, and built to last decades.
👉👉 Check price on Amazon.com

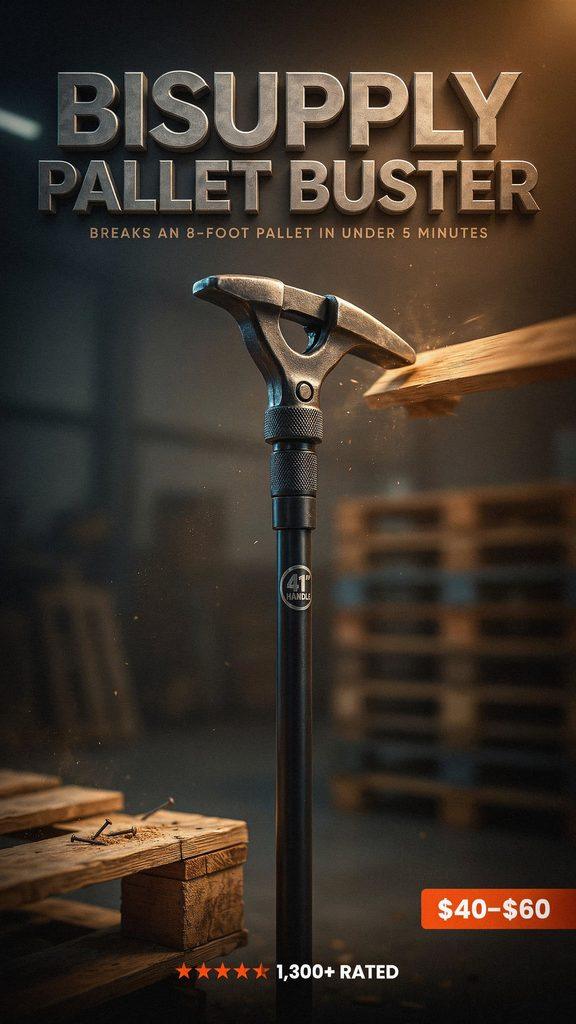
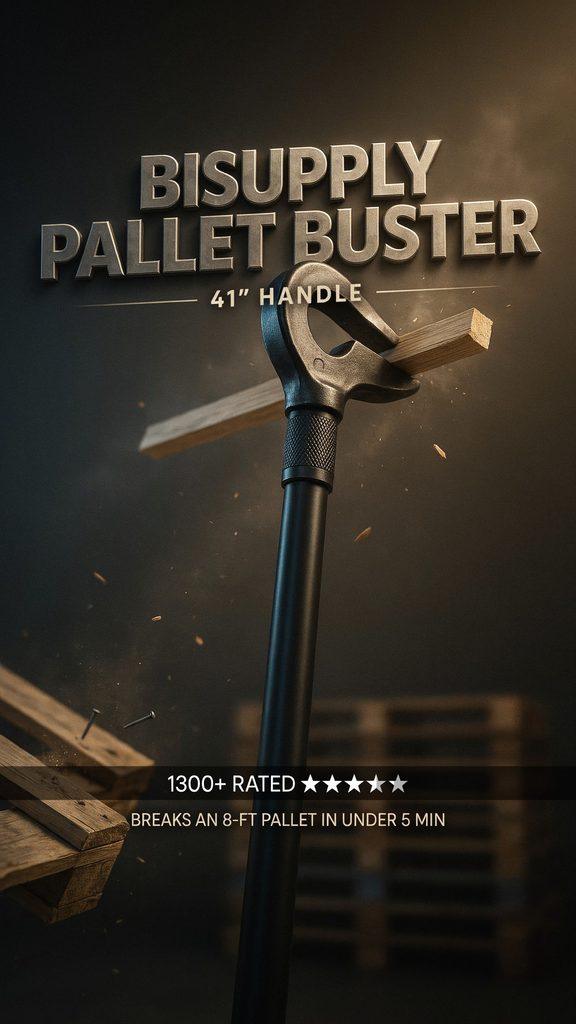
4. BISupply Pallet Buster Tool (41-Inch Handle)
Which idea it supports: Idea #2 (Pallet Wood Island) and Idea #8 (Rolling Pallet Island)
Why recommend it: This tool is the key to making the pallet island ideas actually workable. Instead of struggling with a crowbar and splintering boards, this buster pops planks off intact.
It has over 1,300 ratings and reviewers consistently say it breaks an 8-foot pallet in under five minutes without damaging the wood. It’s a specialized tool, which means less competition and a more targeted audience. At around $40-$60, it’s an easy add-on purchase.
The Tool That Makes Pallet Islands Actually Doable
Breaks down pallets in minutes without splitting the wood. Over 1,300 five-star reviews.
👉👉 Check price on Amazon.com
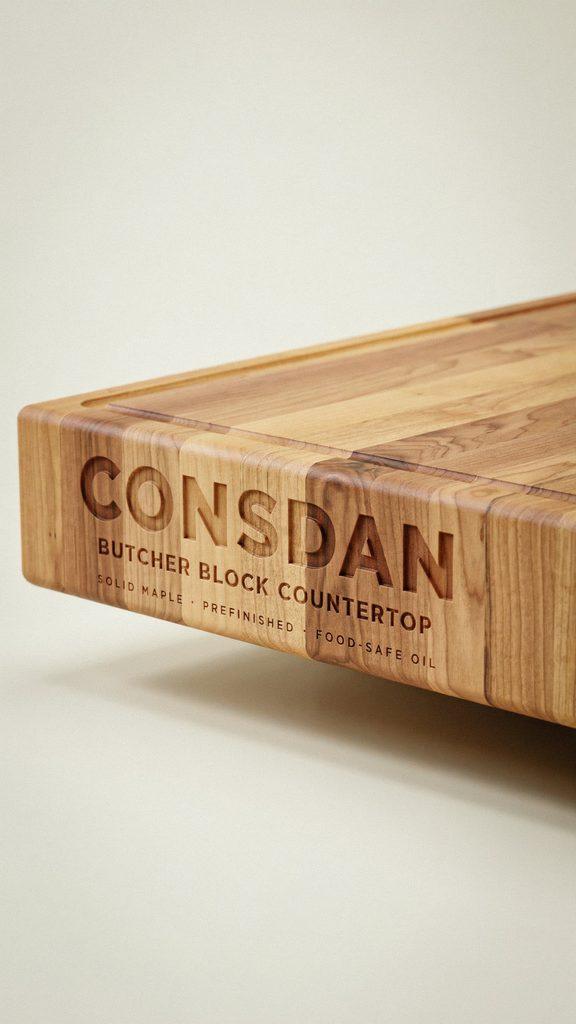
5. CONSDAN Butcher Block Countertop (Maple, Prefinished)
Which idea it supports: Idea #2 (Pallet Wood Island with Butcher Block Top) and Idea #7 (Concrete Paver and Pressure-Treated Lumber Island)
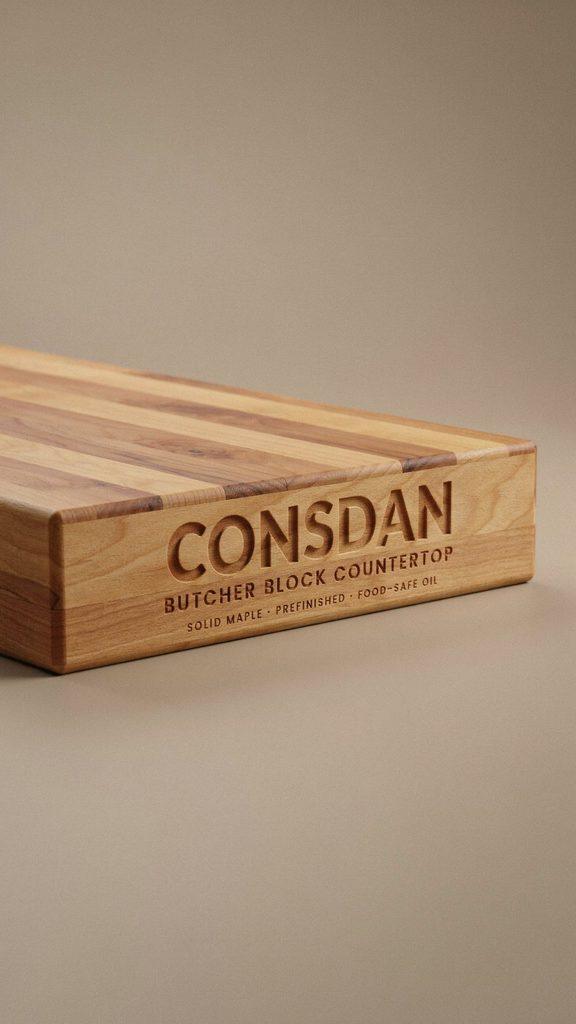
Why recommend it: A butcher block top is what transforms a DIY base into something that looks custom-built. This CONSDAN option is prefinished with food-safe oil, so your readers don’t have to do any extra sealing before using it.
It’s solid maple hardwood, 1.5 inches thick, and sized perfectly for a small island. This is a higher-commission item that pairs naturally with the pallet and lumber builds in the post.
The Countertop That Makes DIY Islands Look Custom
Prefinished maple butcher block. No sanding, no sealing just mount it and start cooking.
👉👉 Check price on Amazon.com
FAQs
How much does a DIY outdoor kitchen island cost?
It depends on the materials. A pallet island with a butcher block top can cost under $150. A cinder block and paver island runs $200–$400. Even a full L-shaped setup with a wood frame and concrete countertop can stay under $600.
What’s the best material for an outdoor kitchen island countertop?
Concrete pavers, poured concrete, and tile-over-plywood are the most budget-friendly options. Butcher block works if you seal it properly. Granite remnants from a stone yard are another affordable choice you can often get a piece for $100 or less.
Do I need a permit to build a backyard kitchen island?
It depends on your local codes. A freestanding island that doesn’t involve plumbing, gas lines, or electrical work usually doesn’t require a permit. If you’re running utilities, check with your city first.
How do I protect a wood island from rain and sun?
Seal it with exterior-grade polyurethane or a quality wood oil. Reapply the finish every year or two depending on your climate. Using pressure-treated or naturally rot-resistant woods like cedar and redwood also helps.
Can I build these islands if I’m a beginner?
Yes. The cinder block and paver station, the utility cart hack, and the IKEA GRILLSKÄR are all beginner-friendly. Start with a simple build, then upgrade to a more involved project once you’ve got a feel for the tools.
Wrapping It Up
A backyard kitchen island doesn’t have to come with a contractor’s price tag. The ideas above prove that with cinder blocks, pallets, old furniture, and a few smart material choices, you can build something that looks custom and works hard. Pick one that fits your space and skill level, gather your materials, and give yourself a weekend. The best outdoor kitchens aren’t the most expensive ones they’re the ones you built yourself.
Related Post: